Brackets Tutorial 2b: Fabricating a Bracket from a Solidworks Design: Difference between revisions
From Artisans Asylum Wiki
No edit summary |
|||
| Line 13: | Line 13: | ||
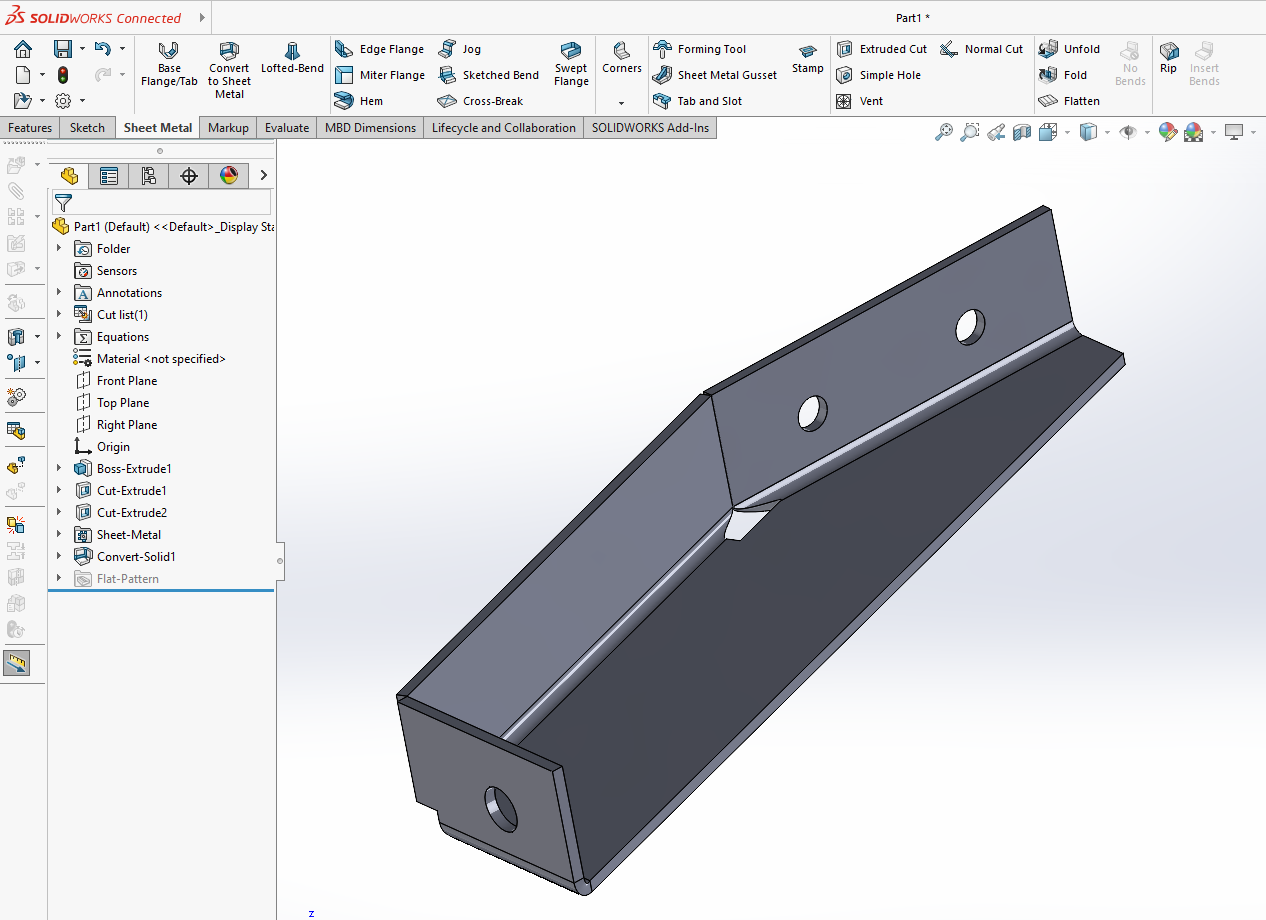
[[File:SW_3_BracketRE_1_bracket1_rendered.png| | [[File:SW_3_BracketRE_1_bracket1_rendered.png|410px|left|bracket rendering]] | ||
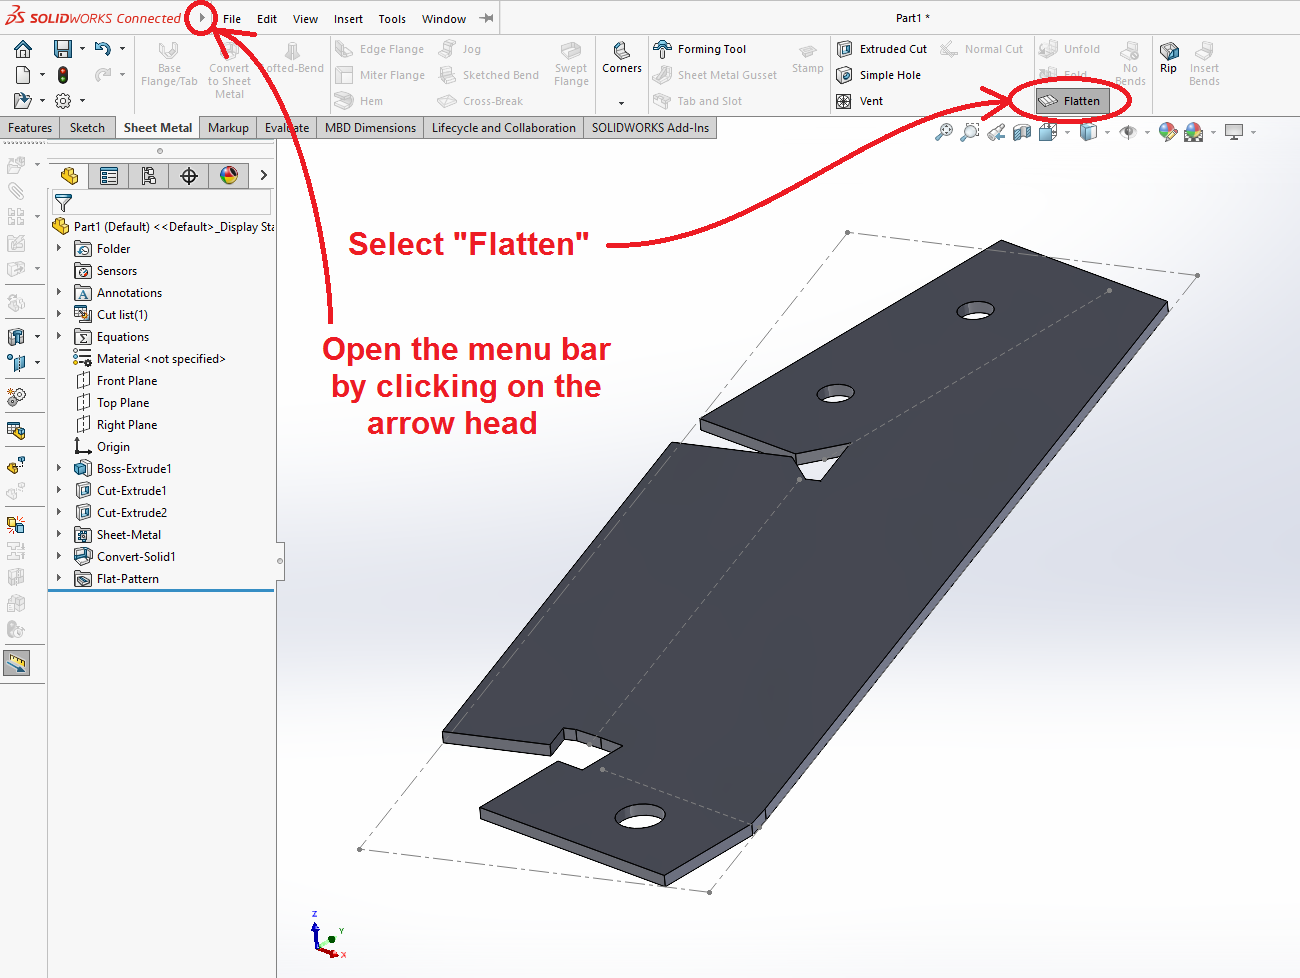
[[File:SW_3_BracketRE_2_bracket1_flattened.png| | [[File:SW_3_BracketRE_2_bracket1_flattened.png|410px|right|bracket flattened]] | ||
[[File:SW_gear_icon_tiny.png|16px|center|thin strip]] | [[File:SW_gear_icon_tiny.png|16px|center|thin strip]] | ||
Revision as of 23:21, 9 June 2024
Link to: Bracketage Main Page
Solidworks and Metal Shop tutorial by Jim Bredt 20240609
Introduction
This tutorial is a continuation of the earlier tutorial where a metal bracket was reverse-engineered in Solidworks.
Here we will show how to export the Solidworks data to the Torchmate CNC plasma cutter located in the Metal Shop at Artisans Asylum. After cutting the flat piece from steel sheet, it is bent into shape, welded, and finished by powder coating.

