WOB: Difference between revisions
| Line 21: | Line 21: | ||
{| class="infobox" cellspacing="5" style="width: 12em; text-align: left; font-size: 100%; line-height: 1.5em;" | {| class="infobox" cellspacing="5" style="width: 12em; text-align: left; font-size: 100%; line-height: 1.5em;" | ||
! colspan="2" class="infobox-image" | [[File:Anna_back_cropped_20240401|200px|Anna]] | ! colspan="2" class="infobox-image" | [[File:Anna_back_cropped_20240401.jpg|200px|Anna]] | ||
|- | |- | ||
| colspan="2" | | | colspan="2" | | ||
Revision as of 19:23, 1 May 2024
Link to: Category:OSERB
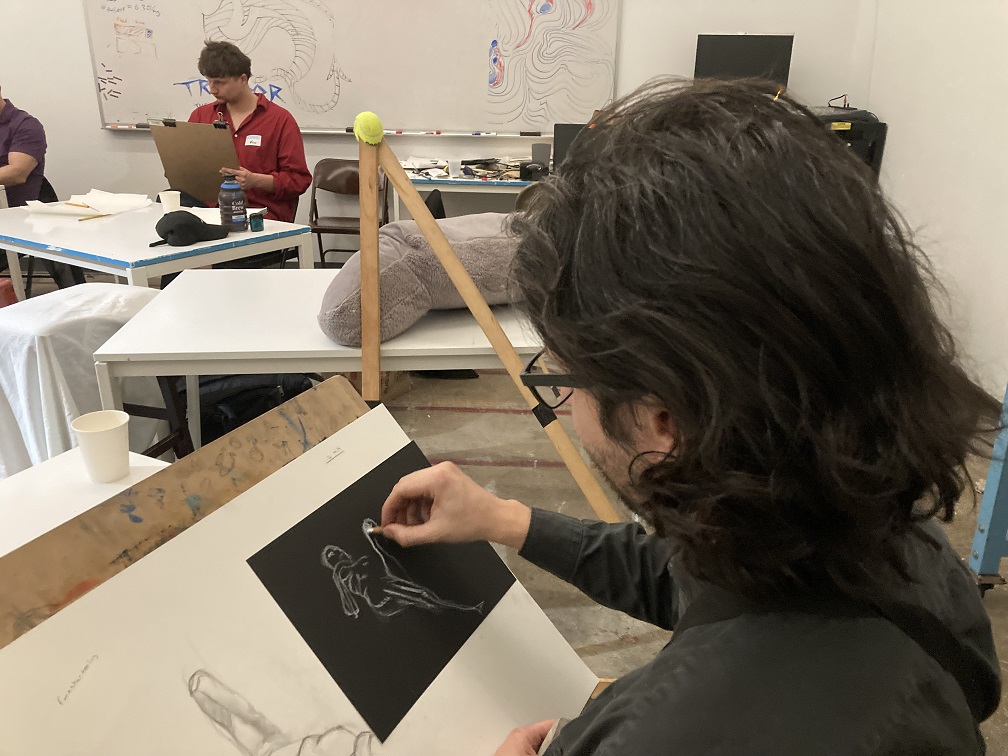
White-on-Black drawing exercise

| |
|---|---|
| White pencil on black paper. |
Background:
This is a texbook exercise for drawing classes, taught to me by Borka (Barbara Sitar.) It has become my flagship exercise for right-hemisphere training. It's a full hour and I do it most class sessions, with a planned monologue to set the mood.
Intent:
To enlist the students' right hemispheres in the drawing process. In the context of the Betty Edwards program, the student is presented with a weird task that causes the left brain to step aside and allow the right brain to pick up the slack.

| |
|---|---|
|
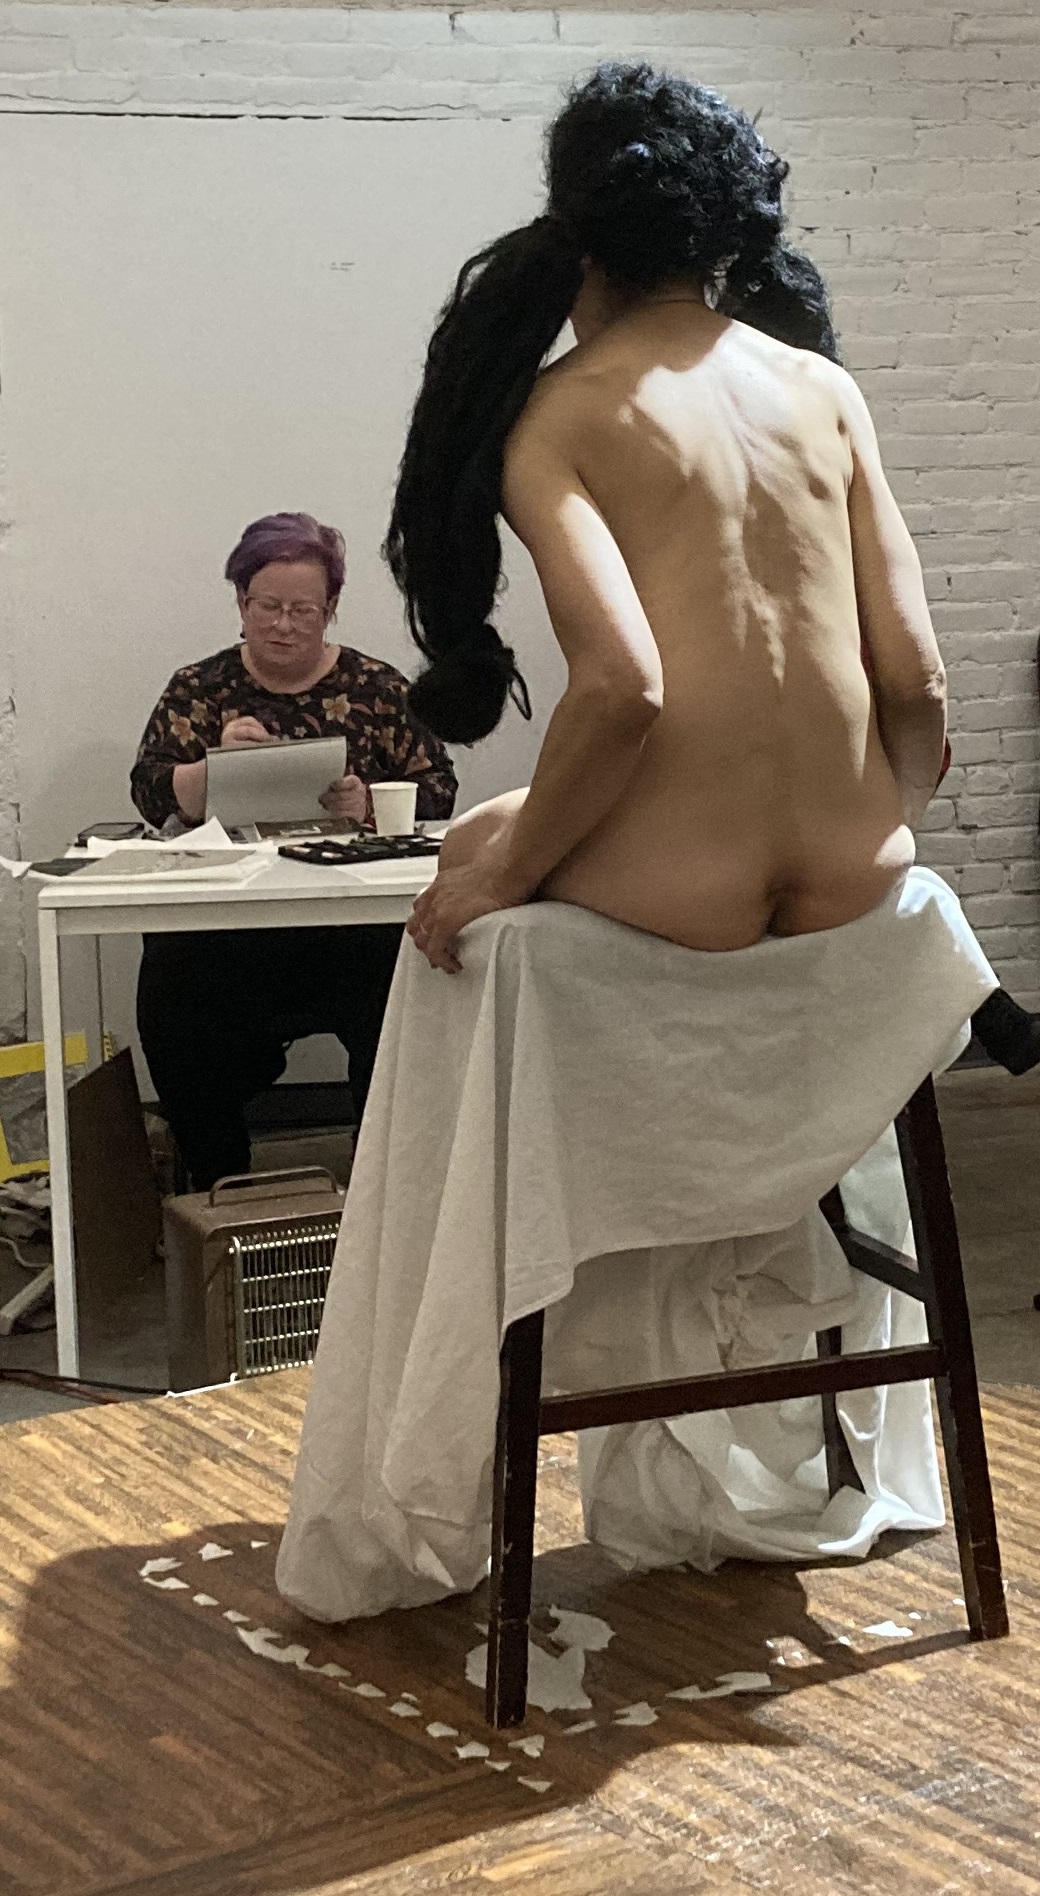
point-source spotlight to create sharp boundries between light and shadow. |
Materials:
I prefer to shop for these at Play Time in Arlington
- Black and gray construction paper;
- White "charcoal" pencils (e.g. General's, NOT pastels or grease pencils);
- Soft black charcoal sticks.
- White drawing paper and pencils for the first segment
- Erasers, preferably pencil-format.
Plan:
There are three or four 10-minute poses in the sequence, and the full exercise takes up a full hour, usually between the first and second breaks in the class.

| |
|---|---|
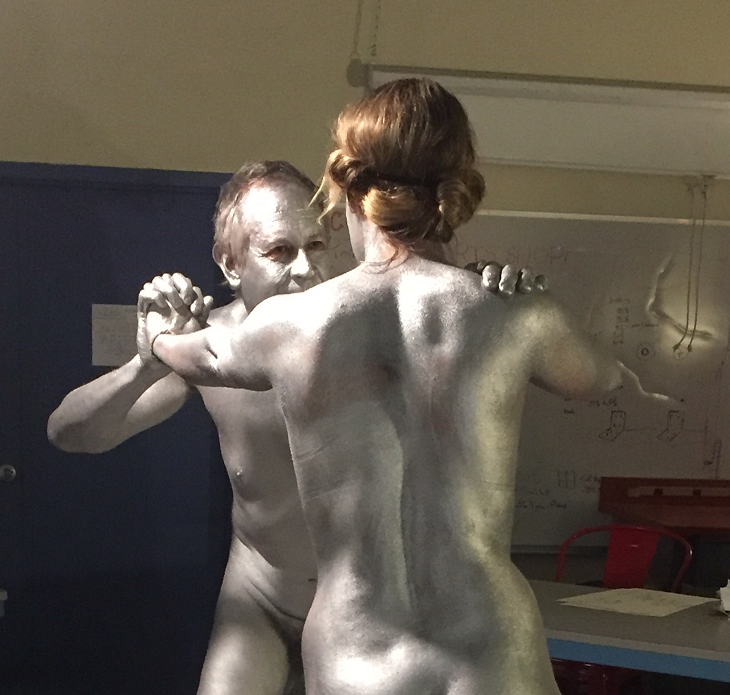
| With metallic body paint on the model the point source illumination is less critical. |
Point illumination from the spotlight is very important to create a pattern of crisply-defined boundaries between light and shadow on the model. Dark-skinned models have better contrast than light-skinned ones. Metallic body paint is spectacular for this. The model must be posed so that all students get significant amounts and light and dark around the whole circumference. Having the model recline with the body pointing on the line of the spotlight is good, so no directions get eclipsed.
Have the model change the pose a bit between segments, while still keeping the illumination visible from all angles. For a reclining pose, just rotate 180 degrees on the model stand or flip over from lying on the back to lying on the stomach.
The monologue introduction of the exercise is very important. (See below.)
- First pose: Black-on-white pencil on paper. This is a contour-drawing exercise and students are asked to render the abstract shapes defined by the boundary between light and dark. Direct measurement is discouraged here, what is desired is a mosaic pattern of wiggly closed shadow shapes that tile the figure. Don't color them in until the very end.
- Second pose: White-on-black. Black paper and white pencils are handed out, and the instruction is exactly the same as before: Focus on the boundary between light an dark and don't color in the shapes until the end, this time coloring in the shapes on the light side of the boundary instead of the dark side. Remind them that the white pencil can also be erased.
- Third pose: A second pose with white-on-black. Students are allowed to opt out if they just want to practice with the figure conventionally.
- Fourth pose: Black and white on gray. Gray paper is handed out along with soft charcoal sticks. This a to gradually return the students from the antimatter universe, while preserving the right-brain activity that the earlier periods stimulated.
Monologue
The spoken part is very important for creating the right mood with the students. The goal is to give them permission to use their right hemispheres throughout the exercise.
Introduction to the first pose:
This is the White-on-Black exercise. For the first 10-minute pose you will still be working with black pencil on white paper. I want you to forget about everything I said previously about measuring the figure and drawing construction lines - triangles and whatever- to lay out the figure in advance.
For this exercise I want you to focus on the boundaries between the light and shadow areas on the figure. These are purely abstract shapes that aren't associated with any particular body part.
(At this point it is good to sketch an example from the model on the whiteboard to explain. Here is a shape that looks like a comma, next to it there's a shape that looks a little like a bat, etc.)
I want you to sketch the linear boundary between the light and dark, up to the edge of the model's body. Only then sketch a segment of the actual contour of the body to complete the shape of a shadow. Just draw a set of wiggly shapes that tile the figure like a mosaic.
Let your eye do all the measuring for you. When you move from one shape to its neighbor, sketch the neighboring shape in its relationship to what you have already. If you run off the edge of the paper, don't worry about it. Just move to some area that's still on the paper. No measuring devices, no construction lines please for this exercise.
Don't color in the shadows until the very end, if at all. This will give the figure a sort of metallic look, but that's okay. It's part of the exercise. Only color in the shadows when you are really certain of the boundary between the light and dark. You can make adjustments to the sharp linear contour with an eraser, but not after you color it in. After that the shadow just gets feathery at its boundary and loses its accuracy.
Focus on the boundary between light and dark. These are just abstract shapes that have no meaning with respect to body parts. They are just shapes that have relationships to one another on the page. Don't color them in.
(Repeat this last paragraph several times through the exercise, with minor variations. The right hemisphere thrives on repetition.)
Introduction to the second pose
This is another ten-minute pose. Now you have white pencils and black paper, but my instruction to you is exactly the same as before. '
Focus on the boundary between the light and the dark and sketch that boundary with the pencil exactly like last time. It's the same thing as last time. There's no association between these abstract shapes and any particular body part. They are just shapes.
Don't color the areas in until the very end. These white pencils can be erased if you need to correct a line. Once you color the areas in you can't erase them any more. When you are really sure of the shape of a light area, then you can color it in with the pencil.
Try to feel the rhythm of the line as it wiggles across the figure. When the shadow crosses a convex area, it dips upward (or to the right or whatever it's doing in real life on the model) and when it crosses a concave area it dips downward. You brain is hardwired to interpret these little dips in the shadow line as 3-D topography of the surface of the model's body.
If you get the correct rhythm the line, your eye will perceive muscles or whatever in the figure even if the contour isn't in the right place. The rhythm is super-important. Muscular volumes have a jittery rhythm. Smooth volumes have smoother curves to the shadow boundaries.
(Repeat the last paragraph from the first segment throughout this segment.)
Focus on the boundary between light and dark. These are just abstract shapes that have no meaning with respect to body parts. They are just shapes that have relationships to one another on the page. Don't color them in.
Introduction to the third pose:
Now we are going to do it again. If you were confused the first time, you have a better idea now of what I want you to do.
If you want to go back to black-on-white drawing and just practice with the model, that's okay too. Try to maintain the focus on the abstract shapes of the shadows on the surface of the figure.
This exercise is designed to enlist your right hemisphere into the drawing process. The right hemisphere is the intuitive, graphical organ of the brain, and the left hemisphere is the language side that puts labels on things. It also keeps track of time. One way to tell if you are really in your right brain is your perception of time sort of goes away. You just have a telescopic focus on the geometric relations between these anonymous abstract shapes.
(Repeat the last paragraph of the first segment as needed.)
Introduction to the last pose:
Now I am going to gradually bring you back from the antimatter universe to the regular universe. You can use the white pencil for the light AND the charcoal for dark.
Please maintain your focus on the boundary between the light and the shadow. When you fully return to the land of black pencil on white paper I hope you will retain some of this right-hemisphere action in how you draw.
(Repeat the last paragraph of the first segment as needed.)
END OF EXERCISE - BREAK TIME! This will have taken about an hour of class time to fully execute.