Brackets Tutorial 1: Solidworks From Zero: Difference between revisions
From Artisans Asylum Wiki
No edit summary |
No edit summary |
||
| Line 15: | Line 15: | ||
[[File:SW_fromzero_3_sketch_plane.png|700px|center|sketch plane]] | [[File:SW_fromzero_3_sketch_plane.png|700px|center|sketch plane]] | ||
This will open a view to select a plane for making a 2-D sketch. It doesn't matter which plane you select at this point. | |||
[[File:SW_fromzero_4_sketch1.png|700px|center|sketch1]] | [[File:SW_fromzero_4_sketch1.png|700px|center|sketch1]] | ||
The "Sketch" tab will automatically open and the program will go into a 2-D viewing mode. Various sketching tools are available. In this tutorial we will cover two of them. | |||
Revision as of 19:06, 6 June 2024
Link to: Bracketage Main Page
This tutorial assumes no prior experience with Solidworks.
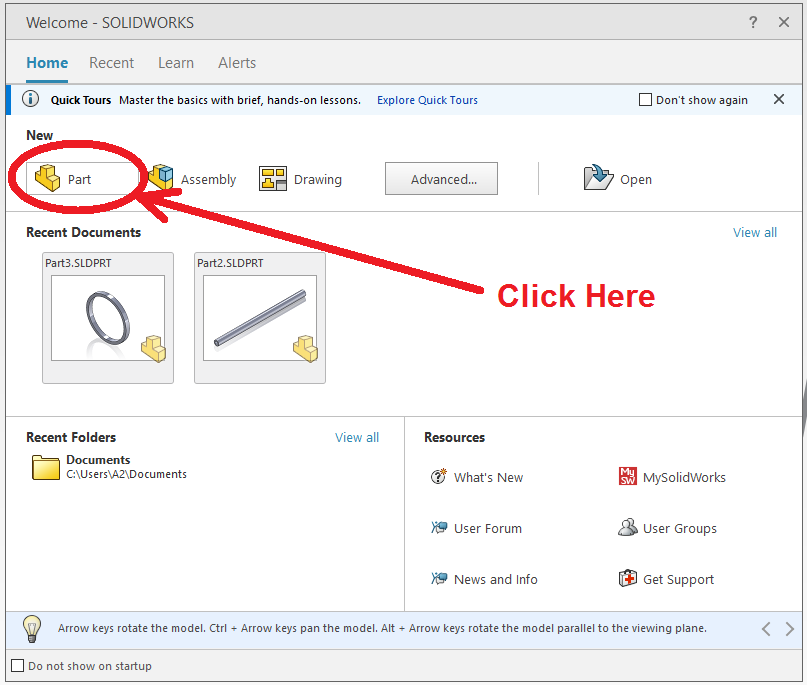
When you load Solidworks you will see a dialog box like the one below.
Select "Part" to create a new design for a part.
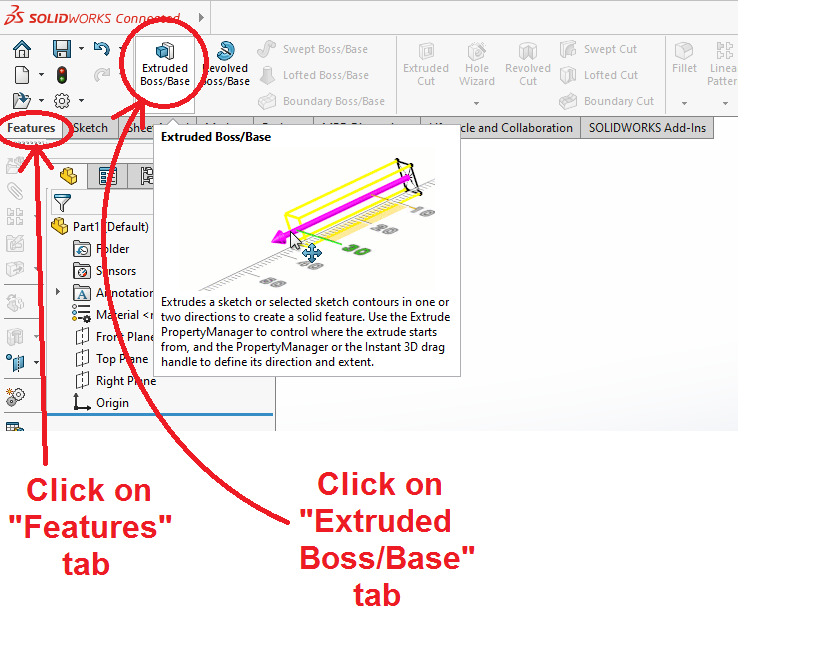
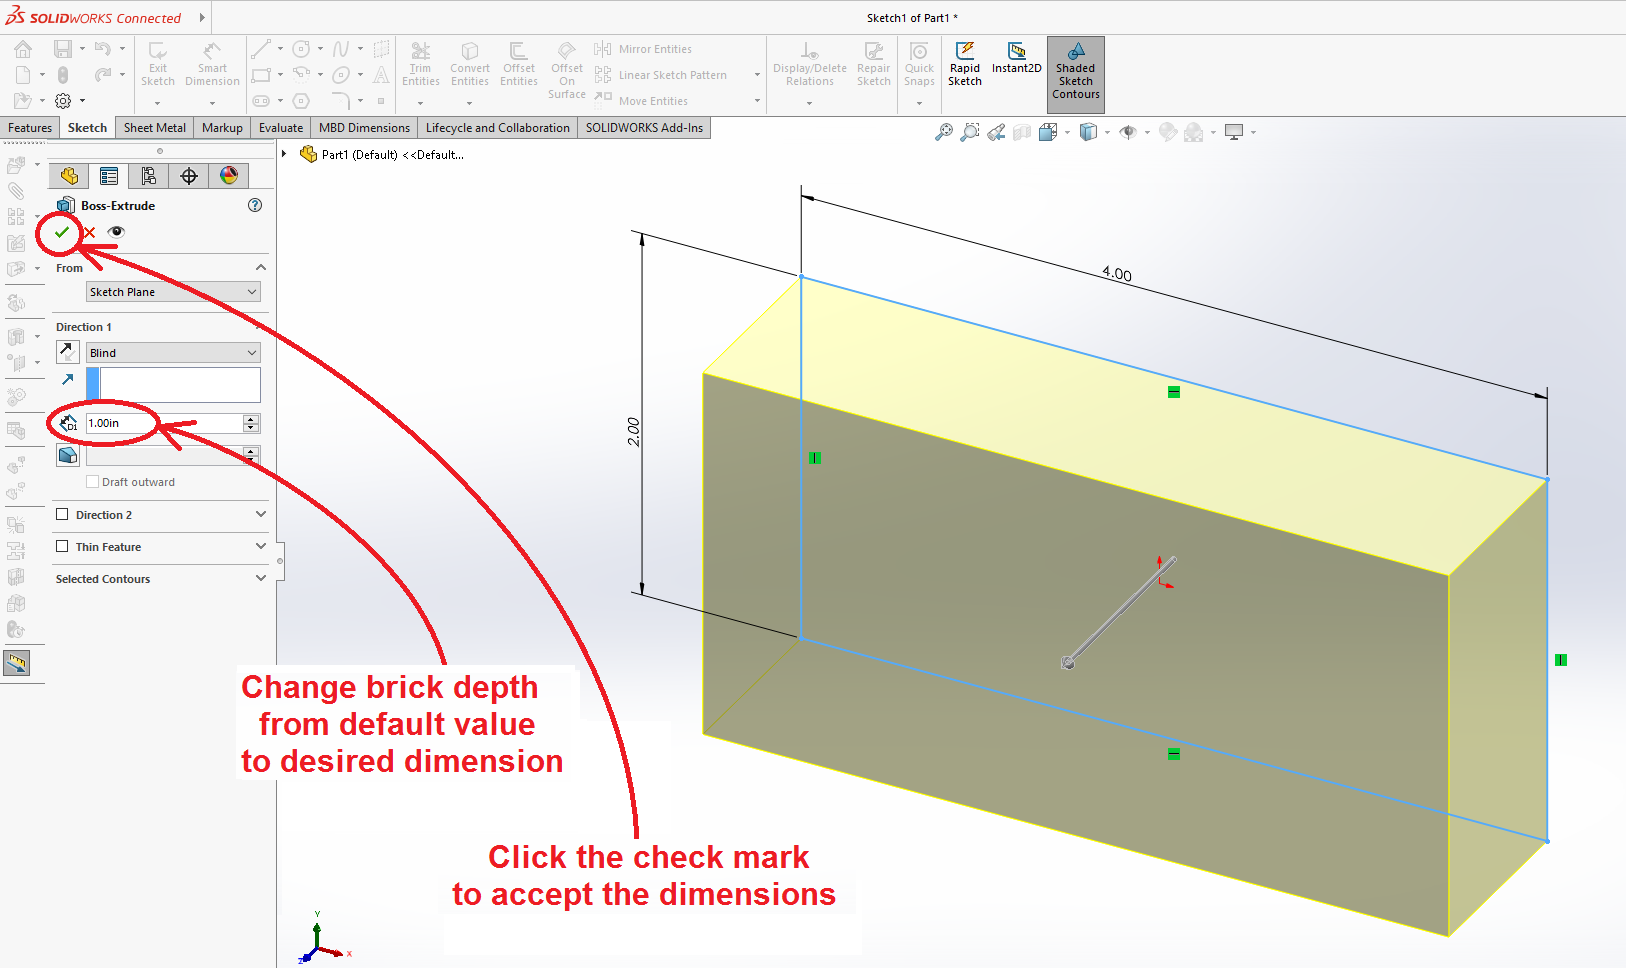
The first operation is to create a brick. In the "Features" tab, select "Extruded Boss/Base."
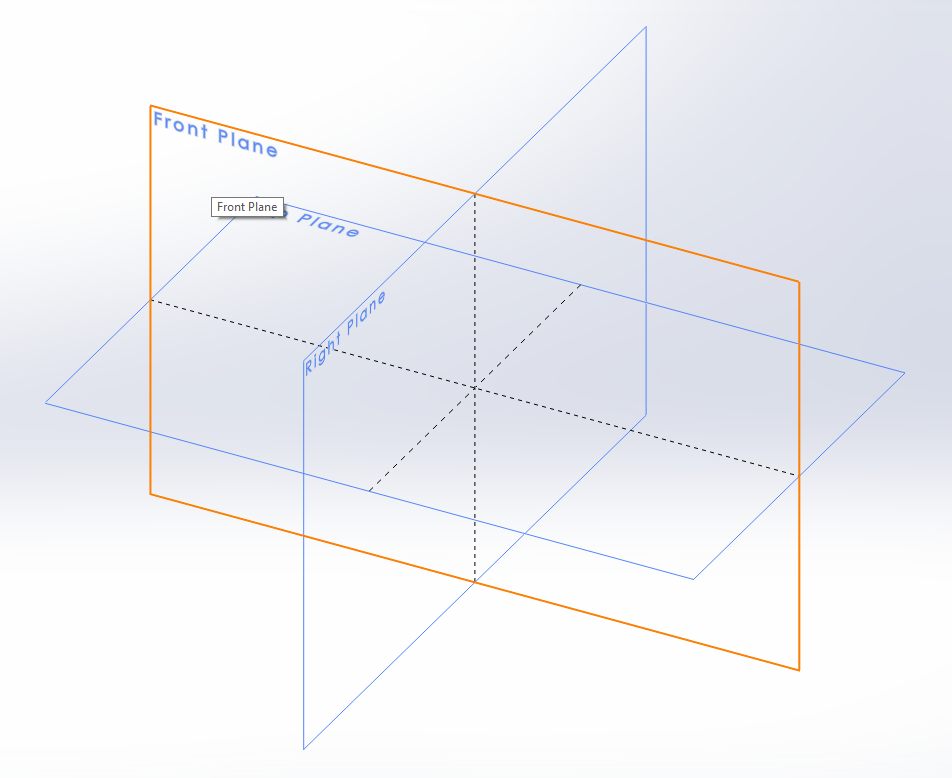
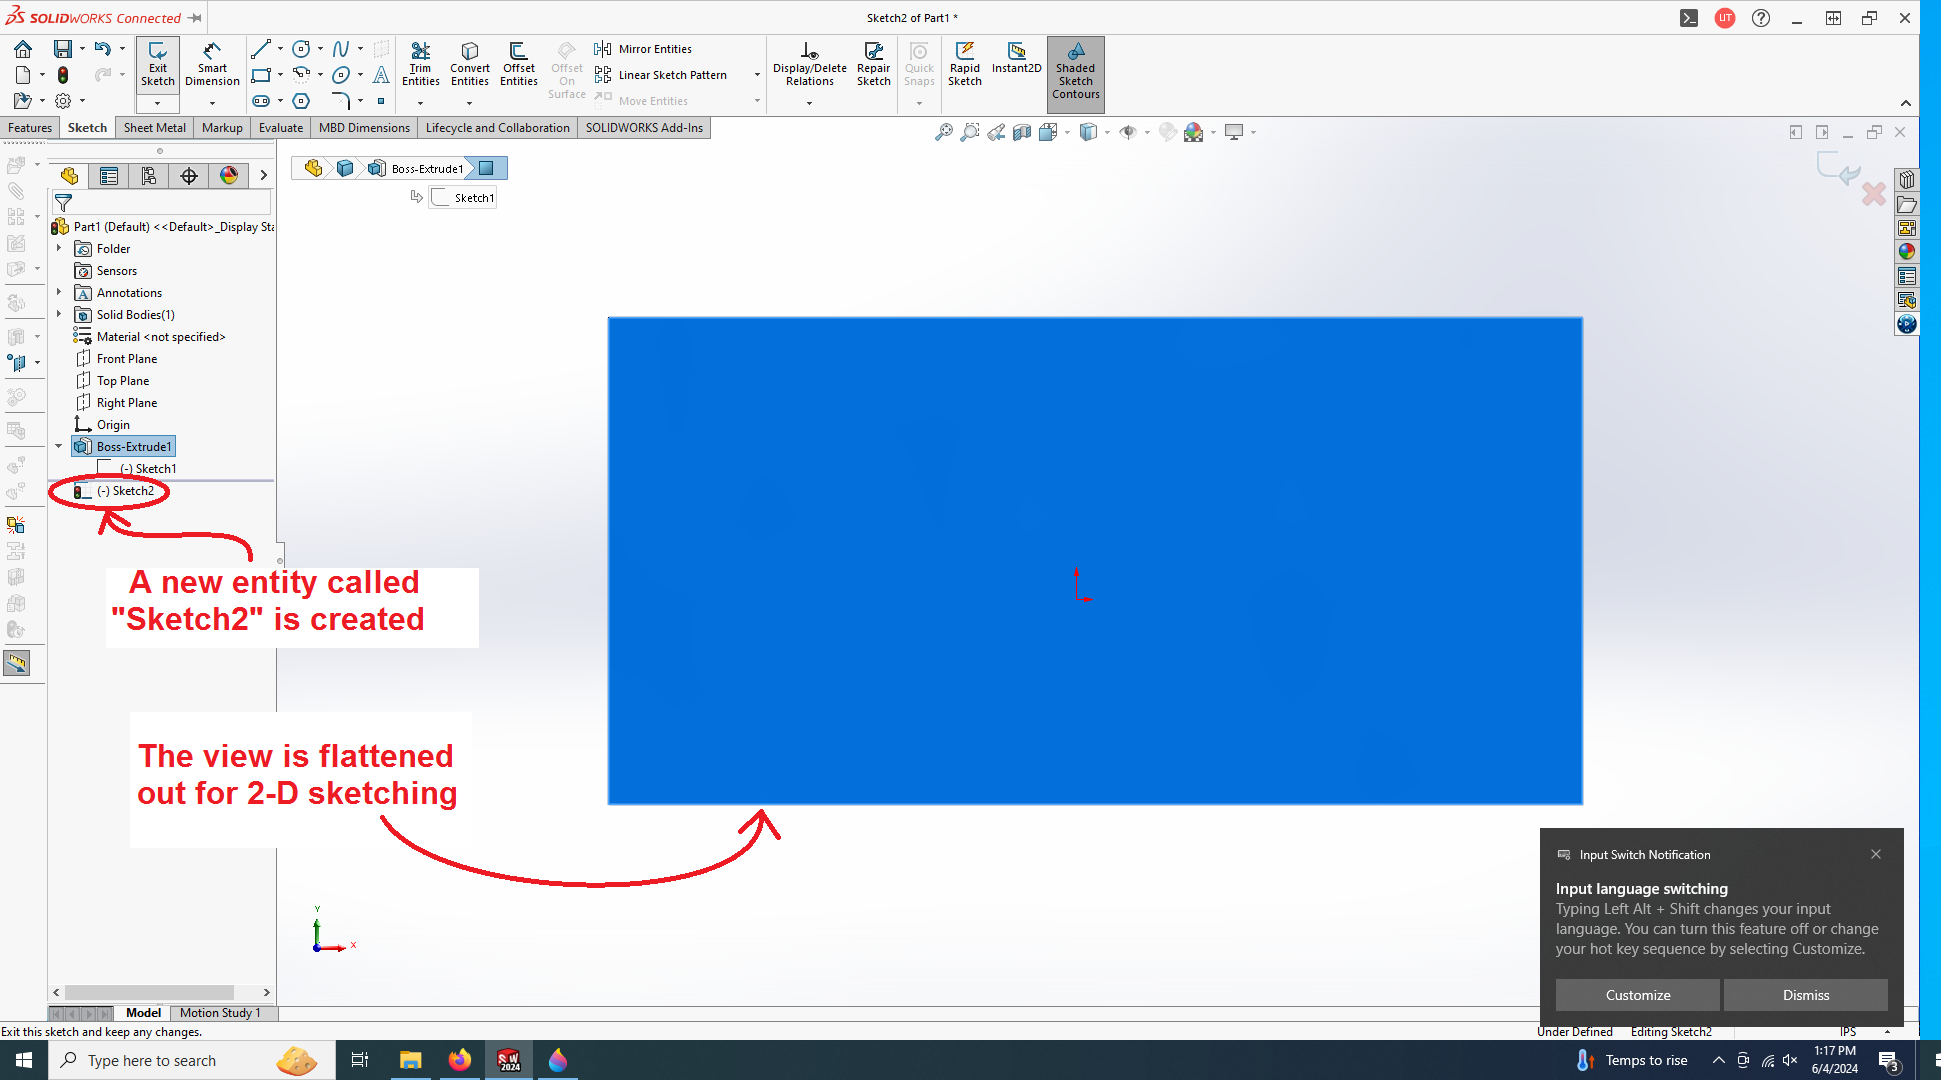
This will open a view to select a plane for making a 2-D sketch. It doesn't matter which plane you select at this point.
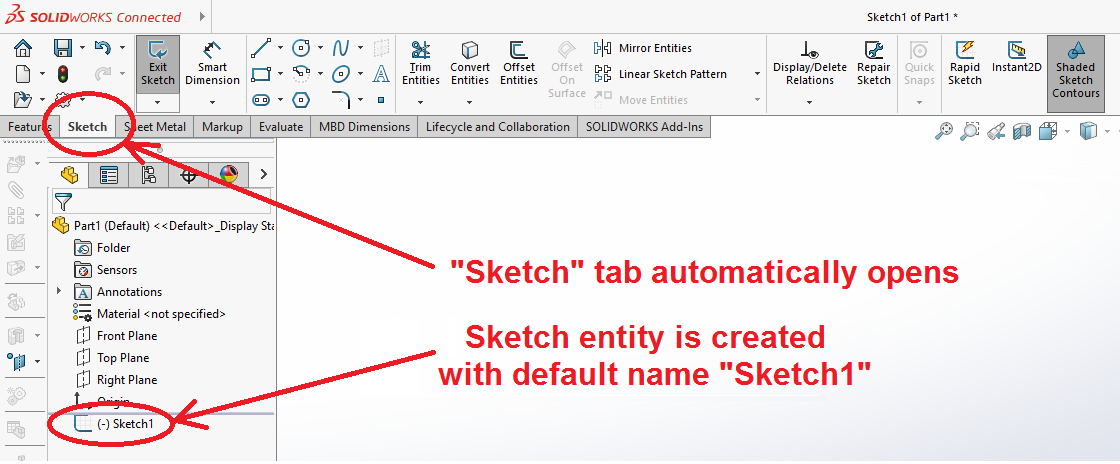
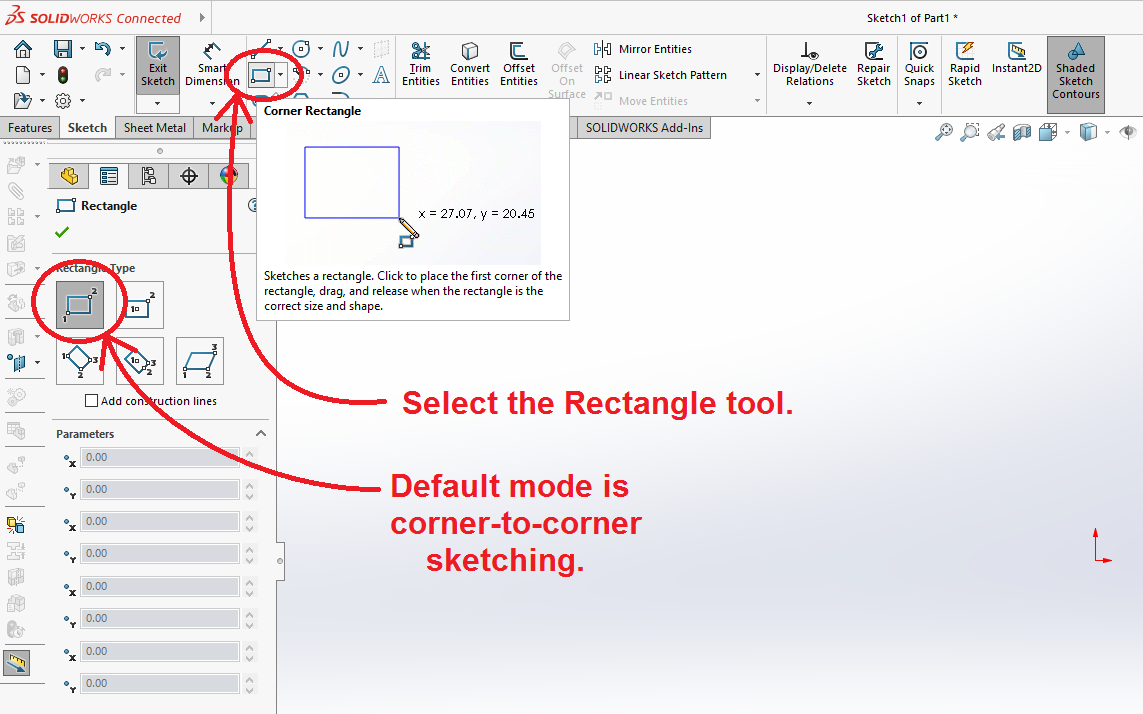
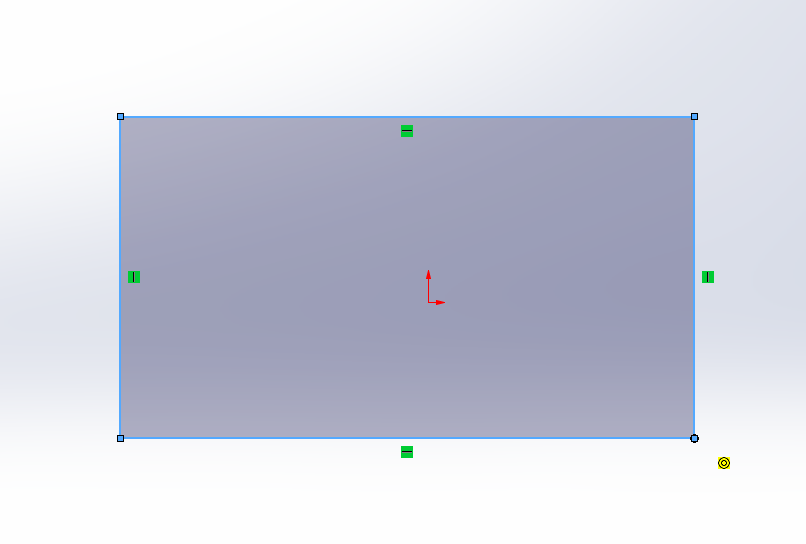
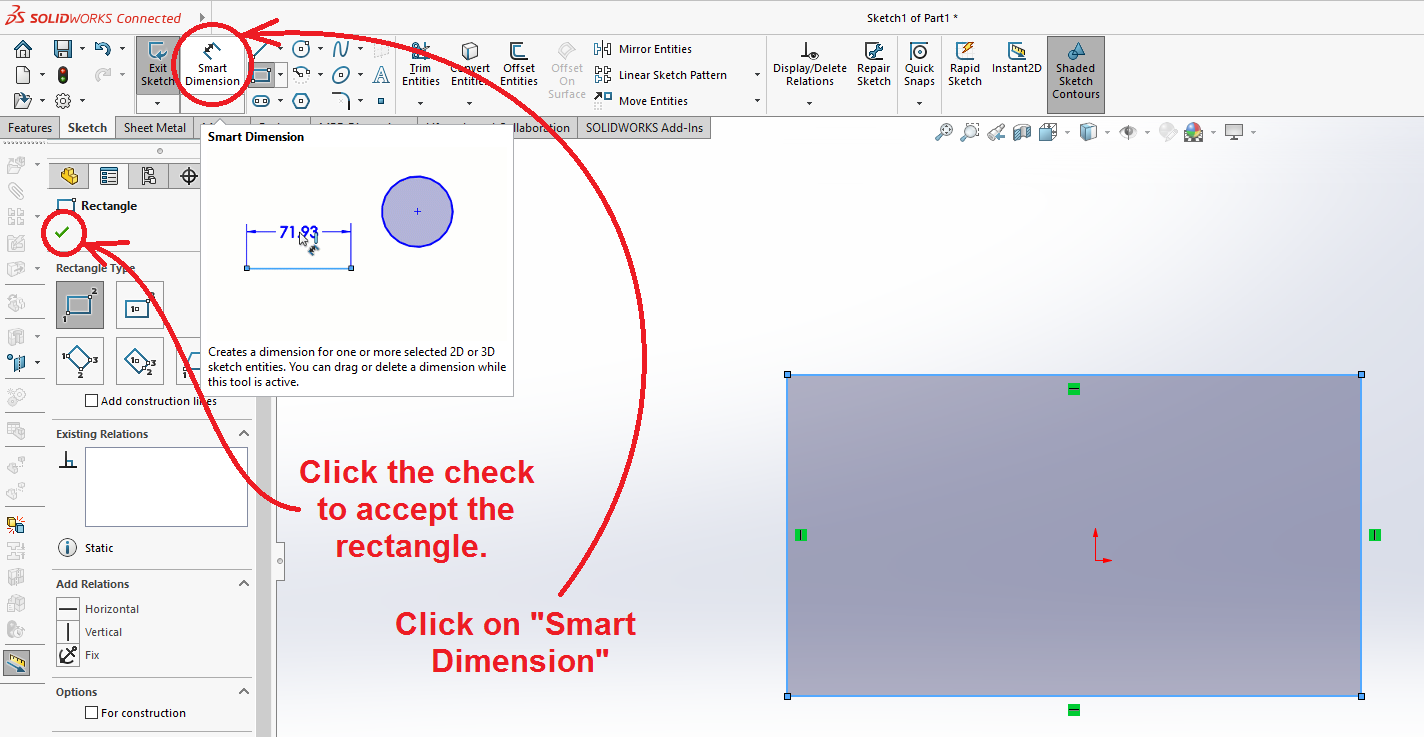
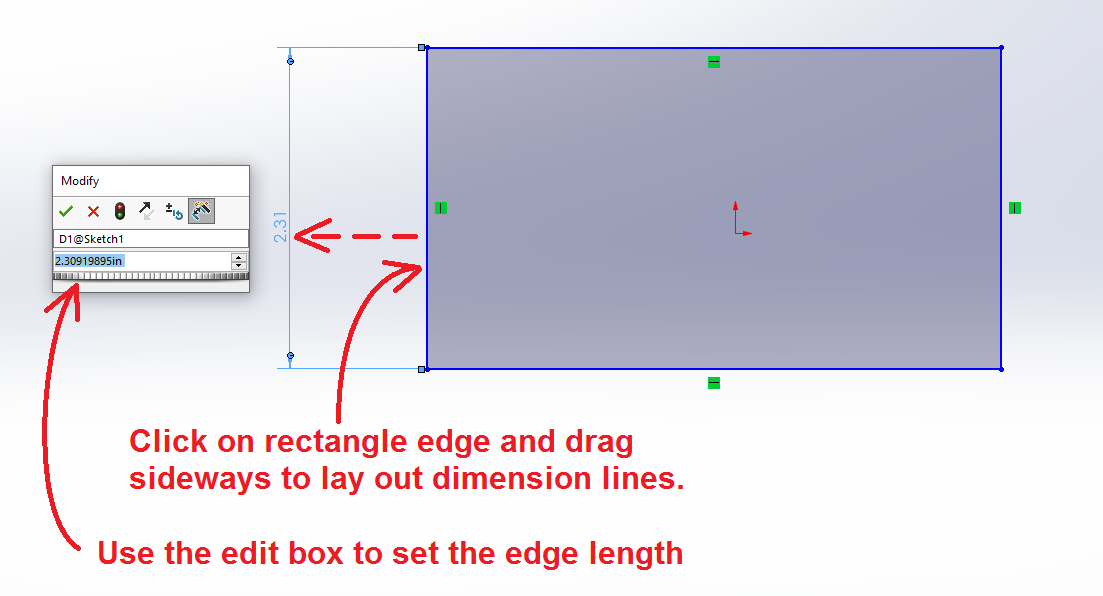
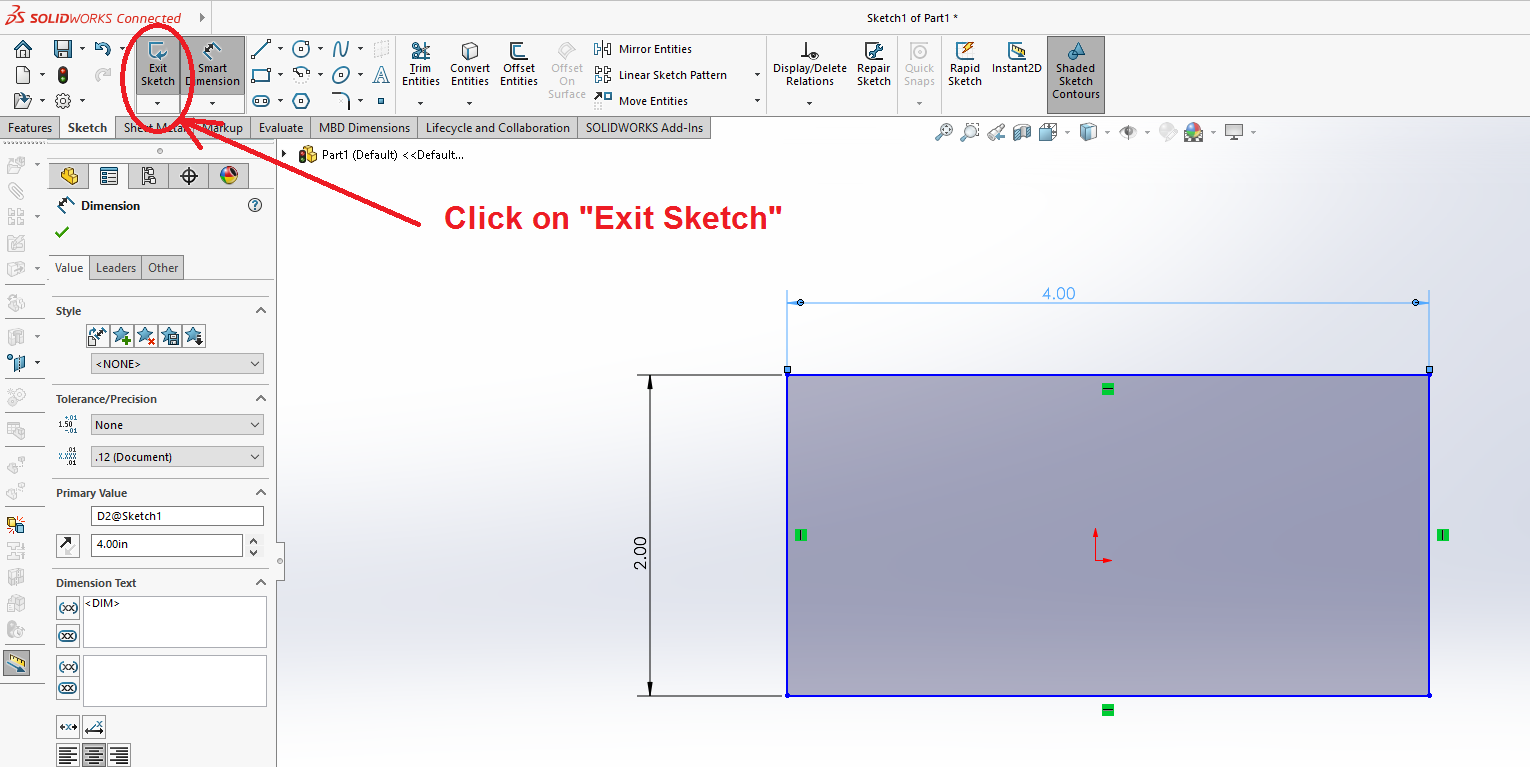
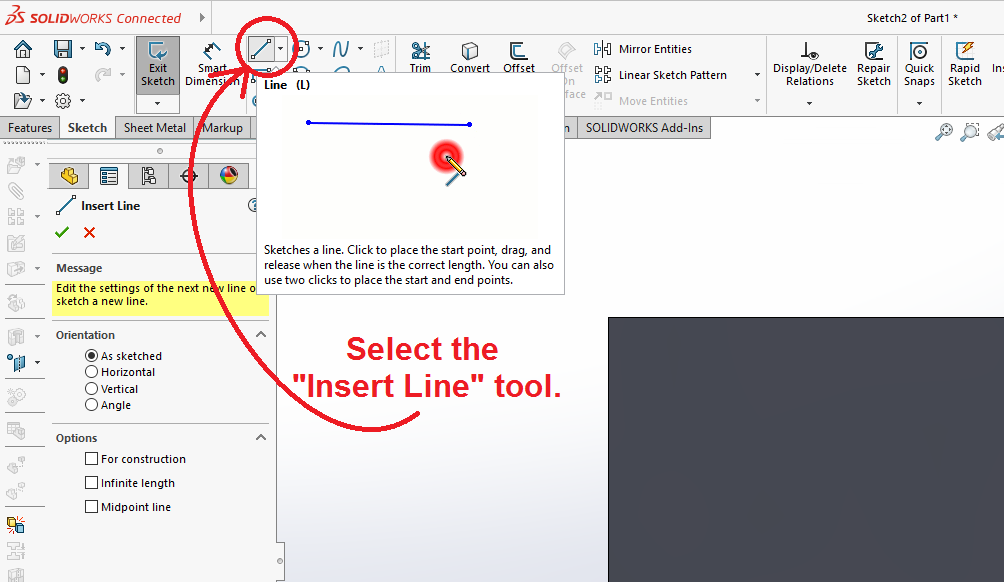
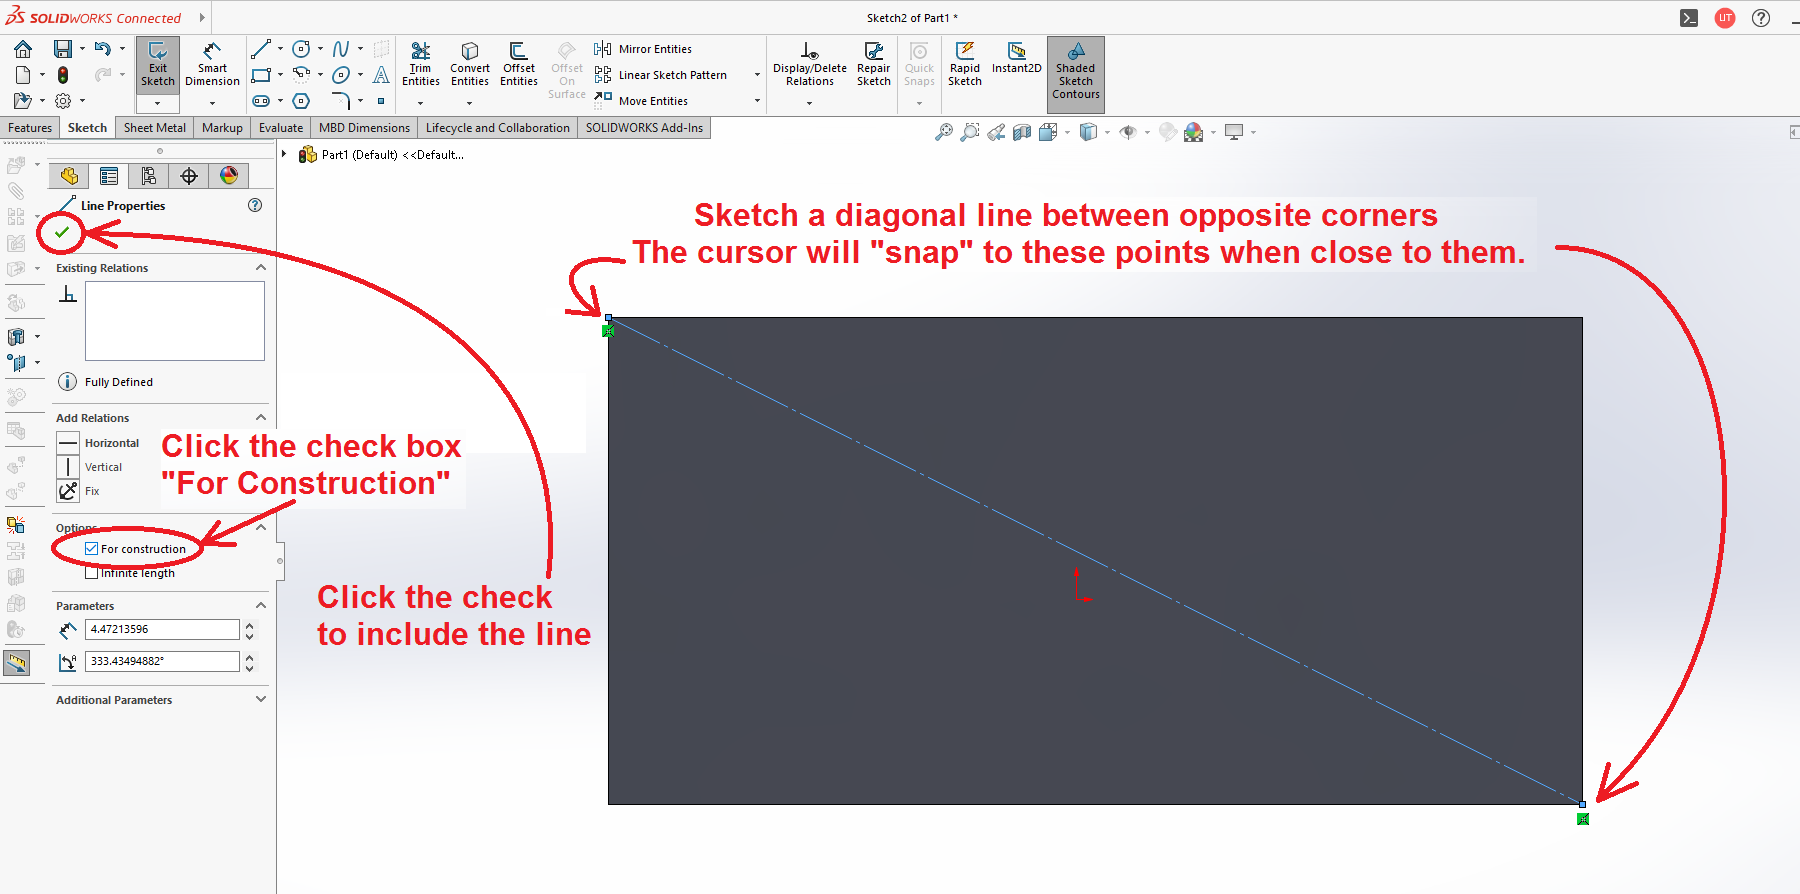
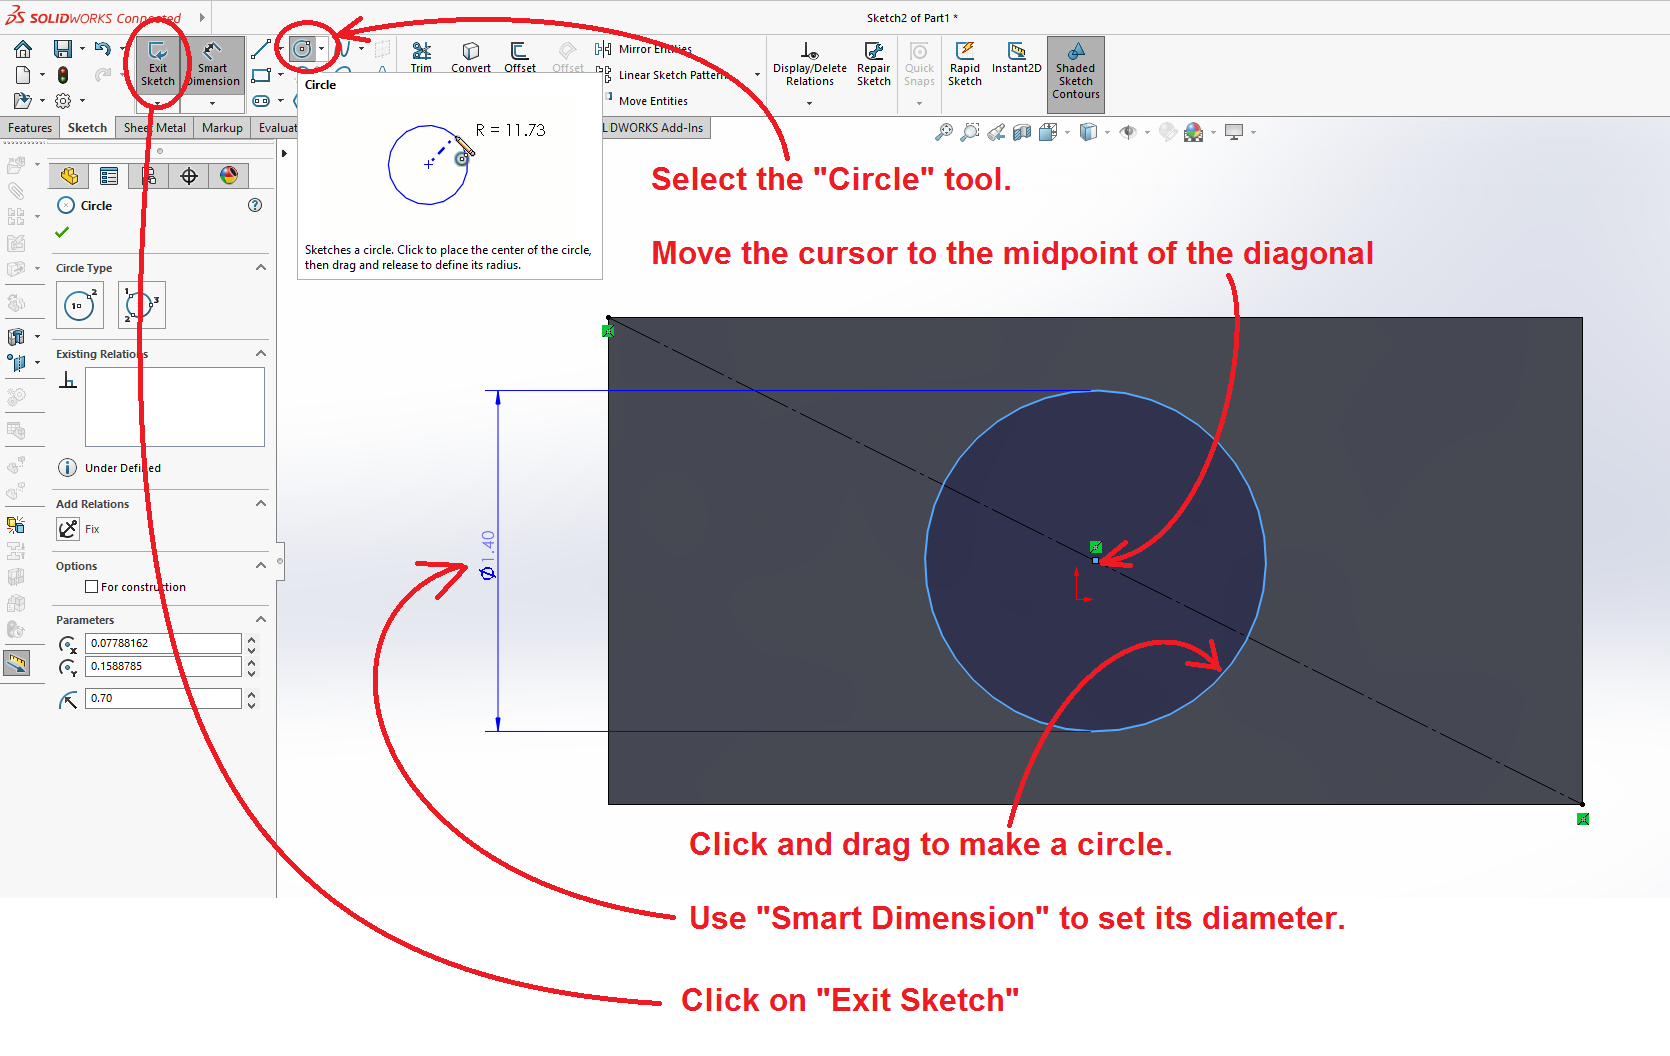
The "Sketch" tab will automatically open and the program will go into a 2-D viewing mode. Various sketching tools are available. In this tutorial we will cover two of them.
