Brackets Tutorial 5: Advanced Cardboard Aided Design: Difference between revisions
From Artisans Asylum Wiki
| Line 9: | Line 9: | ||
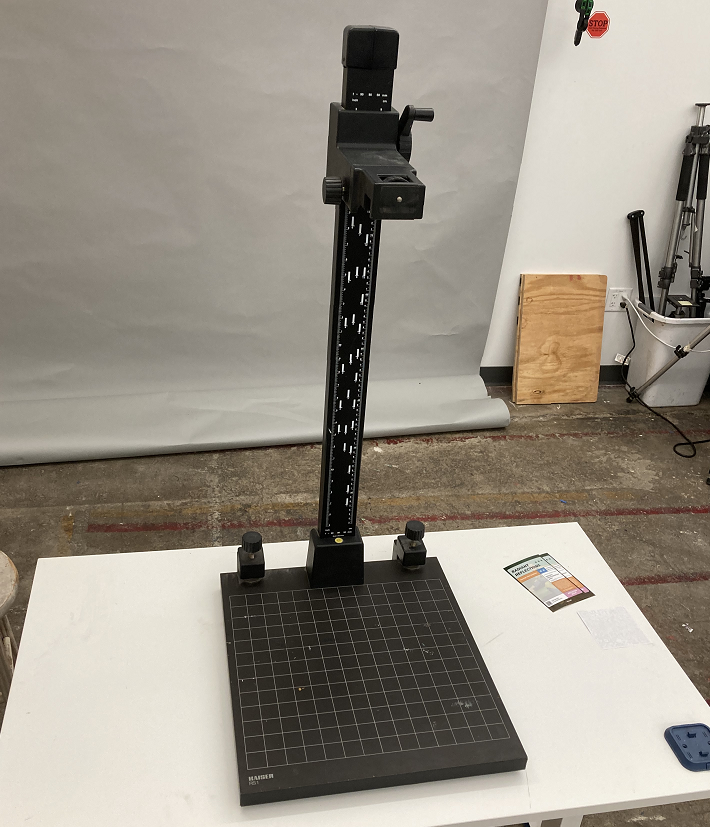
=Camera Stand= | =Camera Stand= | ||
[[File:Tut5_re-rev-eng_camera_stand.png| | [[File:Tut5_re-rev-eng_camera_stand.png|250px|photo stand]] | ||
[[File:SW_gear_icon_tiny.png|6px|thin strip]] | [[File:SW_gear_icon_tiny.png|6px|thin strip]] | ||
[[File:SW_gear_icon_tiny.png|6px|thin strip]] | [[File:SW_gear_icon_tiny.png|6px|thin strip]] | ||
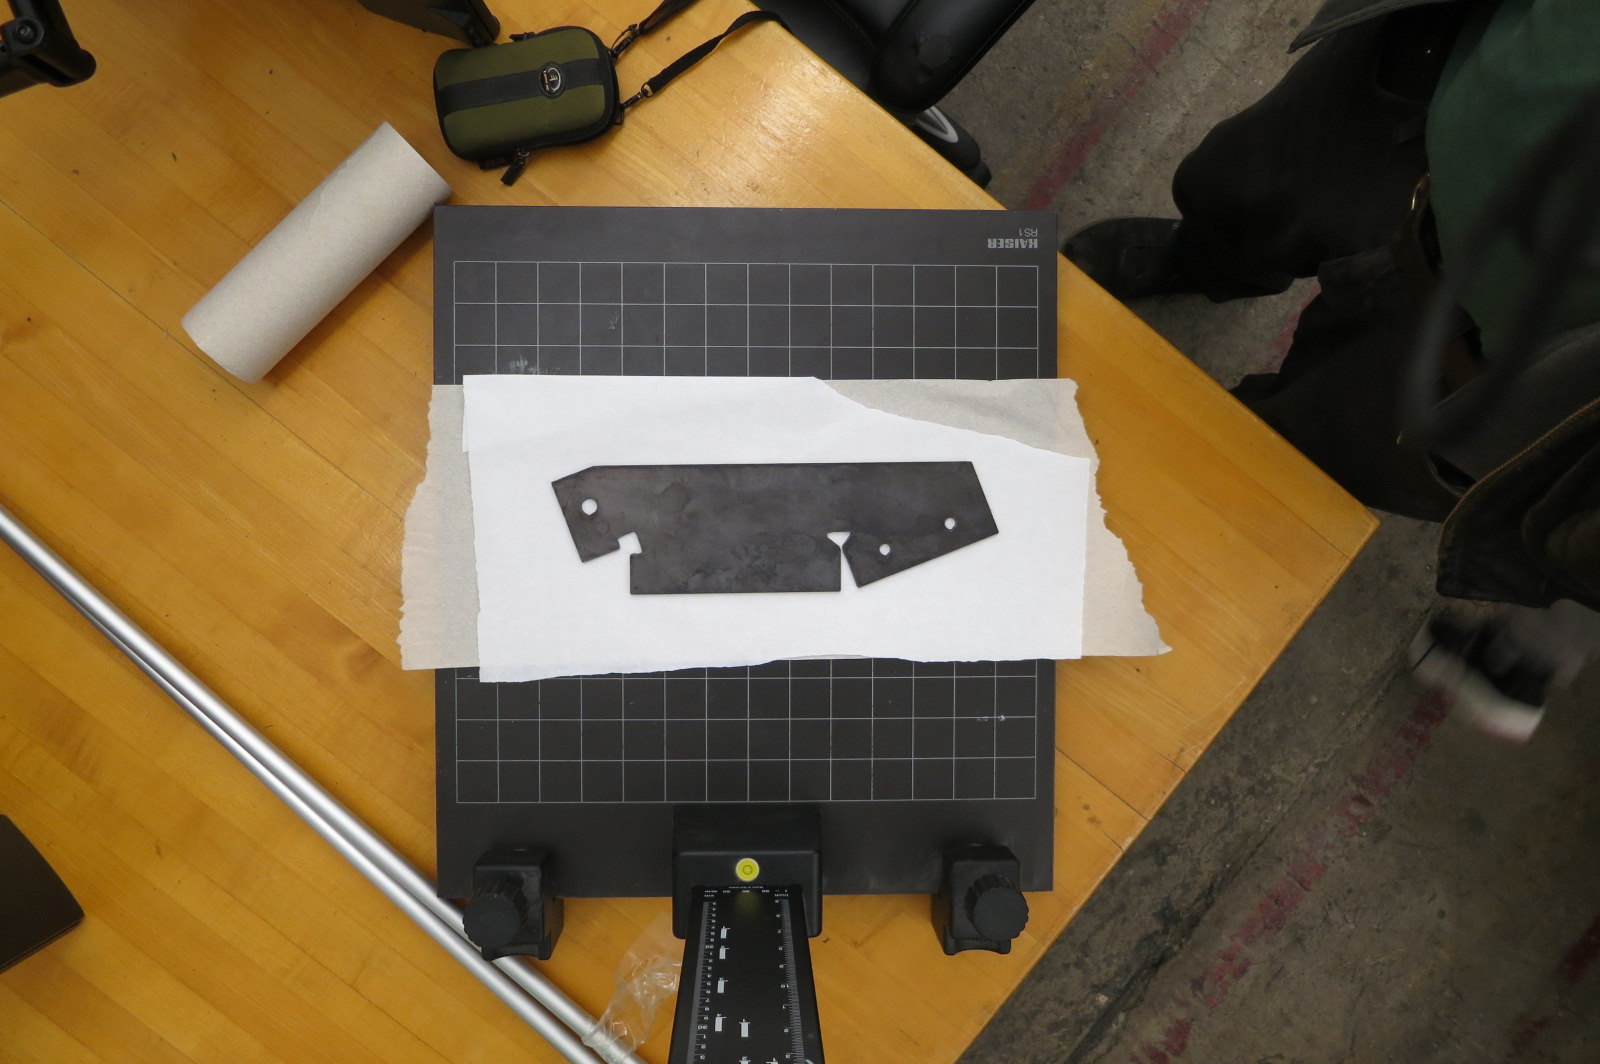
[[File:Tut5_re-rev-eng_part_photo.jpg| | [[File:Tut5_re-rev-eng_part_photo.jpg|500px|flat piece photo]] | ||
Revision as of 13:47, 2 December 2024
Link to: Bracketage Main Page
Introduction
This tutorial covers a photographic technique for gathering data from an existing part. As an example, we use one of the sheet-metal blanks from Tutorial 2b. Digital photography straddles the digital and analog domains. We will show how to gain the best precision from using the software tools to convert a photo into a CNC program.

