Brackets Tutorial 5: Advanced Cardboard Aided Design: Difference between revisions
No edit summary |
|||
| Line 29: | Line 29: | ||
[[File:Tut5_re-rev-eng_bracket_pic_blowup_histogram_labeled.png|360px|blowup histo]] | [[File:Tut5_re-rev-eng_bracket_pic_blowup_histogram_labeled.png|360px|blowup histo]] | ||
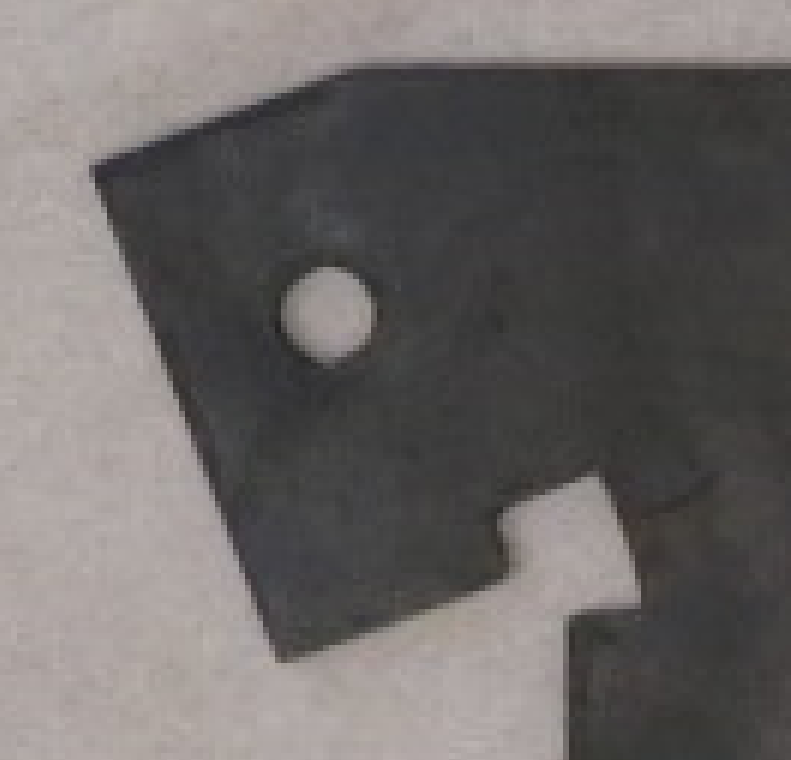
On another occasion the same piece was photographed with the same camera in lower light, and using a grayish paper towel as a background instead of a piece of white paper. A detail of the resulting image is shown below, with the corresponding histogram. | |||
[[File:Tut5_re-rev-eng_bracket_pic_bad_contrast.png|350px|bad blowup in color]] | [[File:Tut5_re-rev-eng_bracket_pic_bad_contrast.png|350px|bad blowup in color]] | ||
Revision as of 15:46, 2 December 2024
Link to: Bracketage Main Page
Introduction
This tutorial covers a photographic technique for gathering data from an existing part. As an example, we use one of the sheet-metal blanks from Tutorial 2b. Digital photography straddles the digital and analog domains. We will show how to gain the best precision from using the software tools to convert a photo into a CNC program.
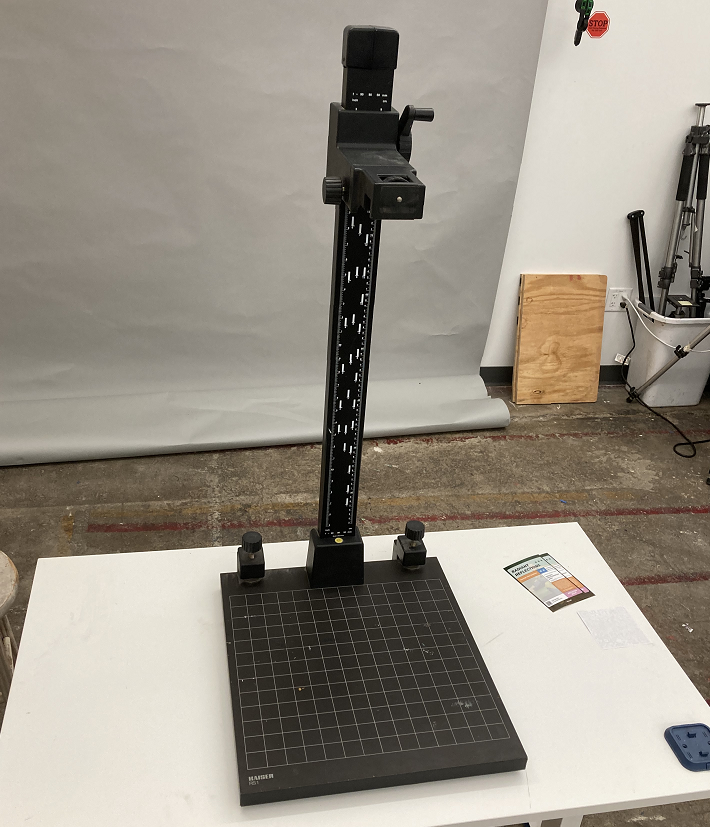
Camera Stand
A good quality camera stand (Kaiser RS-1) can be found in the Photo/Design shop at Artisans Asylum. With the camera mount moved all of the way to the top, the field of view with an ordinary camera is about 40 inches (1 meter) wide and about 1/2 that in height.
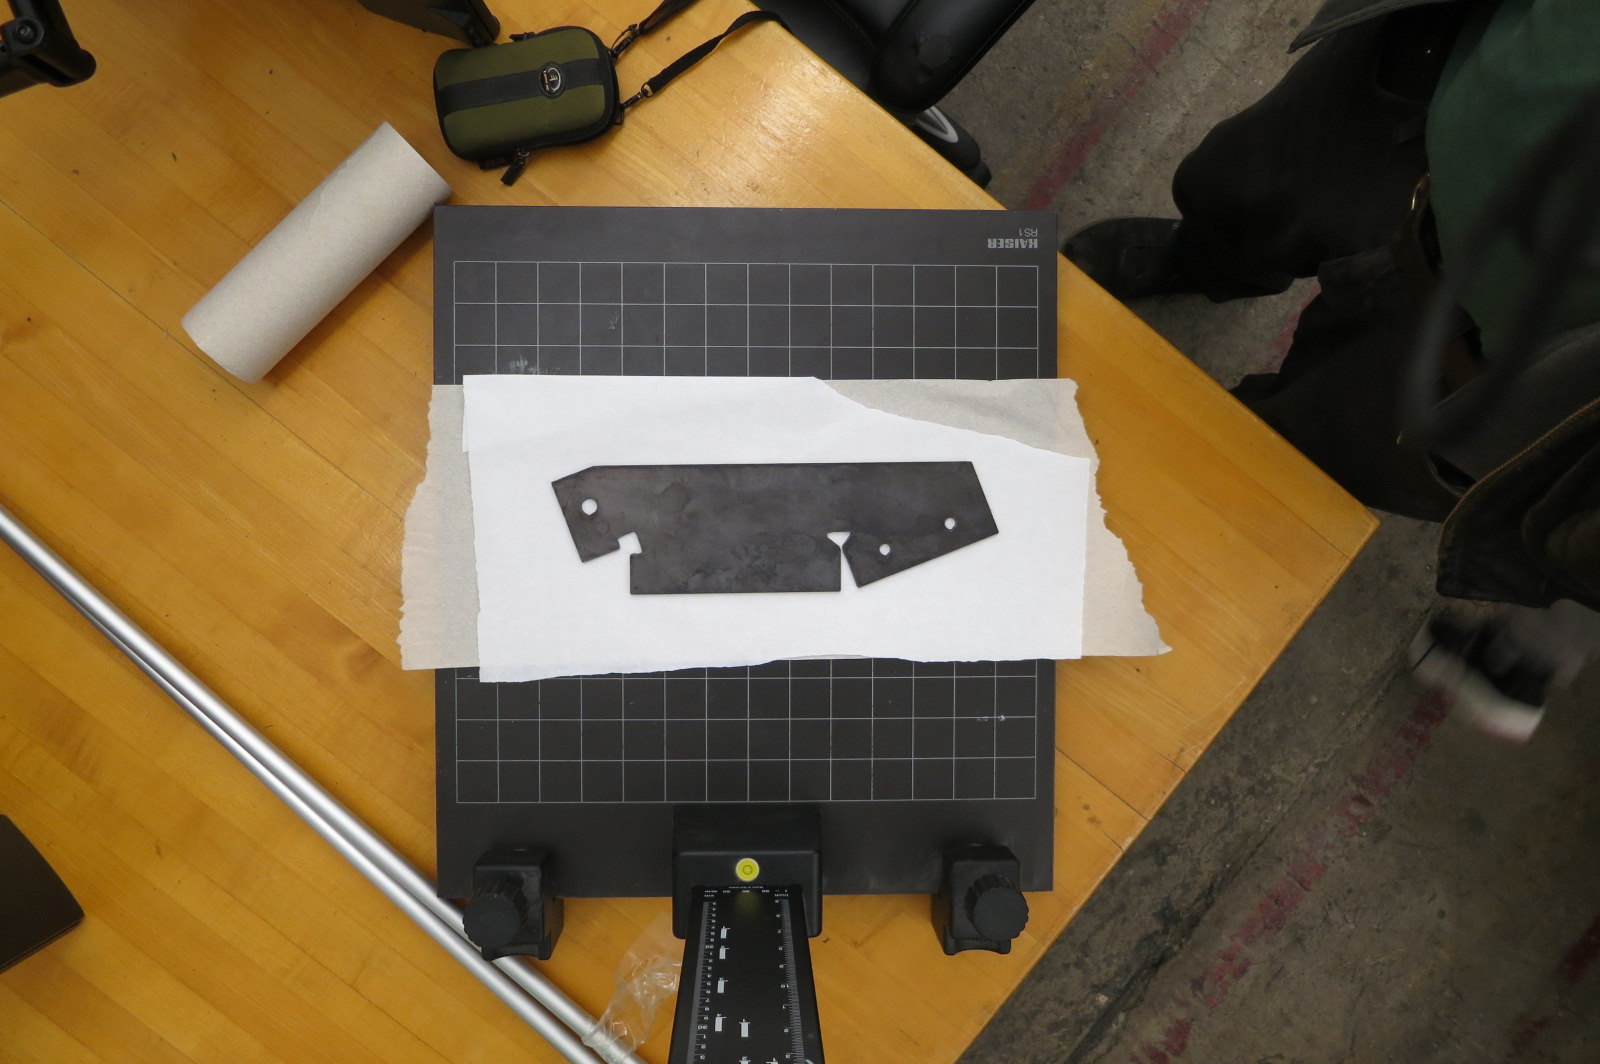
A dark, unfinished steel bracket blank has been placed on a white paper background and photographed with an undistinguished digital camera. The resolution of the image is 35.3 dpi, or 0.72 mm per pixel. This calculation can be done in a variety of ways. The most immediately available is in the "Paint" application that comes with Windows. This application tells you the pixel location of the cursor, so the width of the grid in the photo (in pixels) can be compared with its known size. The grid squares are 30 mm in size, and the field is 14 squares wide (420 mm).
Image Analysis
As in the previous tutorial, we will use "Paint" to convert the image into a high-contrast black-and-white bitmap image. Let us examine in detail what happens to the image when we do this.
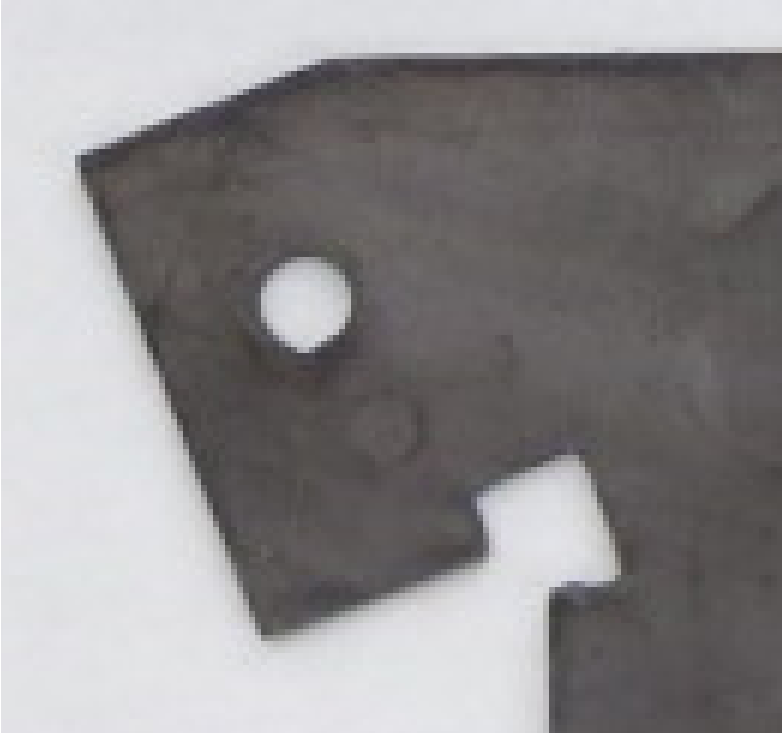
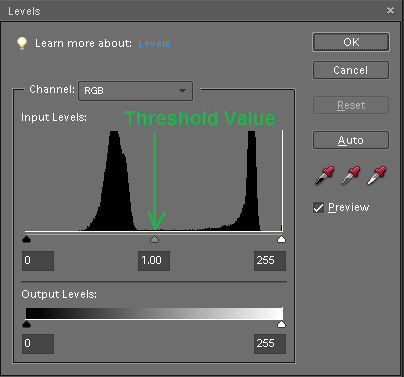
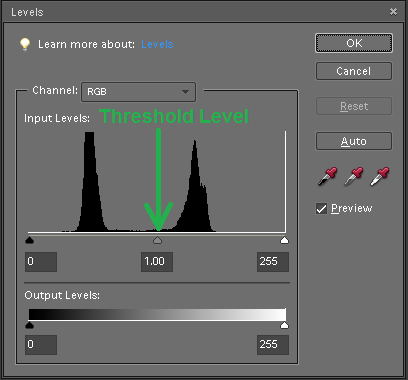
A detail of the image shown above is displayed below, left. Next to it there is a histogram of the pixel values in the image, captured using Adobe Photoshop.
On another occasion the same piece was photographed with the same camera in lower light, and using a grayish paper towel as a background instead of a piece of white paper. A detail of the resulting image is shown below, with the corresponding histogram.
