Buffing Machine: Difference between revisions
No edit summary |
No edit summary |
||
| Line 51: | Line 51: | ||
'''4. To avoid injury from flying objects / debris,''' feed work into the lower front quarter of the buffing wheel,where the wheel’s rotation sends debris away from the user. | '''4. To avoid injury from flying objects / debris,''' feed work into the lower front quarter of the buffing wheel,where the wheel’s rotation sends debris away from the user. | ||
{| class="infobox" cellspacing="5" style="width: 22em; text-align: left; font-size: 100%; line-height: 1.5em;" | {| class="infobox" cellspacing="5" style="width: 22em; text-align: left; font-size: 100%; line-height: 1.5em;" | ||
! colspan="2" class="infobox-image" | [[File:Metal_Shop_buffing_machine_dust_cover.png| | ! colspan="2" class="infobox-image" | [[File:Metal_Shop_buffing_machine_dust_cover.png|200px|dust cover]] | ||
|- | |- | ||
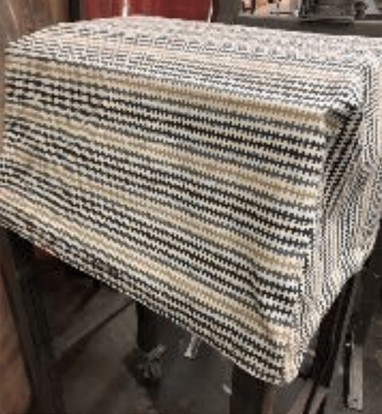
| colspan="2" | Buffing Machine dust cover with front and back marked. | | colspan="2" | Buffing Machine dust cover with front and back marked. | ||
| Line 63: | Line 59: | ||
|} | |} | ||
'''5. Excessive workpiece pressure''' may slow down the action of the Buffing Wheel and/ or cause uneven marks on the workpiece. Let the tool do the work. | |||
'''6. When finished,''' remove workpiece and flip the Power Switch to “OFF.” | |||
'''7. Replace dust cover''' to prevent the shop’s metal dust from settling on the Buffing Wheels. The cover’s front and back are labeled with Sharpies. | '''7. Replace dust cover''' to prevent the shop’s metal dust from settling on the Buffing Wheels. The cover’s front and back are labeled with Sharpies. | ||
{{EyeWarning}} | {{EyeWarning}} | ||
Revision as of 17:15, 8 February 2024
| Buffing Machine | |
|---|---|
| General Info | |
| Make | |
| Model | |
| Serial | Unknown |
| Specs | |
| Manual | |
| Asylum Info | |
| Location | Metal Shop |
| Rubric | |
| Training | Tool classes |
| Testing | Tool testing, or [[:Category:Metal Shop#Tool Testing
Night|come to the shop on Tool Testing Night]] |
| Restrictions | green |
Use for:
- Buffing / Polishing Metal
Do Not Use for:
- Do not attach cutting wheels, wire wheels, or other unintended accessories on this buffer.
Hazard Analysis
- Prevent drawn-in injuries. No gloves. No loose clothing or jewelry.Tie long hair back.
- Flying debris / metal pieces if workpiece slips and/or breaks. Eye protection required.
- Cuts/ scrapes from sharp edges of work, or from tool misuse.
Basic Operation Instructions and Best Practices
1. Perform a quick safety check:
- Are the buffing wheels secure?
- Is the work area free of debris or other obstructions?
- Avoid unintentional starts. If the unit is unplugged, flip the power switch is to “OFF” prior to plugging in.
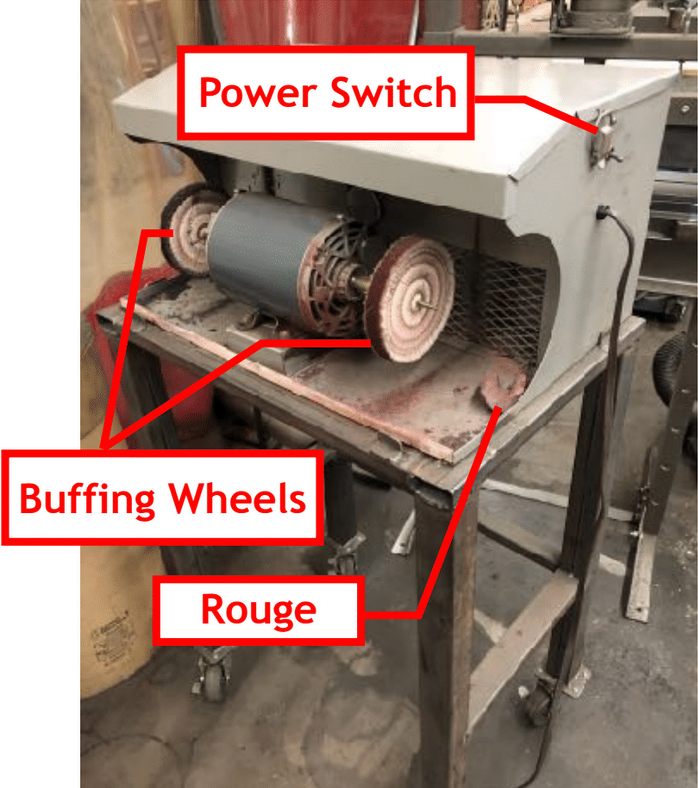
2. Only use buffing wheels suitable for buffing. Buffing wheels available have been supplied by other shop users. Feel free to use your own buffing wheels.
3. Buffing Compound (Rouge) may be applied to buffing wheels.
4. To avoid injury from flying objects / debris, feed work into the lower front quarter of the buffing wheel,where the wheel’s rotation sends debris away from the user.

| |
|---|---|
| Buffing Machine dust cover with front and back marked. |
5. Excessive workpiece pressure may slow down the action of the Buffing Wheel and/ or cause uneven marks on the workpiece. Let the tool do the work.
6. When finished, remove workpiece and flip the Power Switch to “OFF.”
7. Replace dust cover to prevent the shop’s metal dust from settling on the Buffing Wheels. The cover’s front and back are labeled with Sharpies.
| Eye protection required! | ||
|---|---|---|
