Brackets Tutorial 4: Basic Cardboard Aided Design
Link to: Bracketage Main Page
Introduction
Some people may find it easier to make a cardboard prototype of a sheet metal part rather than designing it in CAD. This tutorial shows how to convert a cardboard prototype into an image file and upload it to the CNC plasma cutter.
Prototyping
If you don't have the time or the inclination to use a CAD system or a 3D printer, you can perform what we call "Rapid Prototyping" using drafting tools and paints.
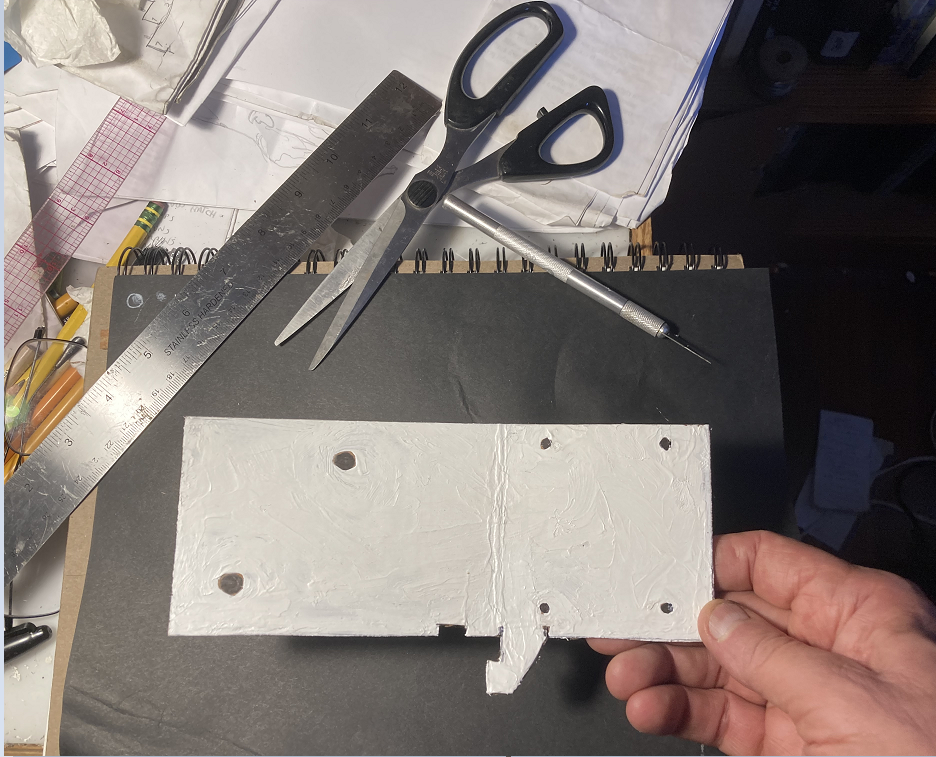
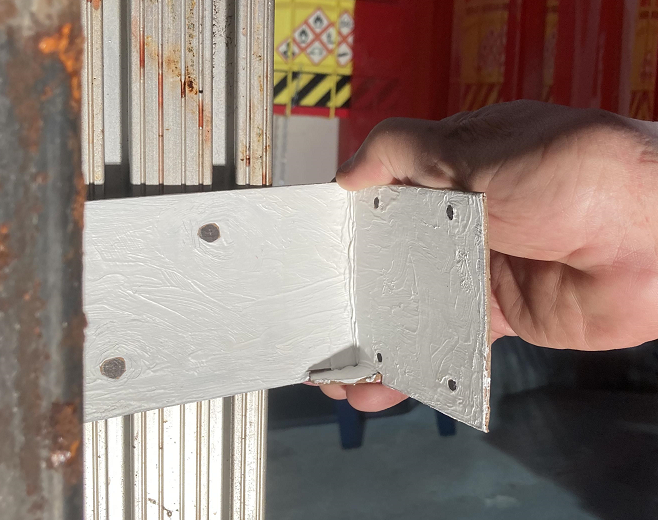
Cut a cardboard prototype as shown at actual size. Make sure it is colored either bright white or deep black to ease the scanning step. Note the dangling feature along the bottom edge, which is folded to make an angle brace.
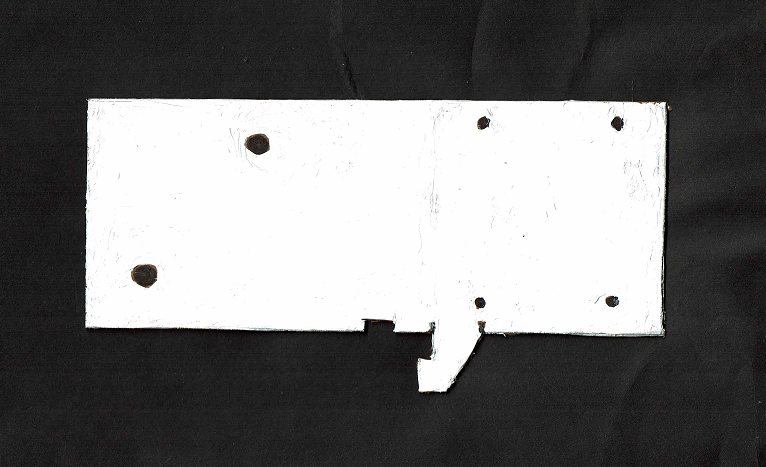
Holes are defined by drawing spots of the contrasting color.
Scan the Prototype
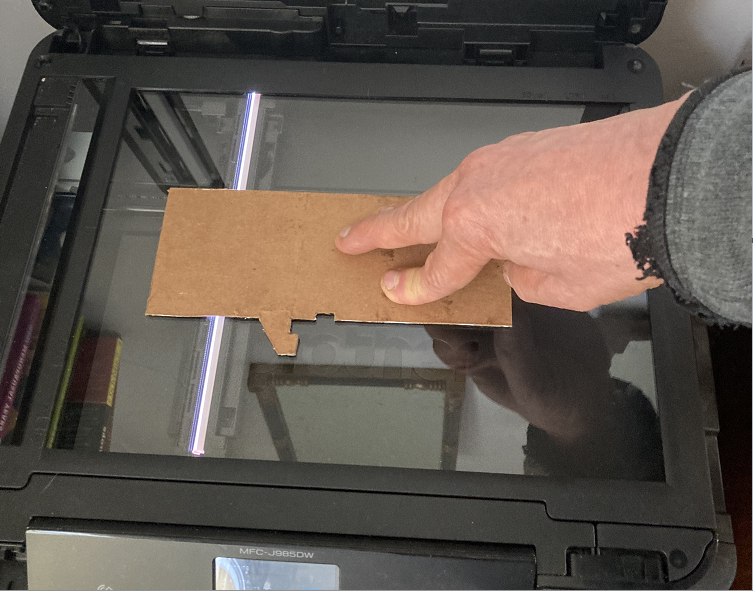
If the prototype is 8-1/2" x 11" or smaller, you can scan it on a regular flatbed scanner. This is particularly convenient because it preserves the original scale of the part.
If the prototype is larger than the bed of the scanner, you will need to scan it in sections and paste them together using a graphics utility such as Photoshop or Paint.


