Category:Powder Coating Facility
Link to: Metal Shop main page
Link to: Metal Shop tool list
| Powder Coating | |
|---|---|
| General Info | |
| Make | |
| Model | |
| Serial | Unknown |
| Specs | |
| Manual | Manual for the Eastwood Dual-Voltage Applicator |
| Asylum Info | |
| Location | Metal Shop |
| Rubric | |
| Training | Tool Classes |
| Testing | Tool Testing and Training Combined |
| Restrictions | RED |
 |
Eye and lung protection required! | |
|---|---|---|
Description
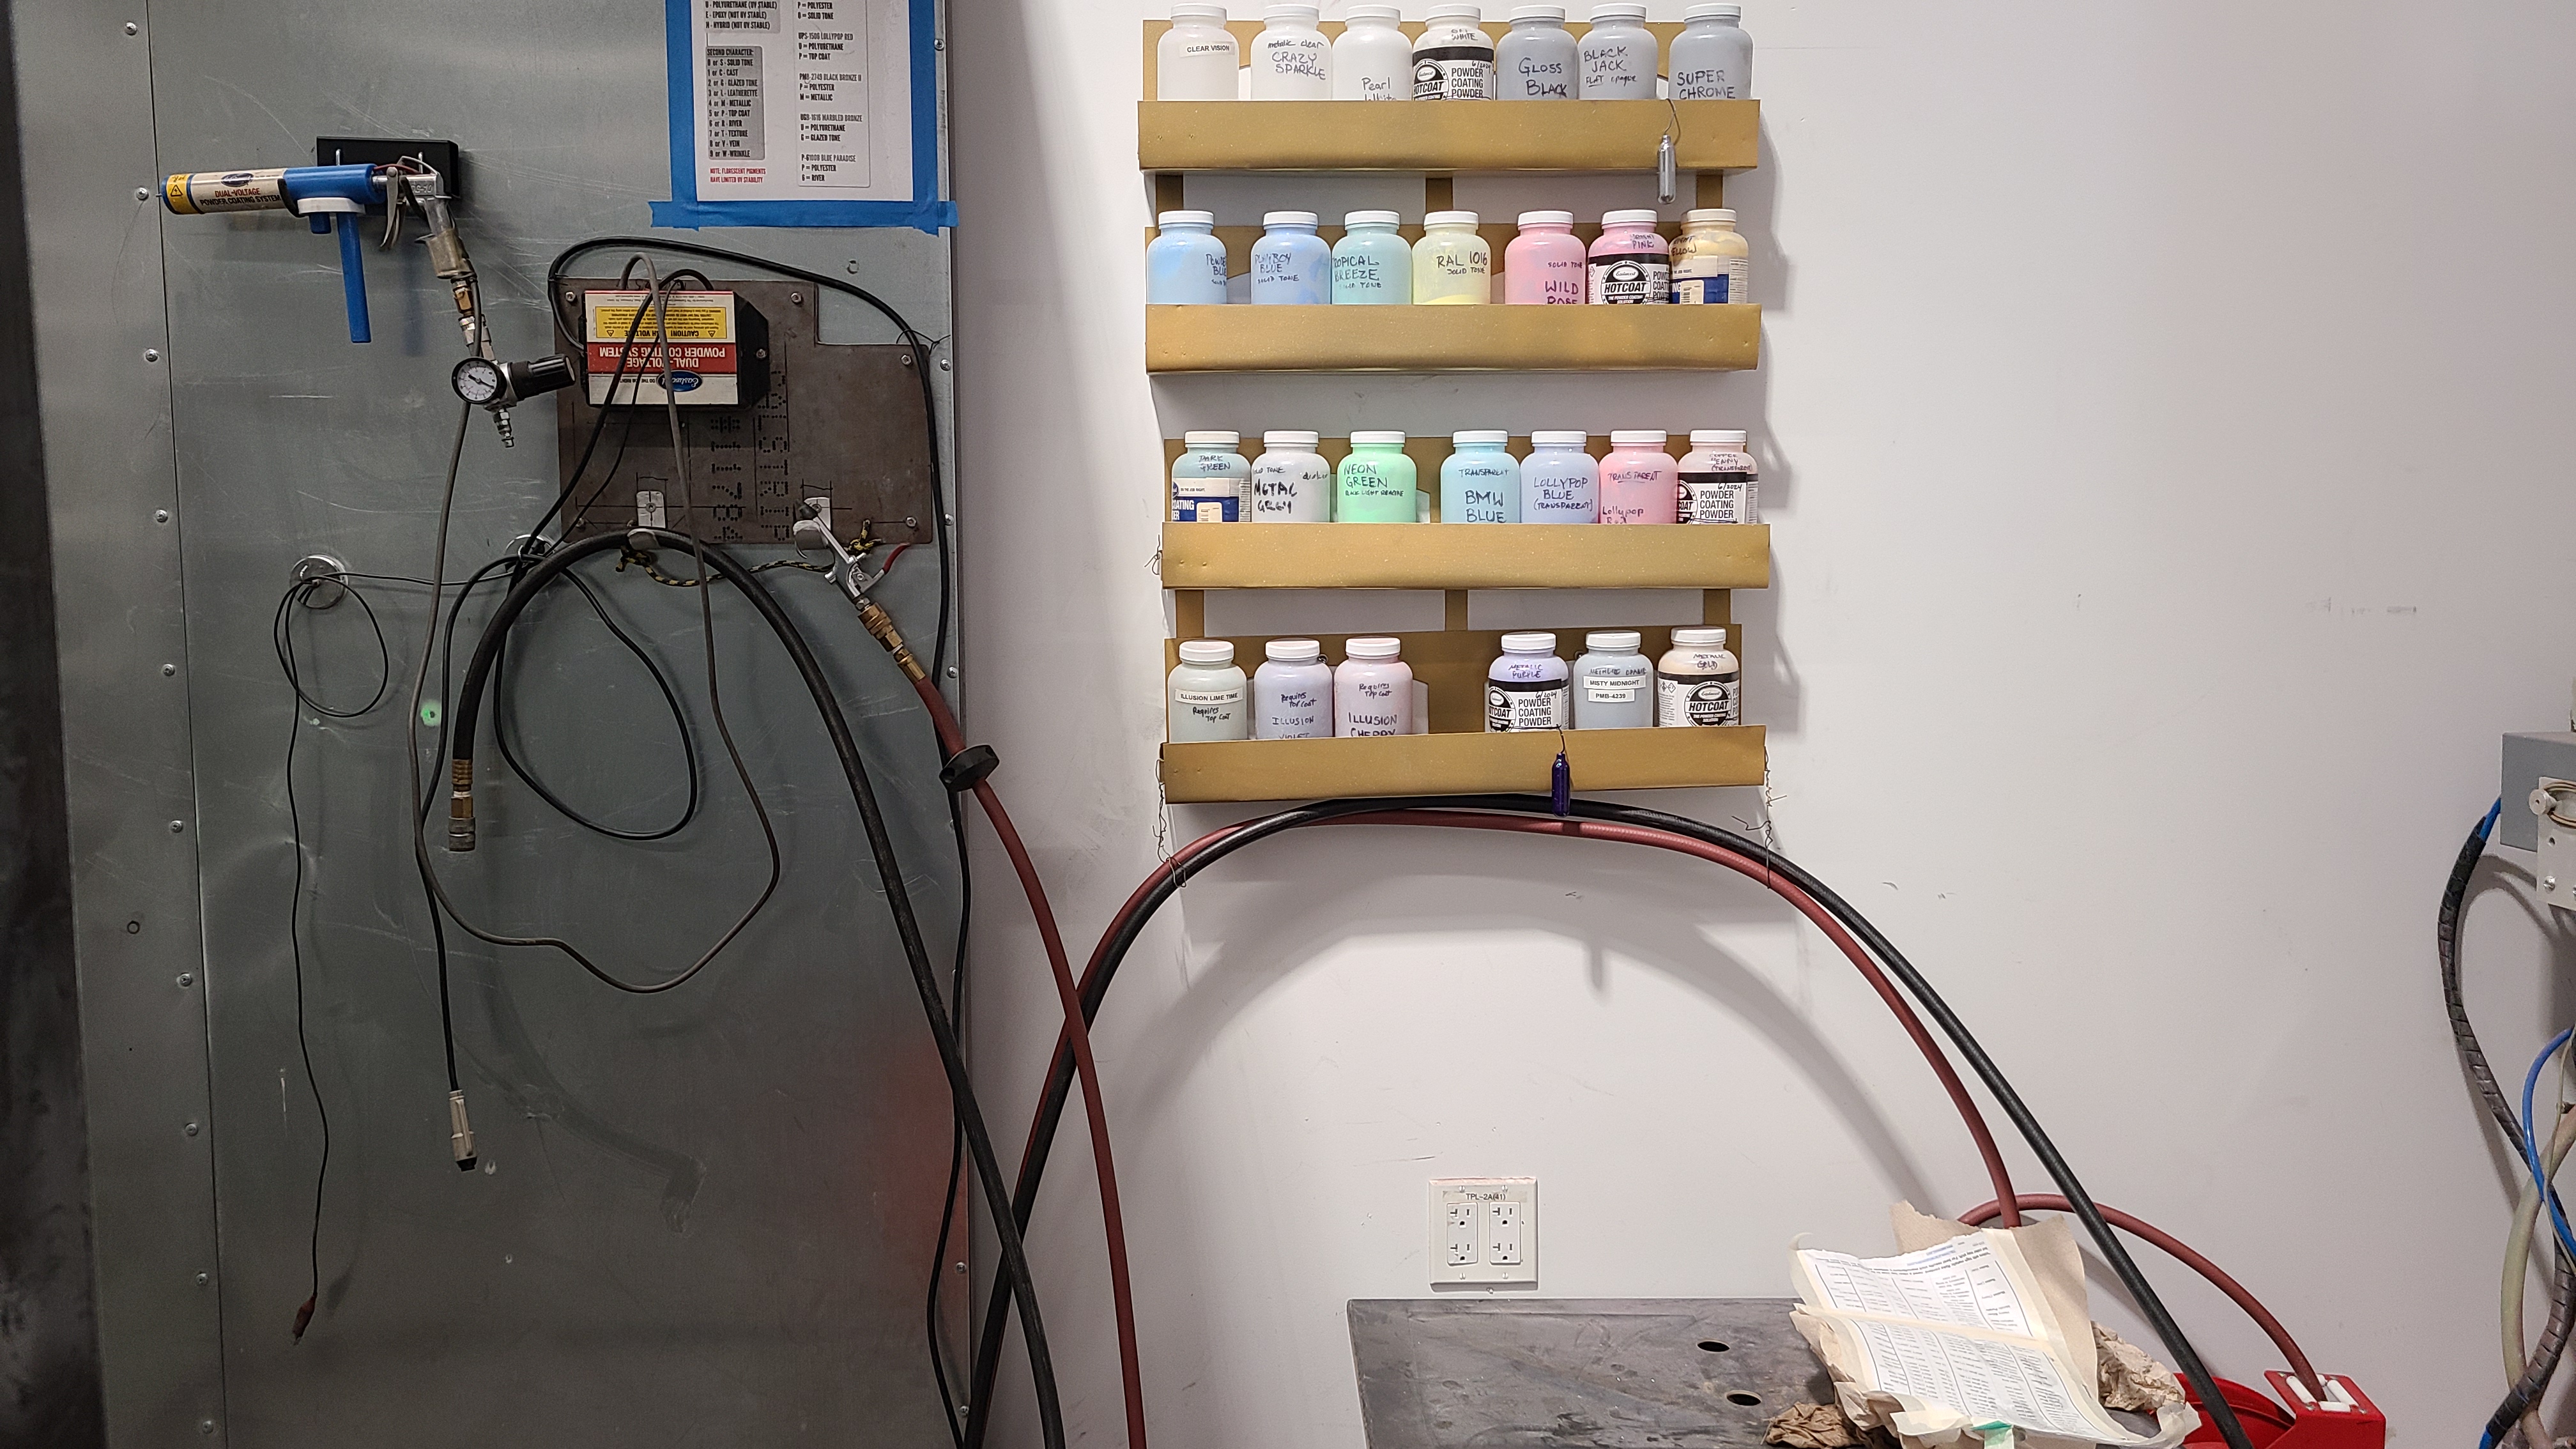
The powder coating room is on the south wall of the metal shop, between the sand-blasting room and the CNC plasma cutter. You can coat anything from small pieces to bicycle frames here. There's a rolling rack that can be used to move large pieces from the 8'x8'x8' spray booth to the 4'x4'x8' box oven; smaller pieces are cured in a smaller oven. Two guns are available, and many jars of coatings are available for member use. The spray booth is vented into the room after filtering the airflow.
Powder coats are dry, powdered coatings that are applied to a grounded workpiece with a pneumatic gun that has a high-voltage electrode. As the powder shoots out of the gun and passes by the electrode, it becomes electrically charged. The grounded workpiece attracts the charged particles of powder. The workpieces are then carefully moved to an electric oven, and then baked at a high temperature to heat cure and fuse the coating.
Films made by powder coating are up to ten times more durable than those made with liquid paint. The coatings are fused polyester, polyurethane, or resin, with some including significant metal content. Most resist chemicals and salt exceptionally well, though some require a clear top coat to resist corrosion of embedded metal flakes. When applied with appropriate safety measures, powder coating is safer for the environment and for users than spray paint and far more resilient to chipping or flaking. For example, powder coating with chrome is the industry standard, safer alternative to chrome electro-plating. However, there are significant respiratory risks from the coatings in powder form and also from organic fumes that outgas during heat curing. Proper tool training and testing is required to use this equipment at Asylum.
Use For
- Clean metal parts
- Weldments
- Brazed parts
- Forgings
- Castings
- Sheet metal
- Steel, Stainless, Galvanized, Aluminum, Titanium, etc. workpieces
- Advanced Techniques include hot-flocking glass, ceramic, and other heat resilient non-conductive materials
Do Not Use For
- Dirty, rusty, or flaky metal parts
- Parts that can't tolerate heating to 400°F (200°C)
Safety Notes
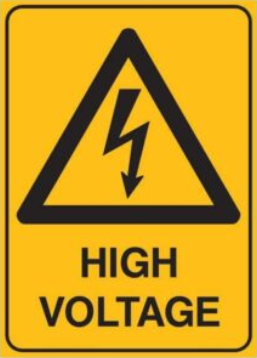
- Danger of electric shock. Don't touch the gun electrode while the activation button is pressed.
- Don't touch grounded workpieces or racks when operating the coating gun.
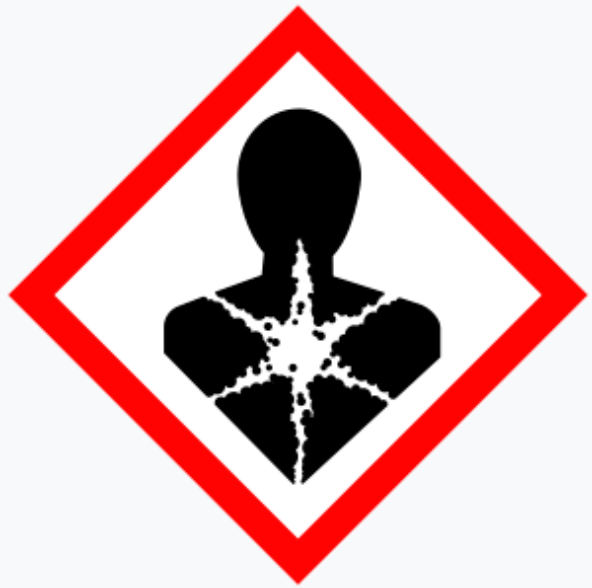
- There is A SEVERE RESPIRATORY RISK from breathing powdered pigments. Wear a respirator or N-95 or better dust mask.
- Wear goggles. Eyeglasses are not goggles, and will not protect eyes from fine, airborne powder.
- Wear heat-resistant gloves when handling hot parts and oven racks.
- Keep the pressure set to below 10 PSI. Higher pressure will destroy the applicator. 5 -7 PSI is recommended.
- Always run the fan on the spray booth when operating the coating equipment.
- Always stand in the spray booth with the fan on, when working with loose powder such as when changing colors on the applicator, or refilling bottles.
- Sweep up any powder spills or overspray promptly, to avoid tracking powder. Dispose of powder in trash (do not reuse swept powder).
- Airborne powders may combust from a spark. No open flames in the powder coating facilities.
- The room will overheat if the oven is operated for a long time. Take breaks outside of the powder coating room to avoid heatstroke.
- Avoid trip hazards. Keep floor clear of cruft and debris; mind cables and hoses.
- Never use the ovens in the shop for heating food. Never cure powders in an oven that will be used for food. Cure only in a dedicated electric oven, never in a gas oven or open flame.
Tools
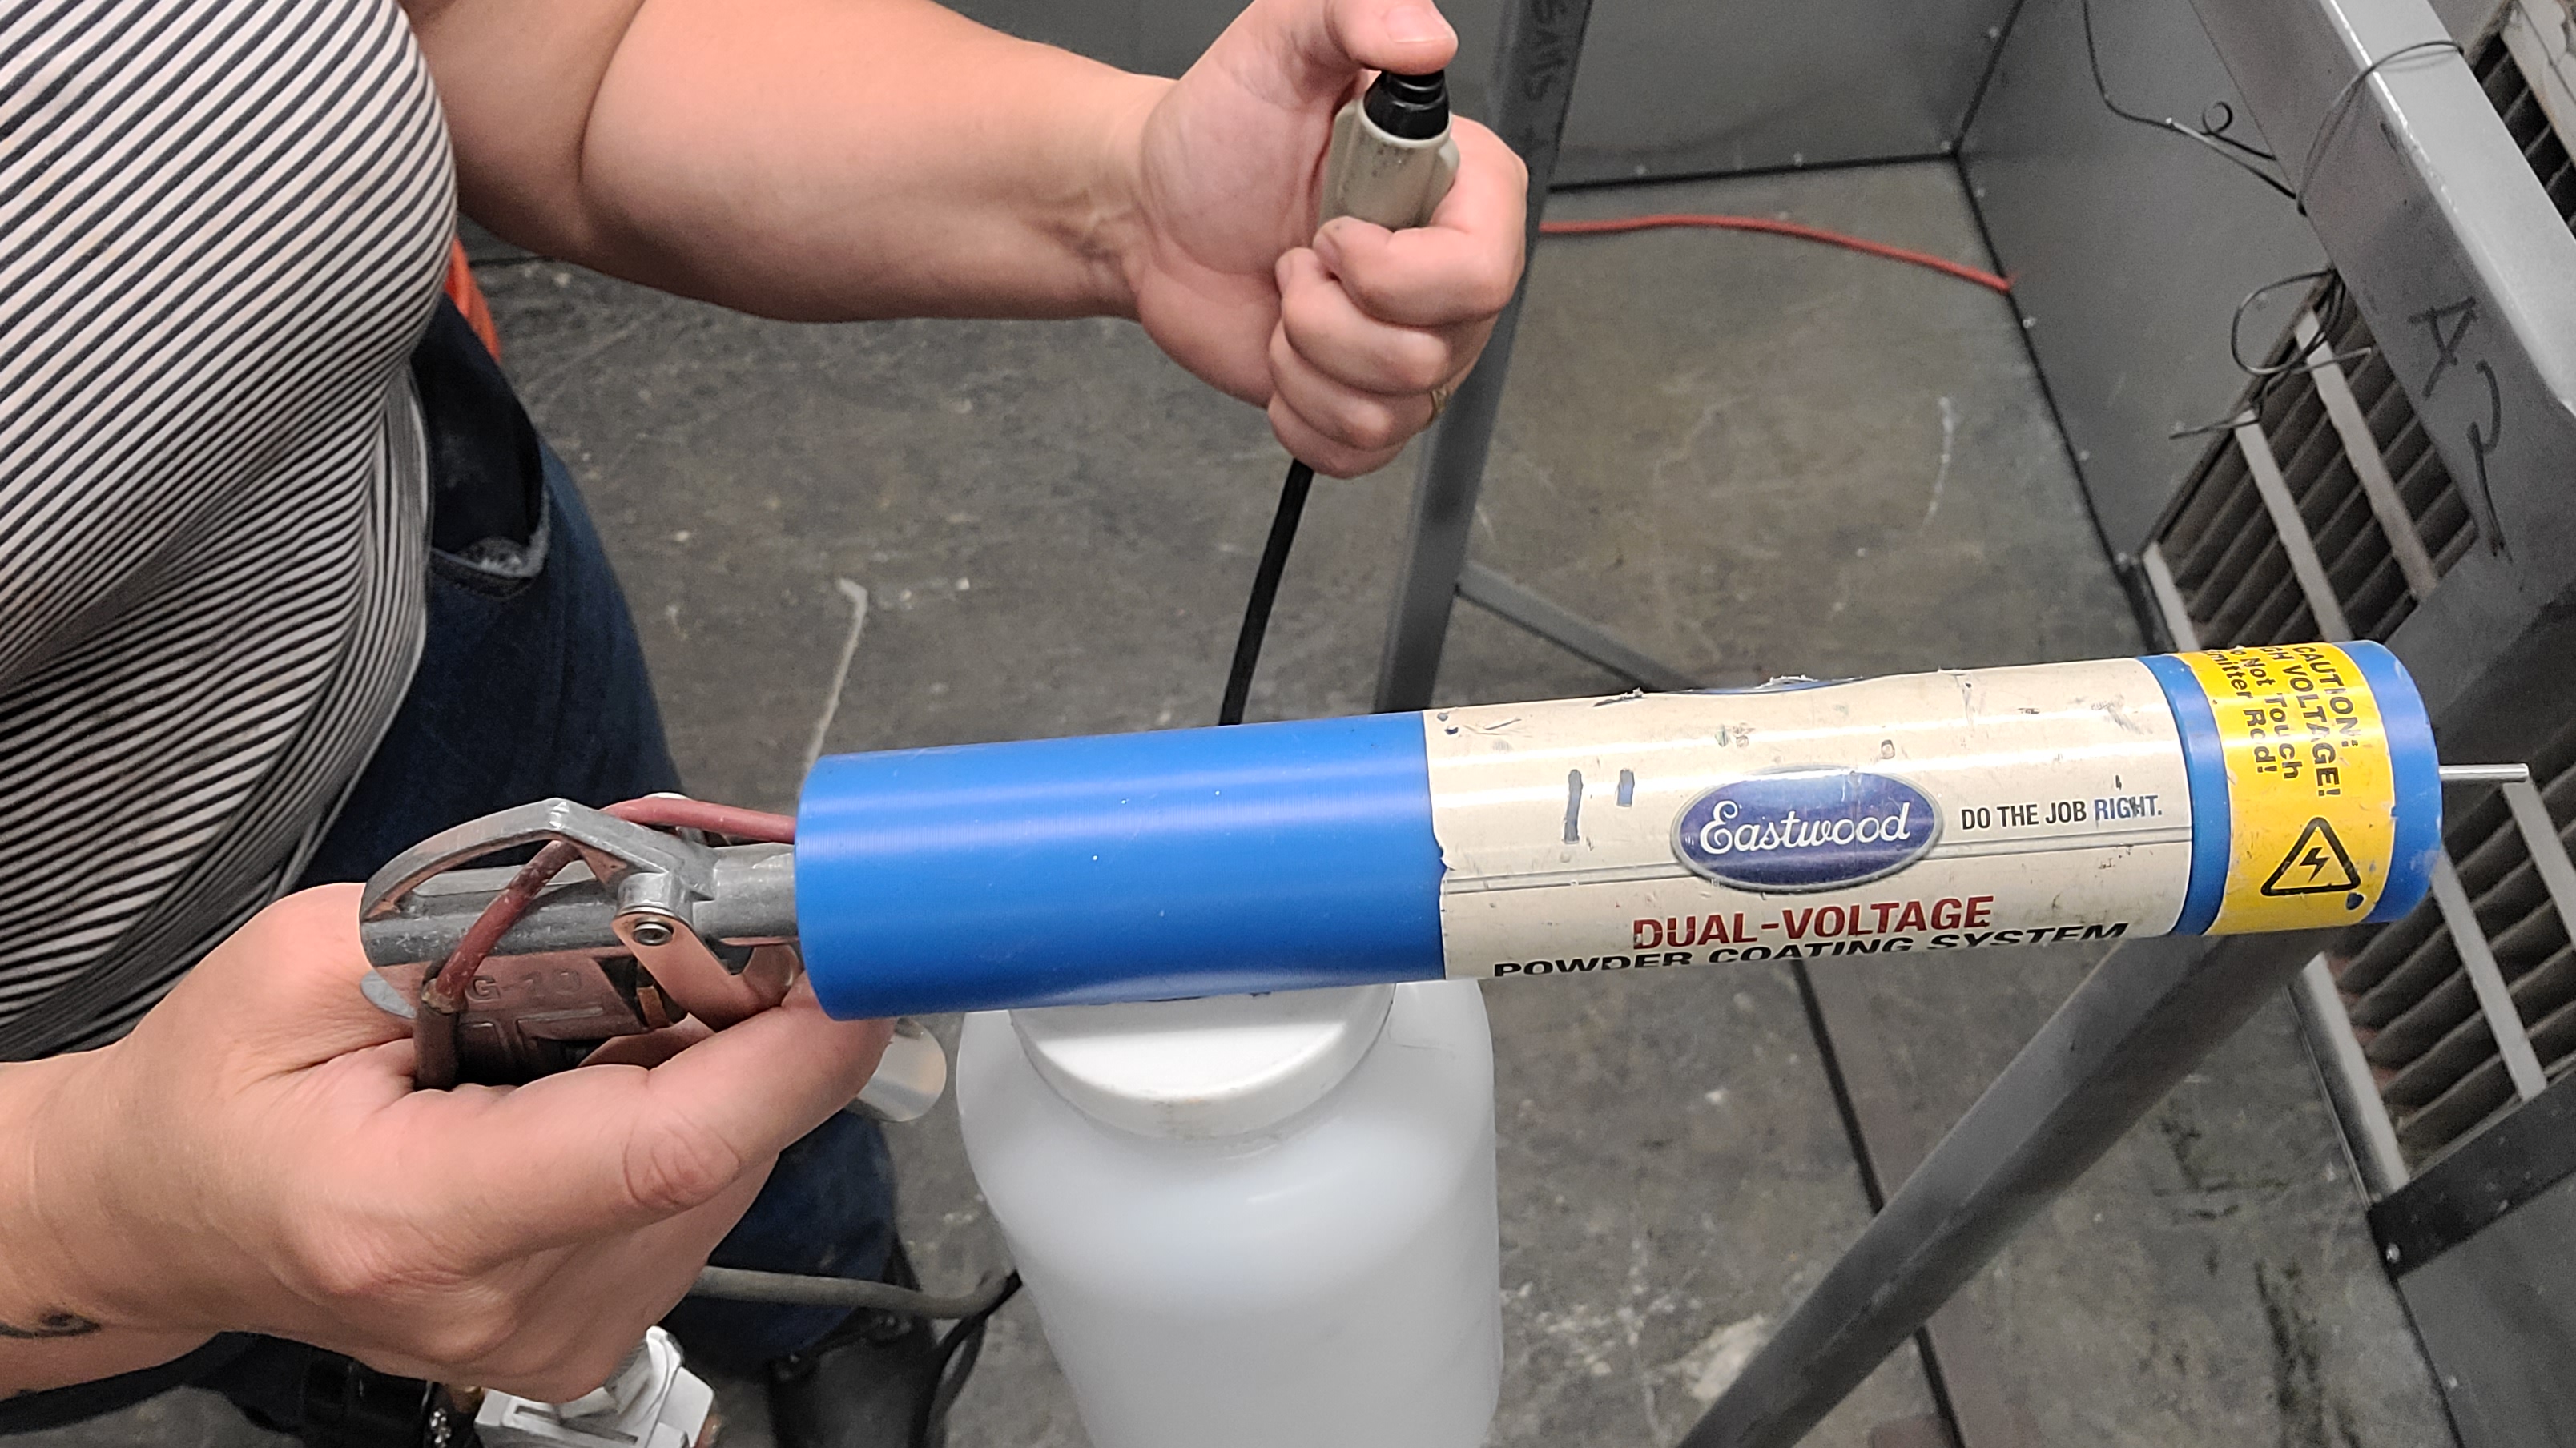
| Spray Booth | Eastwood Dual-Voltage Gun | Box Oven |
|---|---|---|
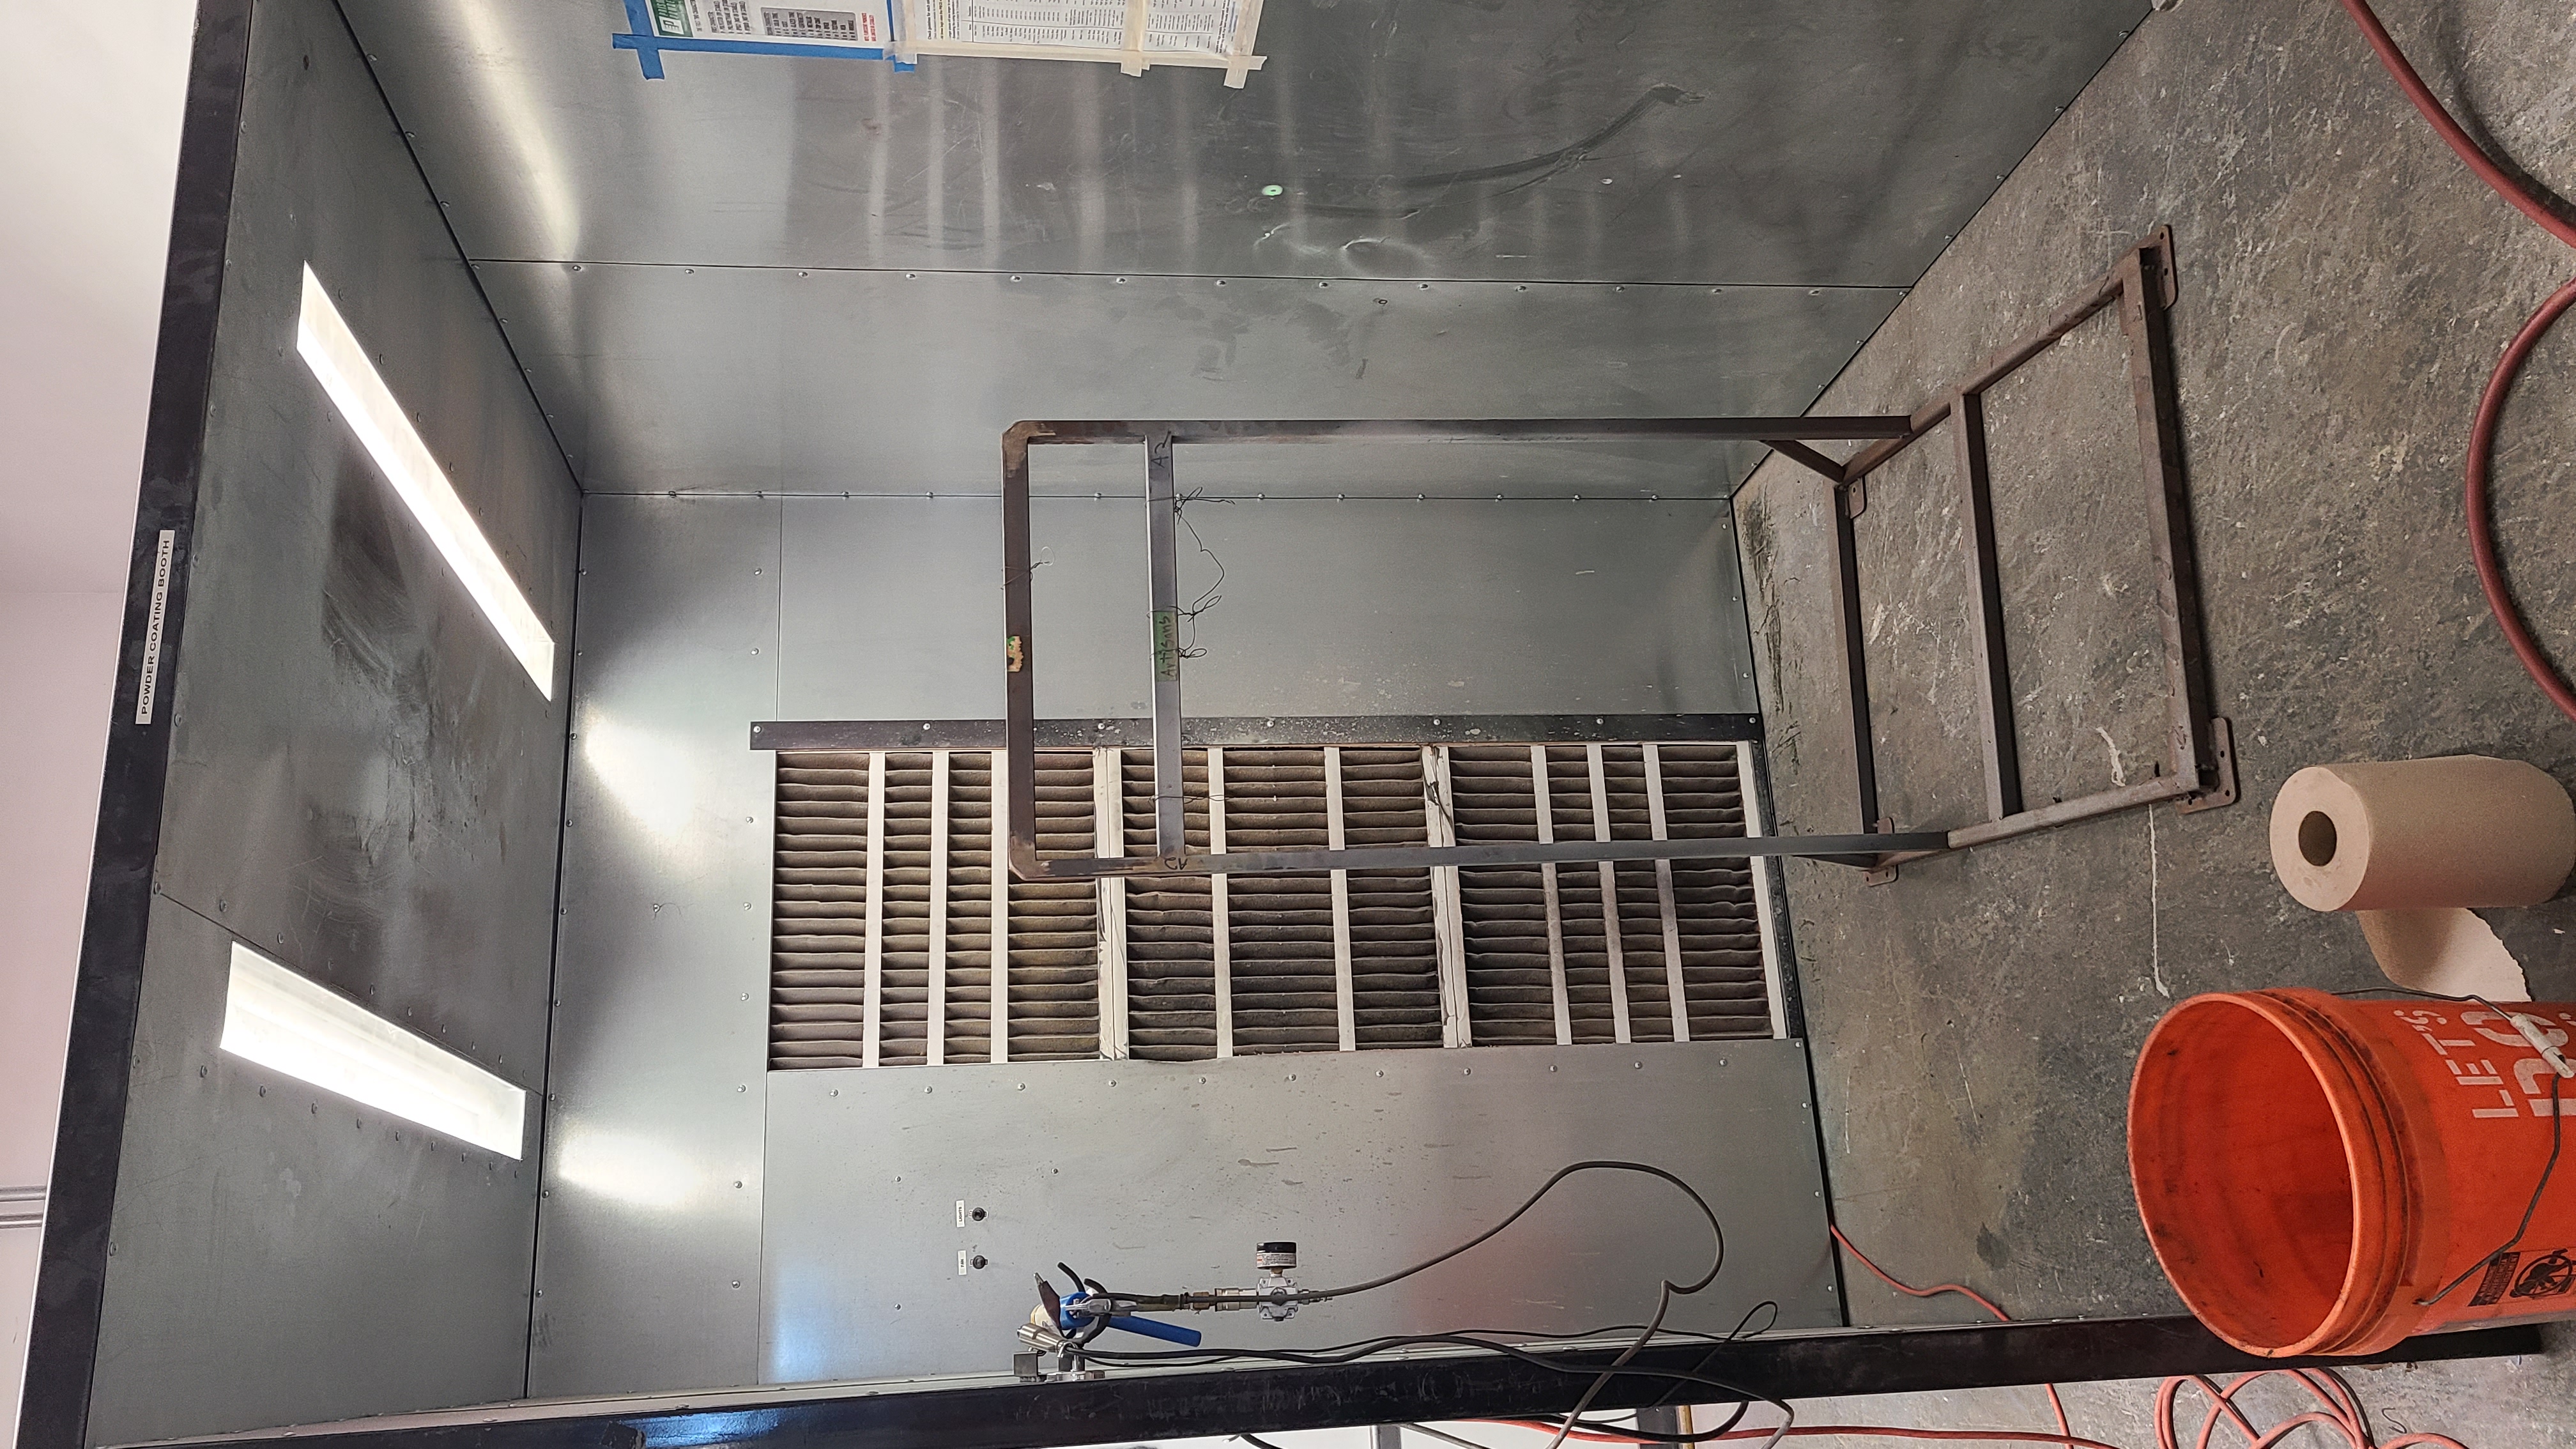 |
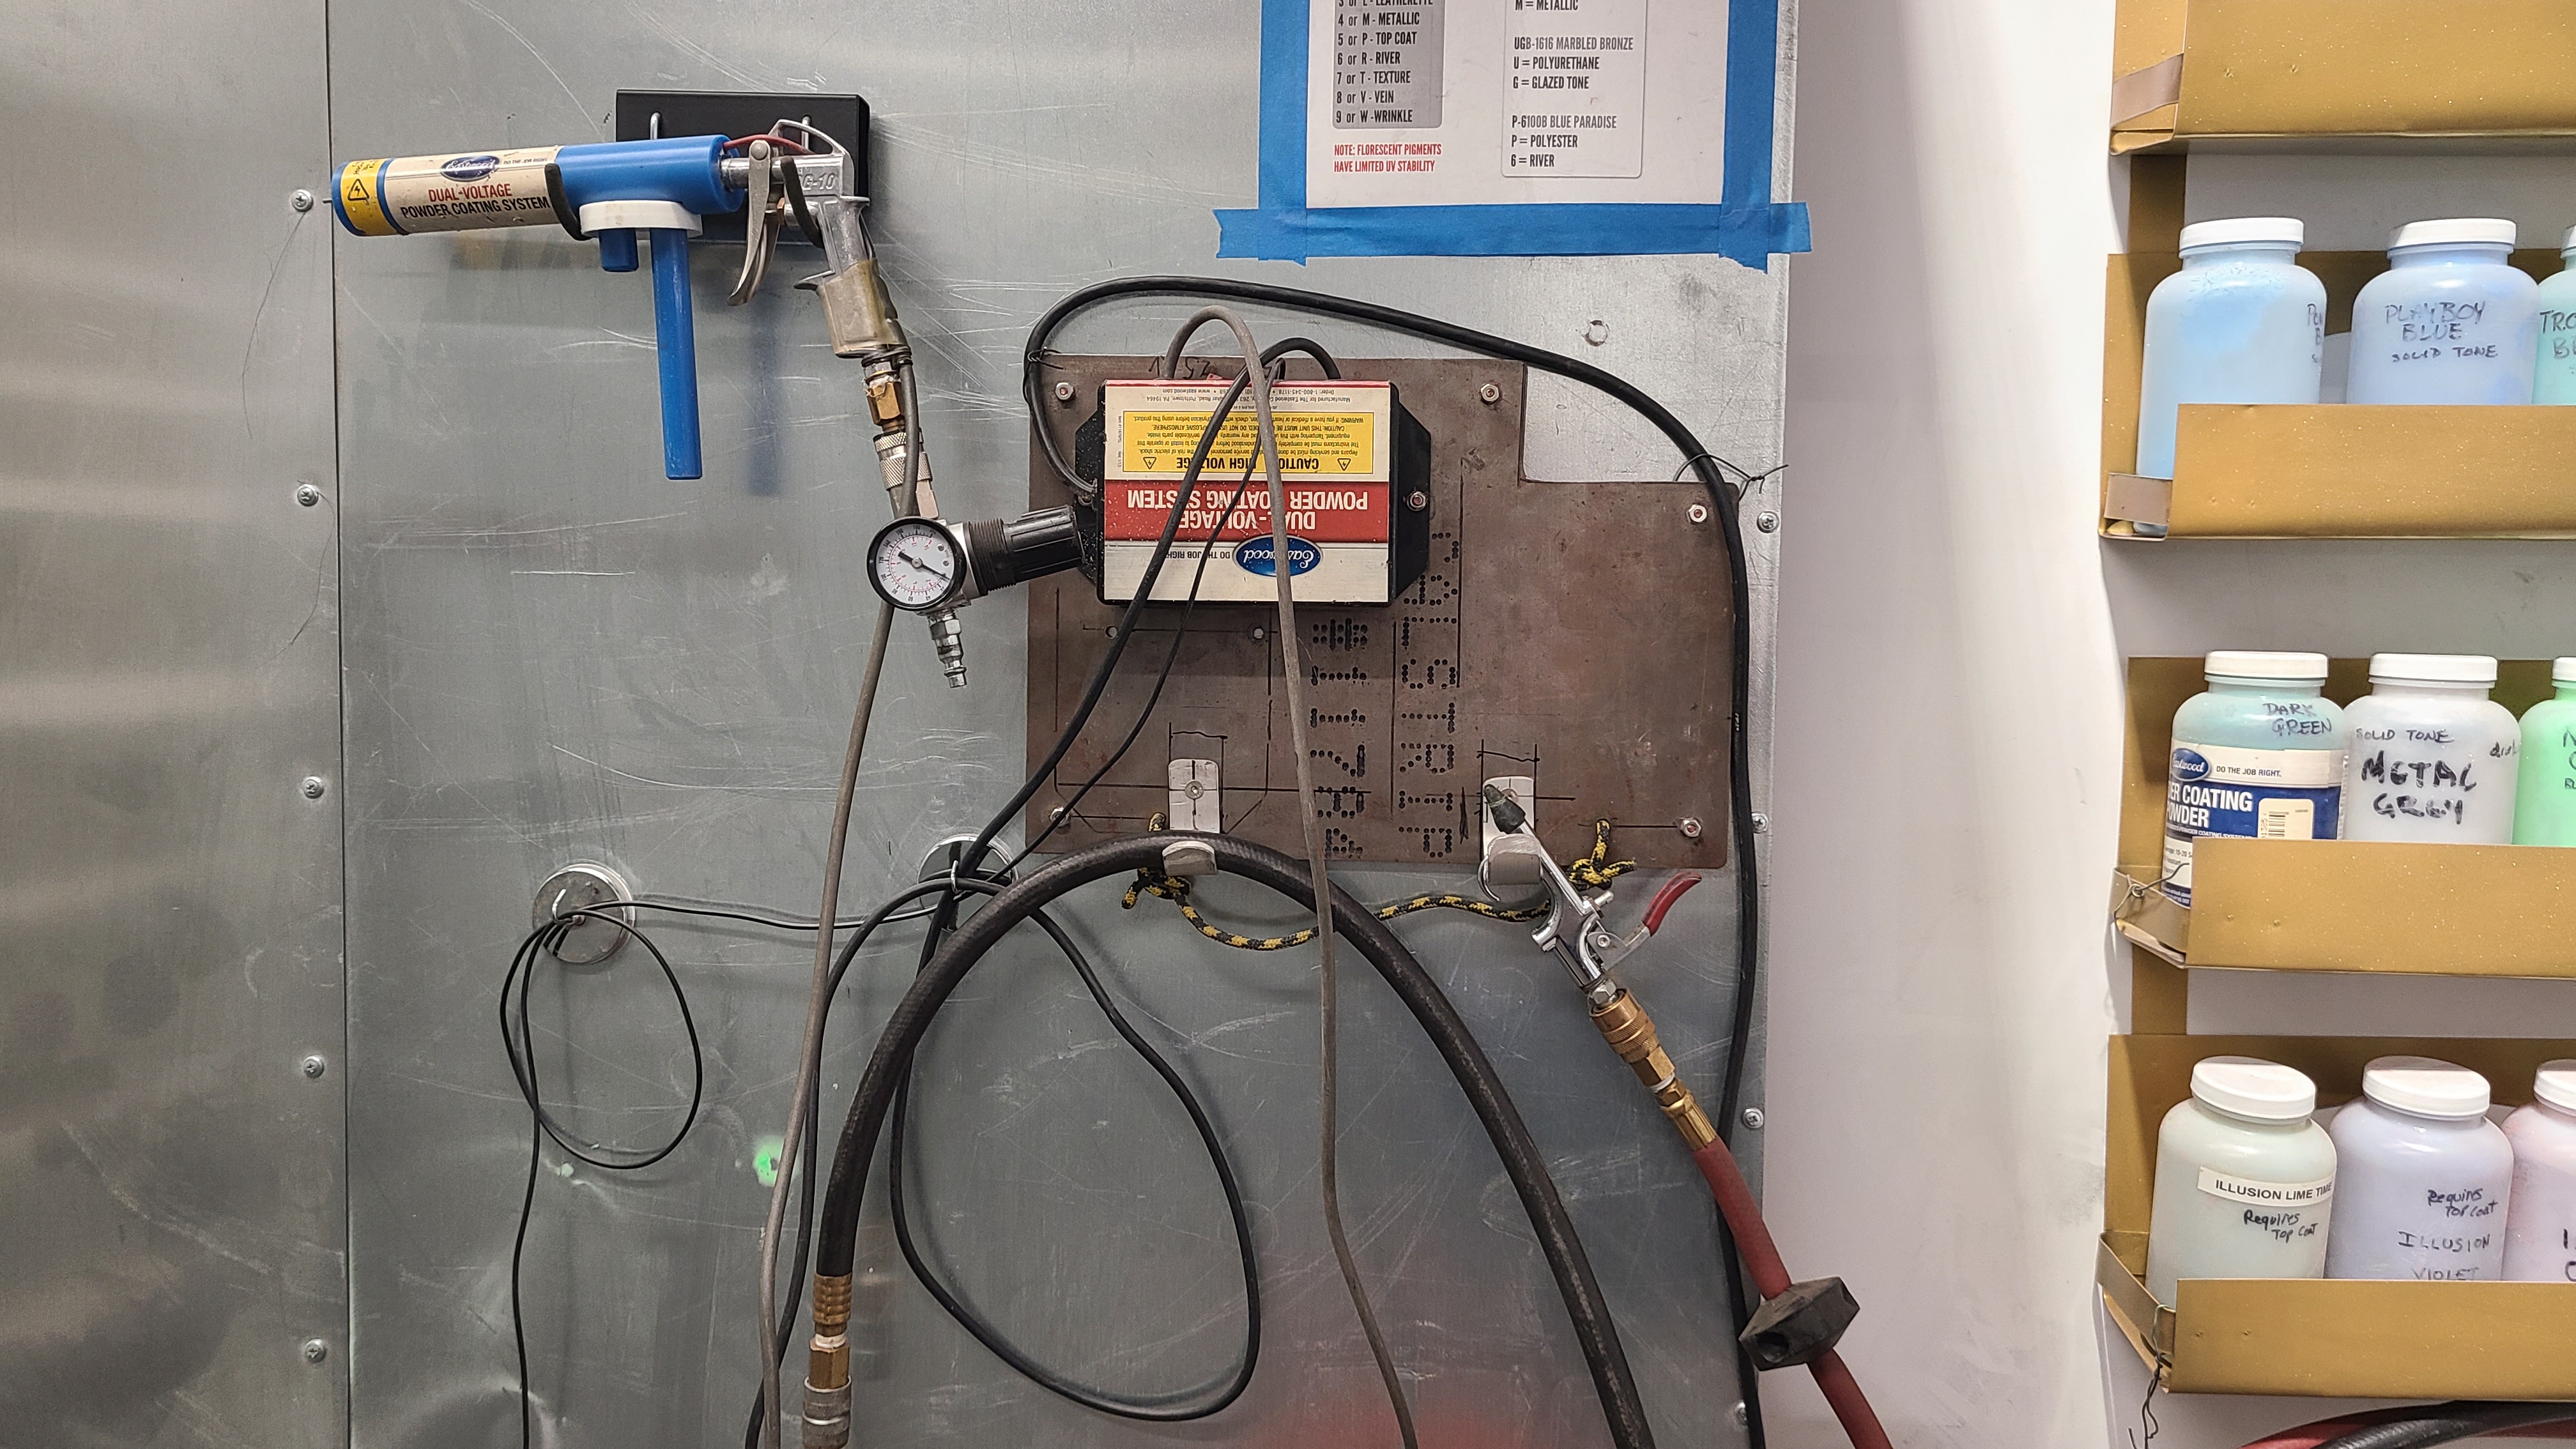 |
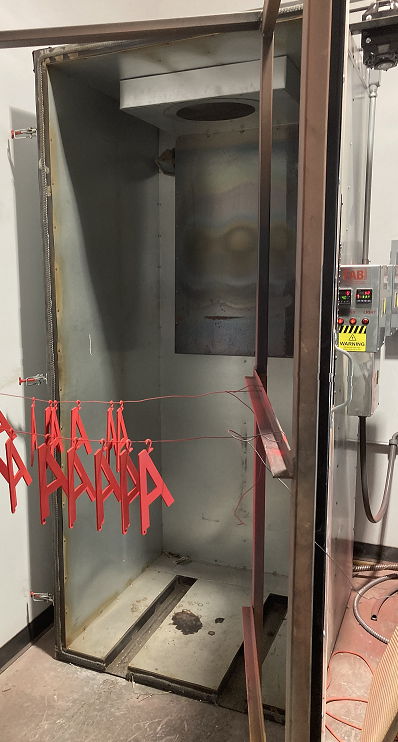
|
Instructions
Prepare and set up
1. Clean piece or pieces before powder coating. Sandblast piece for best results. Recently cast parts should be pre-baked at 450°F for an hour or more to burn out or “outgas” any oils or other impurities, and then cleaned to remove oils.
2. Select color or colors. Note opacity level, need for a top coat, curing times and temperatures. For multi-stage coatings, review tech recommendations on manufacturer's website.
3. Preheat oven while preparing to coat. Use smaller oven when possible – be sure to check clearance to heating elements.
4. Hang or stand piece in spray booth such that all spraying happens at least 18” into spray booth, toward the filters.
5. Dry run moving piece from spray booth to oven. You must be able to move piece from booth to oven without touching any powdered surfaces. Usually pieces are hung from the frame with bent-wire hooks that allow easy relocation.
6. Clip ground lead to hanging wires or other conductive wire attached to the piece.
7. If coating a large flat area, confirm unit is unplugged then attach the small, black plastic diffuser to powder coater tip. For most work the diffuser is not used.
| NEVER TOUCH HIGH VOLTAGE TIP when unit is plugged in. Unplug, and dissipate to ground any stored charge in the rare cases you may need to touch it. | |
|---|---|
8. Turn on spray booth fan.
9. Attach shop air to applicator inlet.
10. Check air pressure is set to 7 - 10 PSI
11. Plug the dual-voltage powder coater into orange extension cord. Set voltage switch: High (25 kv) for large flat areas. Low (15kv) for most other work.
| ALWAYS STAND AT LEAST 1 FOOT INTO SPRAY BOOTH WHENEVER WORKING WITH OPEN POWDER such as loading color onto or off of applicator; filling jars, etc. | |
|---|---|
12. Agitate powder by gently rocking jar with the lid firmly closed. If color is settled and compressed in jar, use more force to shake it free. Powder jar should be no more than 1/3 full to allow the air to properly draw the powder up.
13. Screw powder jar to applicator. Be very careful not to cross-thread. While powder jar is attached, hold applicator within about 10 - 15 degrees of level
Apply the powder
Ready checklist:
- piece is grounded
- Color jar is attached to applicator
- Shop air is attached to applicator
- Booth fan is running
| ALWAYS SPRAY ONLY IN THE SPRAY BOOTH WHILE AIMING TOWARD THE FILTER | |
|---|---|
14. Grasp applicator ready to spray, then press and hold gray activation button, while pulling trigger of applicator.
| WHILE THIS BUTTON IS PRESSED, TIP IS ENERGIZED AT 15,000 or 25,000 volts. | |
|---|---|
- Spray piece from a distance of 6 - 10”.
- Spray inside tight corners or bends first, flat areas second.
- Spraying parallel to piece may work better than directly at it.
- Keep the applicator within about 10 - 15 degrees of level. Tipping too far down can pour color out. Tipping too far up can cause the siphon to draw air instead of powder.
- Apply an even coat of powder across piece(s).
Bake the coating
Coatings outgas polyurethane, polyester, and resin as pieces bake. Continue to wear respiration PPE and leave booth filter running until piece is finished baking.
15. Move coated piece to oven, being careful not to touch any powdered surface.
16. Allow time for piece to come up to temperature before starting curing timer. Larger pieces will require more time to warm up.
- Open oven to check temperature of piece with IR thermometer
- Set emissivity according to posted guide
- Start timing when piece has reached temperature and flow-out begins
Clean up while the piece bakes or between colors
17. Remove color jar, tapping excess coating back into jar. Do this only when standing inside the spray booth, facing the filters.
18. Cap the color jar.
19. Sweep oversprayed powder with broom and dustpan, use shop air duster to blow remaining small quantities of powder toward filter.
20. CAREFULLY blow all color powder from the applicator, work surfaces, and exterior of jar toward the filter.
- Keep the duster at least 10” away from the applicator, and spray thoroughly to remove all powder
- Keep the 100 PSI shop air from damaging the High Voltage Tip
- Spray excess powder off outside of jar(s) toward the filter
- Be careful not to blow powder onto or off of your piece between colors
- For another color in the same bake, screw on a new jar and continue working.
21. Unplug powder coater from the wall outlet when finished.
22. While piece is in the oven, continue clean-up by blowing excess powder from the floor and hanging stand toward the filter.
Clean up is complete when:
- applicator, ground clip, and gray activation button are cleaned with no remaining color residue, and are hung up on hooks
- powder jars are clean from powder on the outside, and returned to shelves
- Floor and stand are free from powder
- Wire, pliers, thermometer, and other tools are returned to their places
- Rubbish is removed to trash cans
23. When piece is finished, remove from oven and allow to cool.
24. Shut off oven.
25. Shut off spray booth fan and light.
Maintenance
- Use the shop vac to clean powder that has settled over room. Keep the vaccuum body outside of the room, except as necessary to clean the very back of the room.
- Use the shop vac to clean the booth filter.
- Clean oven racks of accumulated powder.
- Keep color jars sorted in racks.
- Refill color jars (to 1/3 max).
- Restock gloves for room.
Additional resources
This category currently contains no pages or media.

