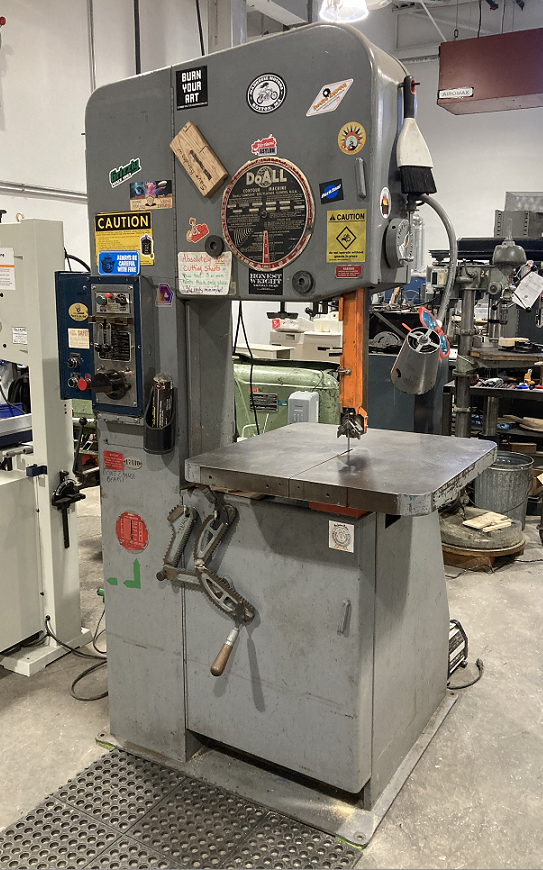
Do-All Vertical Bandsaw: Difference between revisions
No edit summary |
Acharlwood (talk | contribs) m (→Description: Experimenting with PDF link) |
||
| (46 intermediate revisions by one other user not shown) | |||
| Line 10: | Line 10: | ||
|caption = The Do-All band saw in the Machine Shop | |caption = The Do-All band saw in the Machine Shop | ||
|make = Do-All | |make = Do-All | ||
|model = 2013- | |model = 2013-1 | ||
|serial = | |serial = | ||
|manufacturer_specs = | |manufacturer_specs = | ||
| Line 21: | Line 21: | ||
|tool_categories = [[:Category:Vertical Band Saws -- Metal Cutting | See the Vertical Band Saws category for notes on using saws of this kind.]] | |tool_categories = [[:Category:Vertical Band Saws -- Metal Cutting | See the Vertical Band Saws category for notes on using saws of this kind.]] | ||
}} | }} | ||
=Description= | |||
This 1977 machine is a treasured antique. | |||
For parts and service info, see the [[media:2013-1_338-74101_to_338-78245_Parts_Manual.pdf|2013-1 Service Manual]]. | |||
=Safety= | =Safety= | ||
Link to: [[:Category:Vertical_Band Saws_--_Metal_Cutting#Safety | Safety notes | Link to: [[:Category:Vertical_Band Saws_--_Metal_Cutting#Safety | Safety notes for the Metal-Cutting Vertical Band Saws category]] | ||
{| class="infobox" cellspacing="5" style="width: 12em; text-align: left; font-size: 100%; line-height: 1.5em;" | {| class="infobox" cellspacing="5" style="width: 12em; text-align: left; font-size: 100%; line-height: 1.5em;" | ||
! colspan="2" class="infobox-image" | [[File: | ! colspan="2" class="infobox-image" | [[File:Band_Saw_Do_All_power_switch.png|180px| Do-all_ power switch]] | ||
|- | |- | ||
| colspan="2" | The | | colspan="2" | The power switch is around back. | ||
|- | |- | ||
|} | |} | ||
=Operation= | =Operation= | ||
The Do-All is extravagantly decorated with hipster stickers and reminders that instruct the operator what to do. | |||
It is practically self-documenting. | |||
==Power== | |||
To start the saw, find the power buttons on the back of the machine. | |||
A work-lamp is also available. | |||
==Speed Selection== | ==Speed Selection== | ||
{| class="infobox" cellspacing="5" style="width: 12em; text-align: left; font-size: 100%; line-height: 1.5em;" | |||
! colspan="2" class="infobox-image" | [[File:Band_Saw_Do_All_All_Human_Knowledge.jpg|200px| Do-all speed calculator]] | |||
|- | |||
| colspan="2" | This tool was bequeathed to us by our ancestors. May it serve you well. | |||
|- | |||
|} | |||
The machine is usually set to cut mild steel, for other materials it may be necessary to change the blade speed. | |||
* The first step is to find what speed is needed. | |||
Blade speed data may be found from a wide variety of sources. Although it isn't as clear as others, the Do-All has a mechanism on its side panel that is well worth examining. This type of circular data table is a traditional form for metal-cutting band saws. A more recent version may be found on the [[:Palmgren_15-inch_Vertical_Bandsaw |Palmgren band saw]] in the Machine Shop. | |||
* Next the operator checks the current blade speed. An indicator on the lower left side of the machine reads in feet per minute. | |||
This indicator only registers while the machine is running. | |||
{| class="infobox" cellspacing="5" style="width: 12em; text-align: left; font-size: 100%; line-height: 1.5em;" | {| class="infobox" cellspacing="5" style="width: 12em; text-align: left; font-size: 100%; line-height: 1.5em;" | ||
! colspan="2" class="infobox-image" | [[File: | ! colspan="2" class="infobox-image" | [[File:Band_Saw_Do_All_speed_adjustment.png|140px| Do-all speed adjust]] | ||
|- | |- | ||
| colspan="2" | | | colspan="2" | The crank is almost invisible around the back of the machine. | ||
|- | |- | ||
|} | |} | ||
{| class="infobox" cellspacing="5" style="width: 12em; text-align: left; font-size: 100%; line-height: 1.5em;" | |||
! colspan="2" class="infobox-image" | [[File:Band_Saw_Do_All_speed_indicator.png|220px| Do-all speed indicator]] | |||
|- | |||
| colspan="2" | Feet per minute. Note only the '''LOW''' speed range is available. | |||
|- | |||
|} | |||
* To change the speed the operator must reach around the left side of the machine and find a crank down near the bottom. | |||
This crank must '''ONLY''' be turned when the machine is running. It uses a similar linkage to the spindle transmissions in a vertical milling machine. | |||
* Another crank located behind the machine is clamped down because it is no longer used. This was formerly a lever to change the speed range from "LOW" to "HIGH." On this machine the "HIGH" speed range has been disabled. | |||
=Blade Welding= | |||
{| class="infobox" cellspacing="5" style="width: 12em; text-align: left; font-size: 100%; line-height: 1.5em;" | |||
! colspan="2" class="infobox-image" | [[File:Band_Saw_Do_All_blade_welder.png|220px| Do-all welder]] | |||
|- | |||
| colspan="2" | This really works! | |||
|- | |||
|} | |||
The Do-All features a specialized spot-welder for joining band-saw blades. This allows the operator to buy blade stock in a large spool, cut it to length, and weld it together into a loop. That is the most economical way to stock consumables for a band saw. | |||
Instructions are printed on front panel of the the welder. | |||
Latest revision as of 11:07, 7 April 2024
Link to: Machine Shop Main Page
| Eye protection required! | ||
|---|---|---|
| Do-All Vertical Band Saw | |
|---|---|
| General Info | |
| Make | Do-All |
| Model | 2013-1 |
| Serial | |
| Specs | |
| Manual | Instruction Manual for a Similar Model |
| Asylum Info | |
| Location | Machine Shop |
| Rubric | N/A |
| Training | |
| Testing | Tool testing |
| Restrictions | red |
See the Vertical Band Saws category for notes on using saws of this kind.
Description
This 1977 machine is a treasured antique.
For parts and service info, see the 2013-1 Service Manual.
Safety
Link to: Safety notes for the Metal-Cutting Vertical Band Saws category
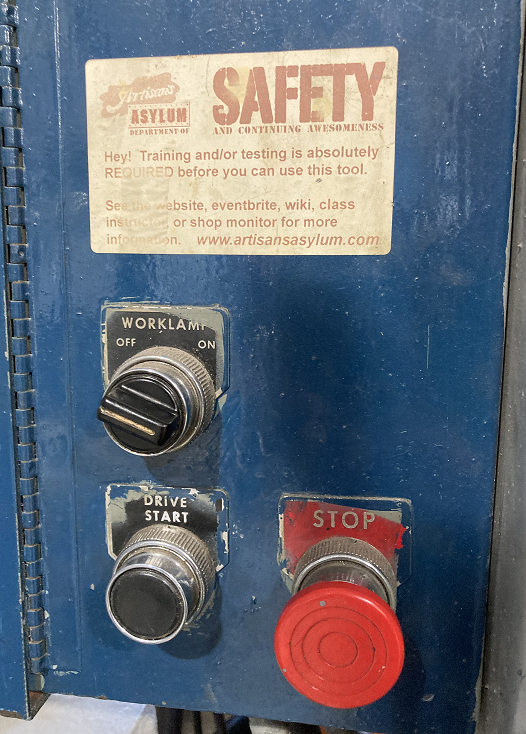
| |
|---|---|
| The power switch is around back. |
Operation
The Do-All is extravagantly decorated with hipster stickers and reminders that instruct the operator what to do.
It is practically self-documenting.
Power
To start the saw, find the power buttons on the back of the machine.
A work-lamp is also available.
Speed Selection
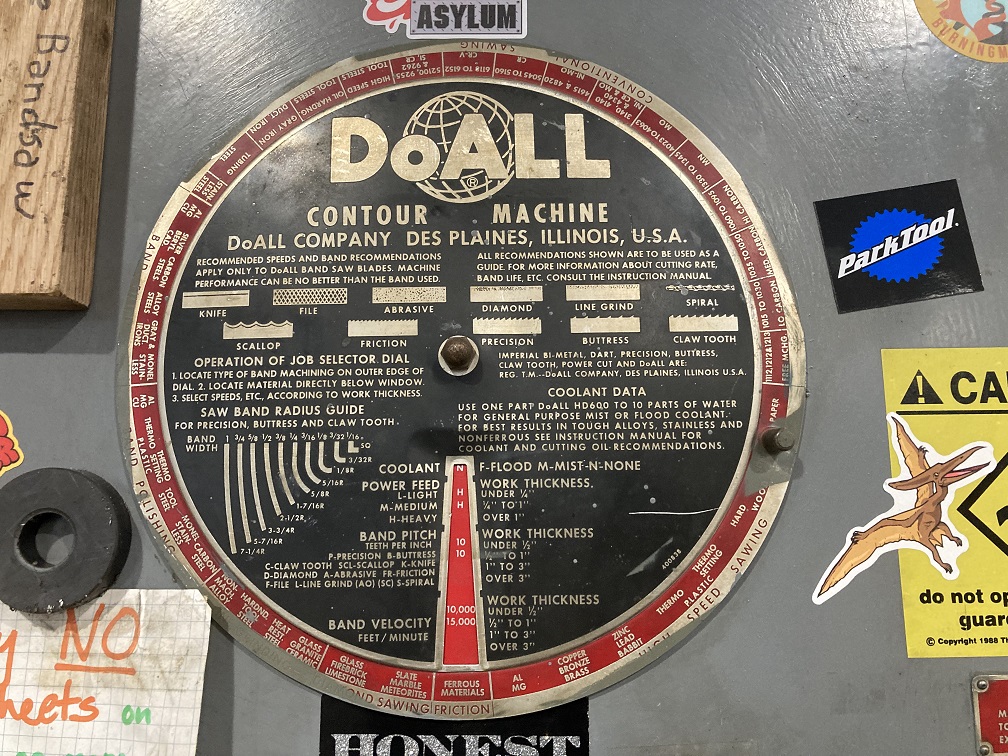
| |
|---|---|
| This tool was bequeathed to us by our ancestors. May it serve you well. |
The machine is usually set to cut mild steel, for other materials it may be necessary to change the blade speed.
- The first step is to find what speed is needed.
Blade speed data may be found from a wide variety of sources. Although it isn't as clear as others, the Do-All has a mechanism on its side panel that is well worth examining. This type of circular data table is a traditional form for metal-cutting band saws. A more recent version may be found on the Palmgren band saw in the Machine Shop.
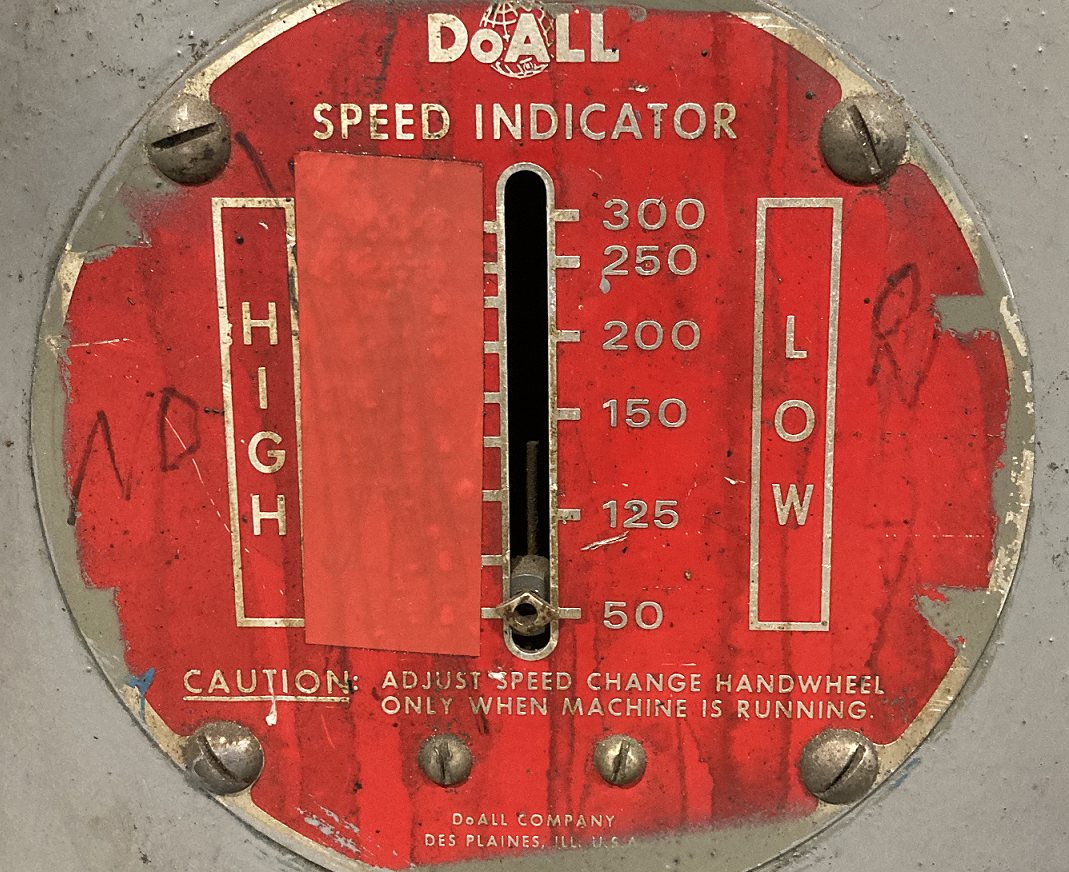
- Next the operator checks the current blade speed. An indicator on the lower left side of the machine reads in feet per minute.
This indicator only registers while the machine is running.
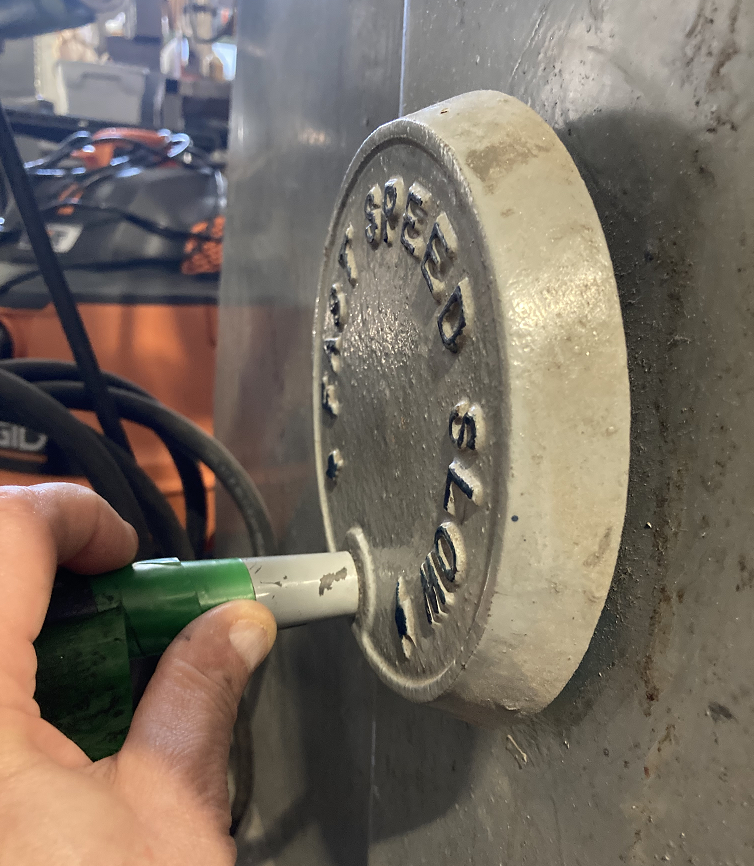
| |
|---|---|
| The crank is almost invisible around the back of the machine. |
| |
|---|---|
| Feet per minute. Note only the LOW speed range is available. |
- To change the speed the operator must reach around the left side of the machine and find a crank down near the bottom.
This crank must ONLY be turned when the machine is running. It uses a similar linkage to the spindle transmissions in a vertical milling machine.
- Another crank located behind the machine is clamped down because it is no longer used. This was formerly a lever to change the speed range from "LOW" to "HIGH." On this machine the "HIGH" speed range has been disabled.
Blade Welding
| |
|---|---|
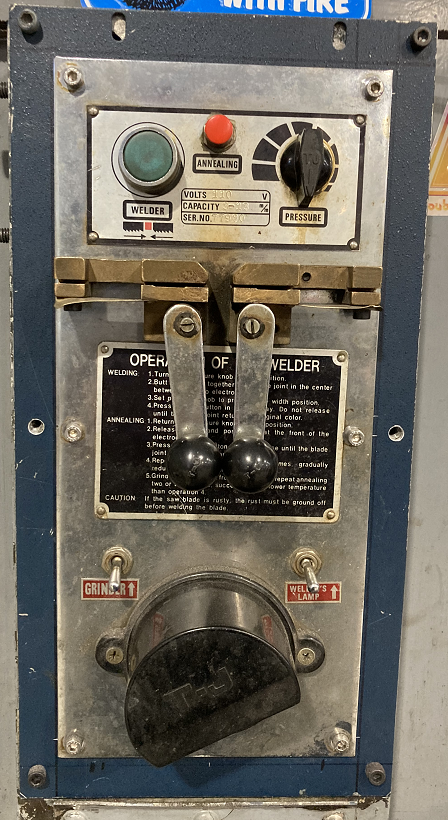
| This really works! |
The Do-All features a specialized spot-welder for joining band-saw blades. This allows the operator to buy blade stock in a large spool, cut it to length, and weld it together into a loop. That is the most economical way to stock consumables for a band saw.
Instructions are printed on front panel of the the welder.
