Brackets Tutorial 3: No Frills Shelf Bracket: Difference between revisions
No edit summary |
|||
| Line 31: | Line 31: | ||
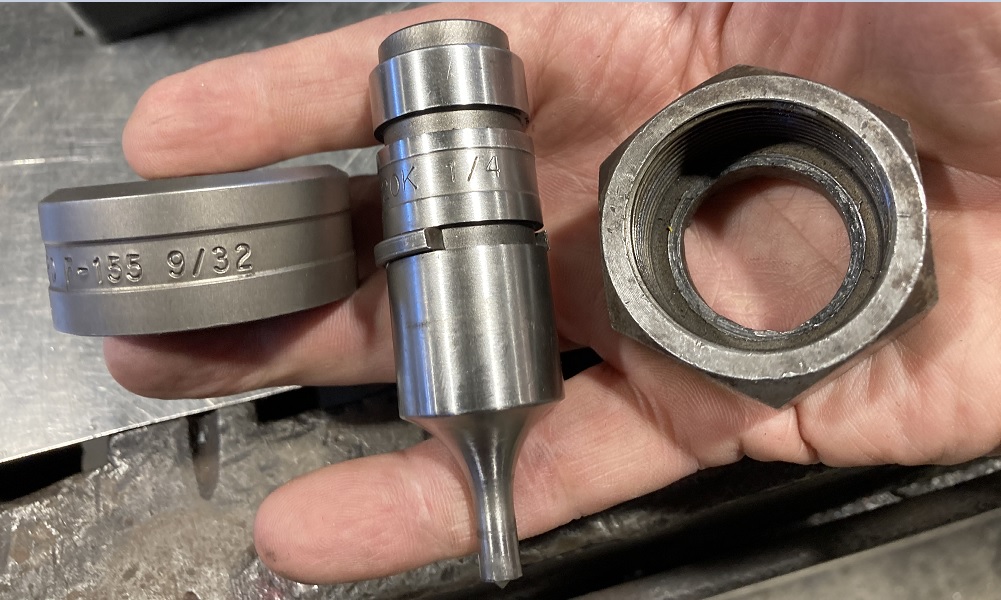
Select the punch and die set for 1/4" holes. Note that the die for 1/4" holes is 1/32" larger in diameter: 9/32" | Select the punch and die set for 1/4" holes. Note that the die for 1/4" holes is 1/32" larger in diameter: 9/32" | ||
[[File:Tut3_Bracket_nofrills_IW_punch_die_set.jpg|400px|left| | [[File:Tut3_Bracket_nofrills_IW_punch_die_set.jpg|400px|left|punch set]] | ||
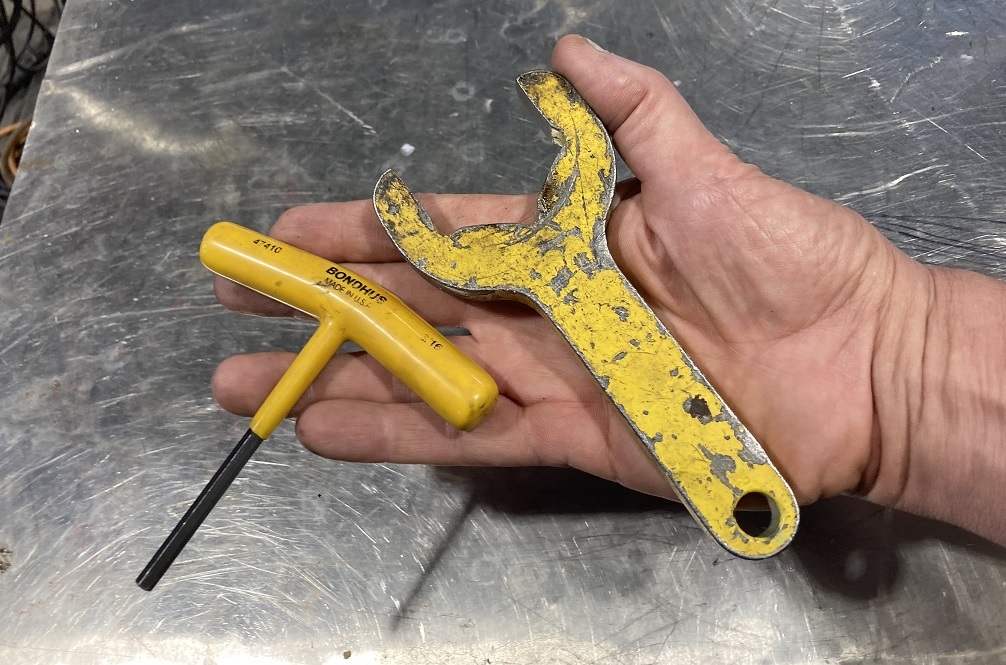
[[File:Tut3_Bracket_nofrills_IW_tool_set.jpg|400px|right| | [[File:Tut3_Bracket_nofrills_IW_tool_set.jpg|400px|right|tool set]] | ||
[[File:SW_gear_icon_tiny.png|5px|center|thin strip]] | [[File:SW_gear_icon_tiny.png|5px|center|thin strip]] | ||
Revision as of 20:45, 15 September 2024
Link to: Bracketage Main Page
Introduction
This document shows a very simple process for making a right-angle shelf bracket. It uses mostly GREEN tools in the metal shop. The dimensions are 6" x 6" x 1-1/4" but the reader will see that these dimensions are arbitrary.
Cut the blank
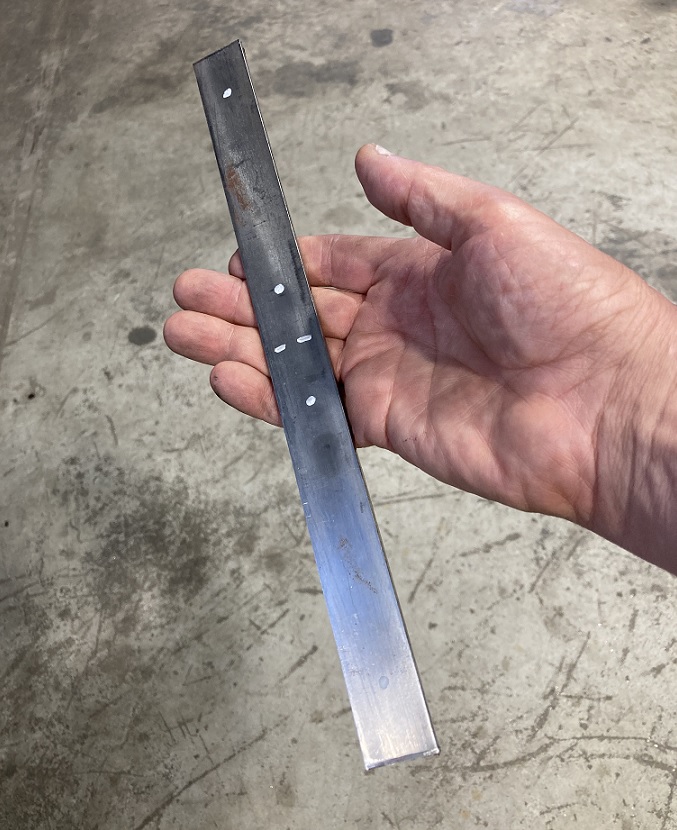
We use 1-1/4" x 1/8" steel strip and cut it on the Ironworker. Mark the overall length of the bar and the line where it should be bent with a highly visible marker. Put dots where the mounting holes will go.
Turn on the power to the Ironworker so the blade rises to the top of its travel.
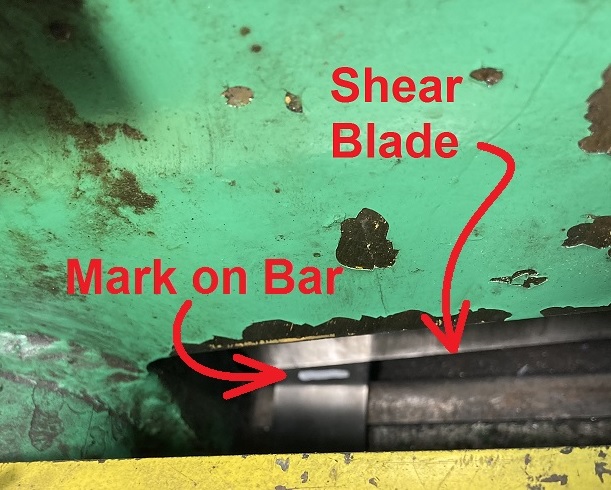
Insert the bar and line up the cut line with the blade of the Ironworker shear.
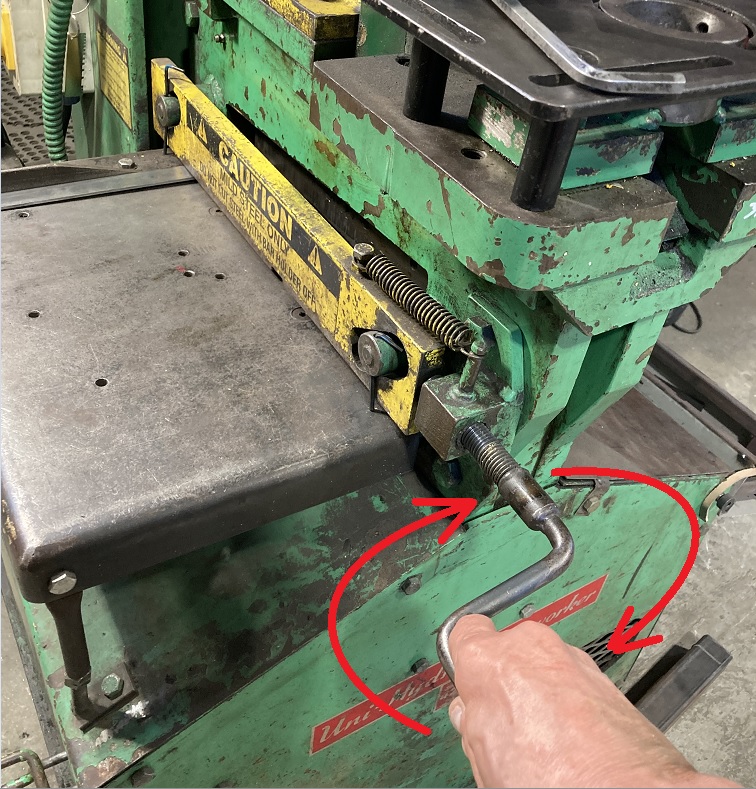
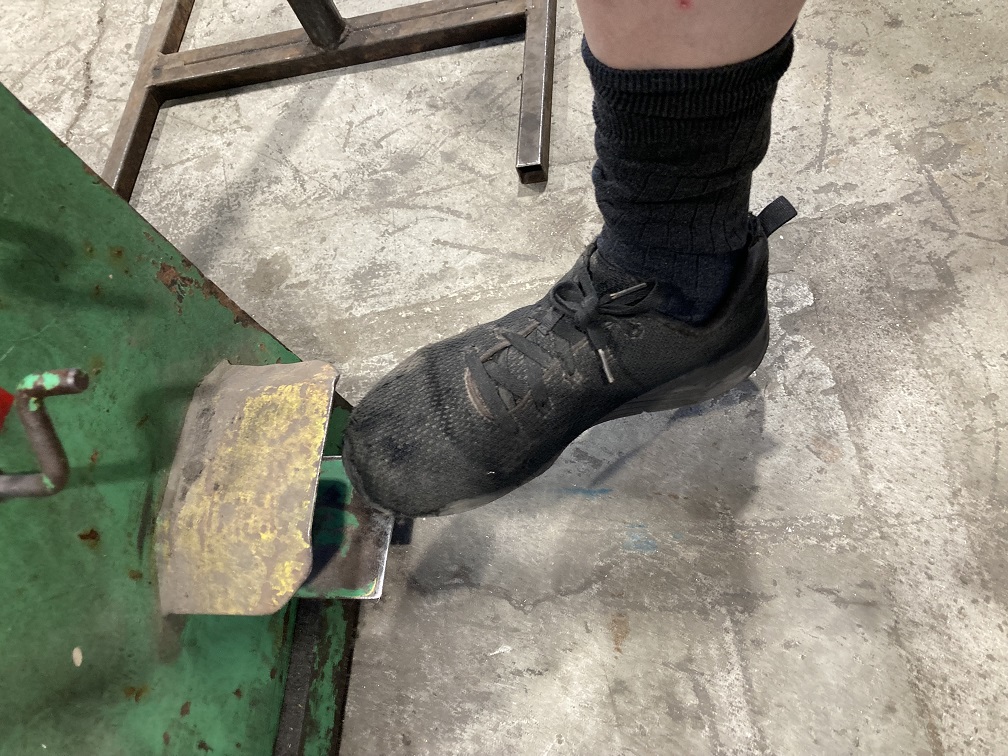
Tigthen down the stock clamp. Depress the foot pedal on the Ironworker to bring the shear blade down.
Punch the Mounting Holes
Now we punch the mounting holes in the blank.
Select the punch and die set for 1/4" holes. Note that the die for 1/4" holes is 1/32" larger in diameter: 9/32"

