Brackets Tutorial 3: No Frills Shelf Bracket: Difference between revisions
| Line 92: | Line 92: | ||
Square up the workpiece in the tool and make sure the bend mark is under the tool. | Square up the workpiece in the tool and make sure the bend mark is under the tool. | ||
[[File:Tut3_Bracket_nofrills_place_blank_in_bending_tool.jpg| | [[File:Tut3_Bracket_nofrills_place_blank_in_bending_tool.jpg|238px|blank in bender]] | ||
[[File:SW_gear_icon_tiny.png|10px|thin strip]] | [[File:SW_gear_icon_tiny.png|10px|thin strip]] | ||
[[File:Tut3_Bracket_nofrills_square_blank_in_bending_press.jpg|240px|square blank]] | [[File:Tut3_Bracket_nofrills_square_blank_in_bending_press.jpg|240px|square blank]] | ||
| Line 100: | Line 100: | ||
Pump the press and bend the workpiece. Check the angle periodically to make sure it comes out with a right angle. | Pump the press and bend the workpiece. Check the angle periodically to make sure it comes out with a right angle. | ||
[[File:Tut3_Bracket_nofrills_bending.jpg| | [[File:Tut3_Bracket_nofrills_bending.jpg|238px|bending]] | ||
[[File:SW_gear_icon_tiny.png|10px|thin strip]] | [[File:SW_gear_icon_tiny.png|10px|thin strip]] | ||
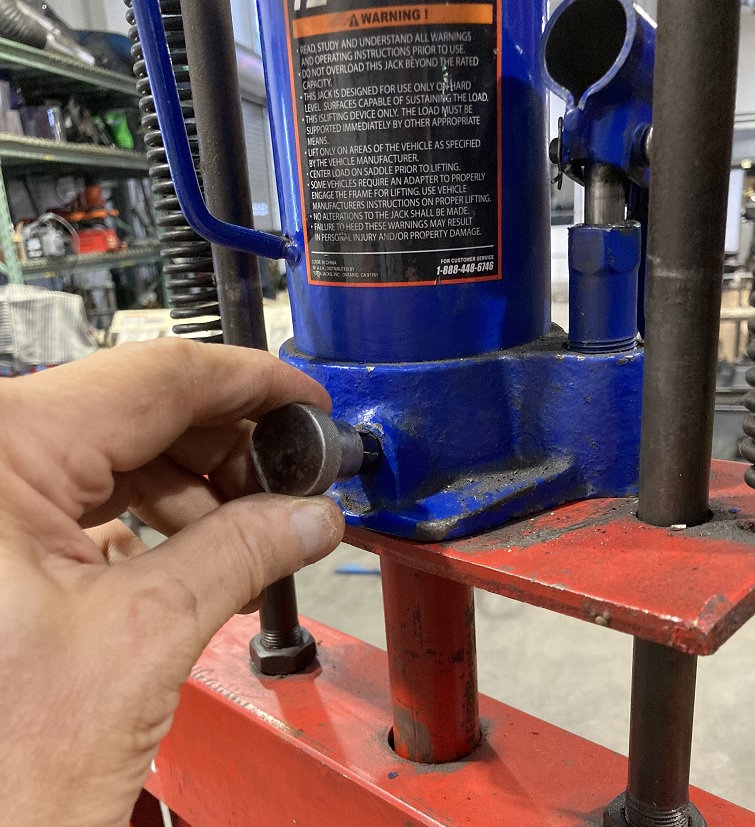
[[File:Tut3_Bracket_nofrills_shop_press_pressure_release.jpg|240px|pressure release]] | [[File:Tut3_Bracket_nofrills_shop_press_pressure_release.jpg|240px|pressure release]] | ||
[[File:SW_gear_icon_tiny.png|10px|thin strip]] | [[File:SW_gear_icon_tiny.png|10px|thin strip]] | ||
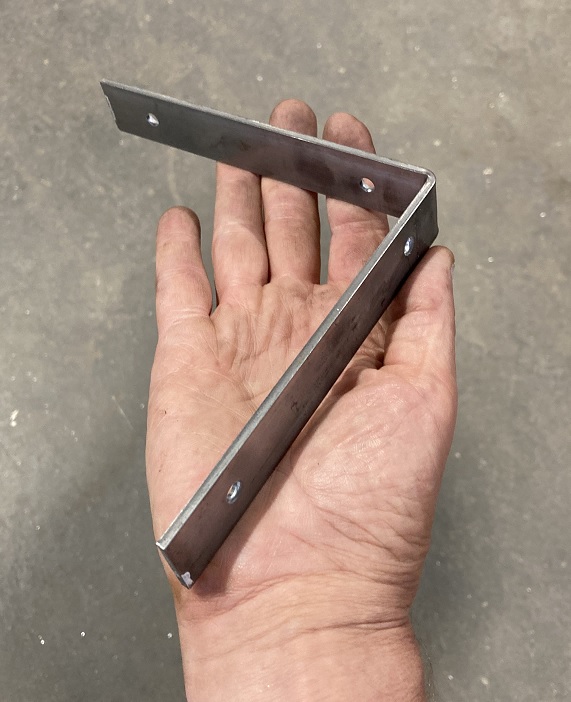
[[File:Tut3_Bracket_nofrills_bent_bracket.jpg| | [[File:Tut3_Bracket_nofrills_bent_bracket.jpg|240px|bent bracket]] | ||
Revision as of 00:55, 16 September 2024
Link to: Bracketage Main Page
Introduction
This document shows a very simple process for making a right-angle shelf bracket. It uses mostly GREEN tools that don't require any training. The dimensions are 6" x 6" x 1-1/4" but the reader will see that these dimensions are arbitrary.
Cut the blank
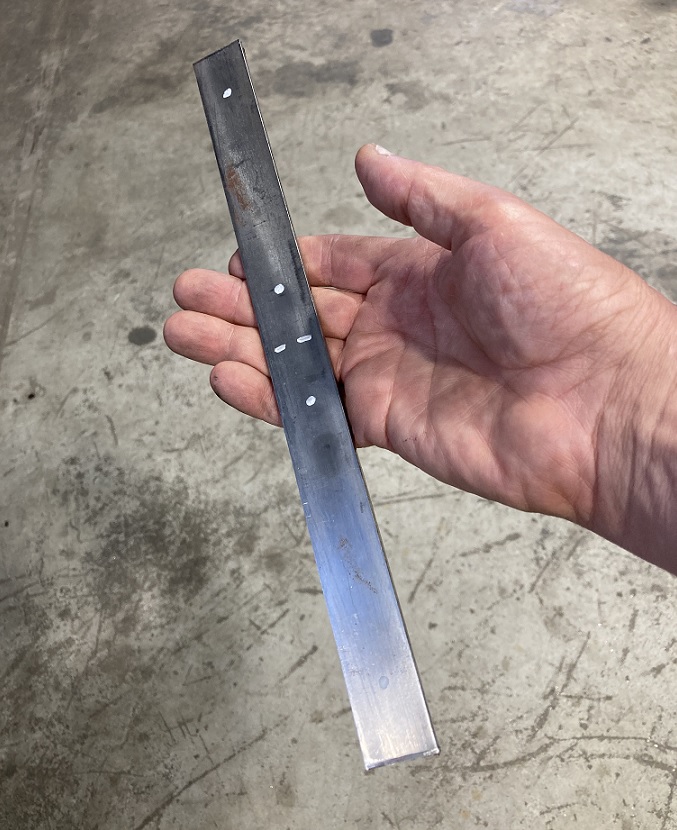
We use 1-1/4" x 1/8" steel strip and cut it on the Ironworker. Mark the overall length of the bar and the line where it should be bent with a highly visible marker. Put dots where the mounting holes will go.
Turn on the power to the Ironworker so the blade rises to the top of its travel.
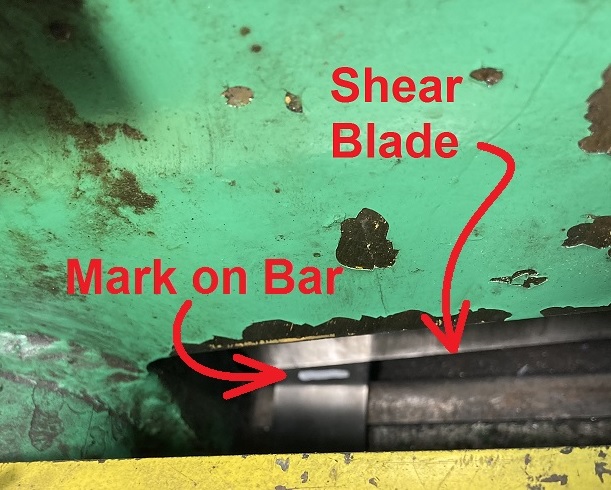
Insert the bar and line up the cut line with the blade of the Ironworker shear.
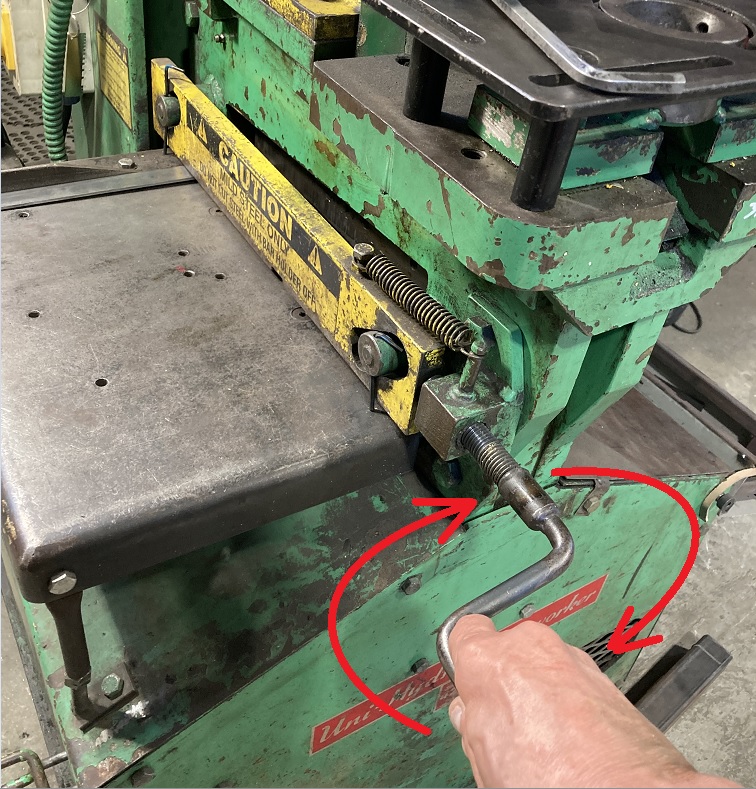
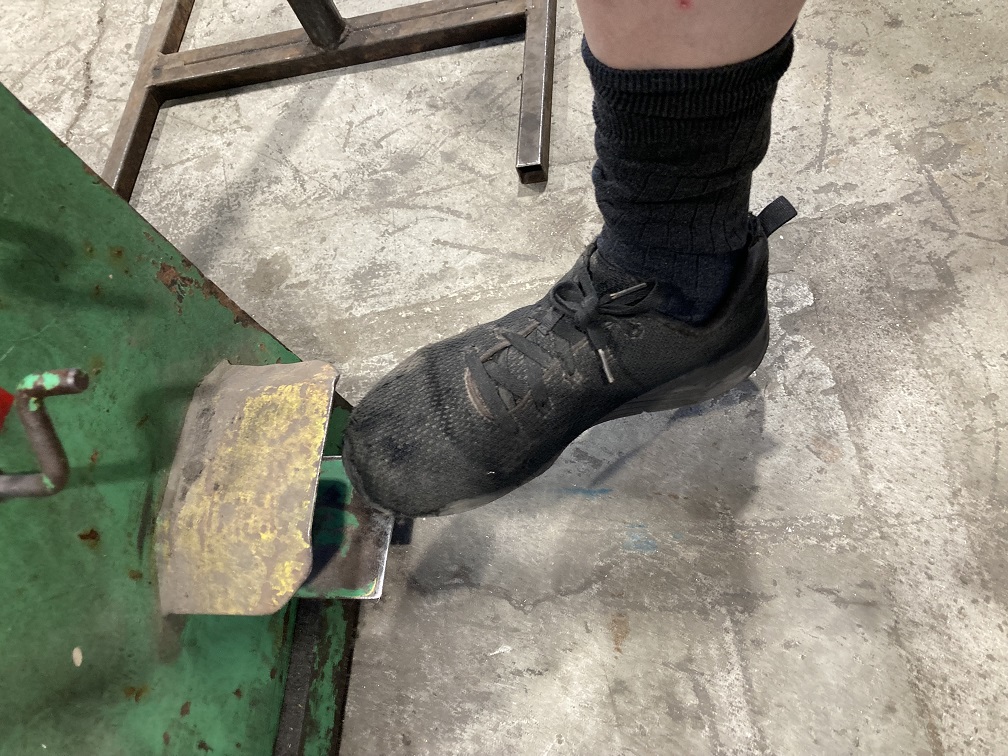
Tigthen down the stock clamp. Depress the foot pedal on the Ironworker to bring the shear blade down.
Release the foot pedal as soon as the bar is cut! DO NOT allow the Ironworker to bottom out!
Punch the Mounting Holes
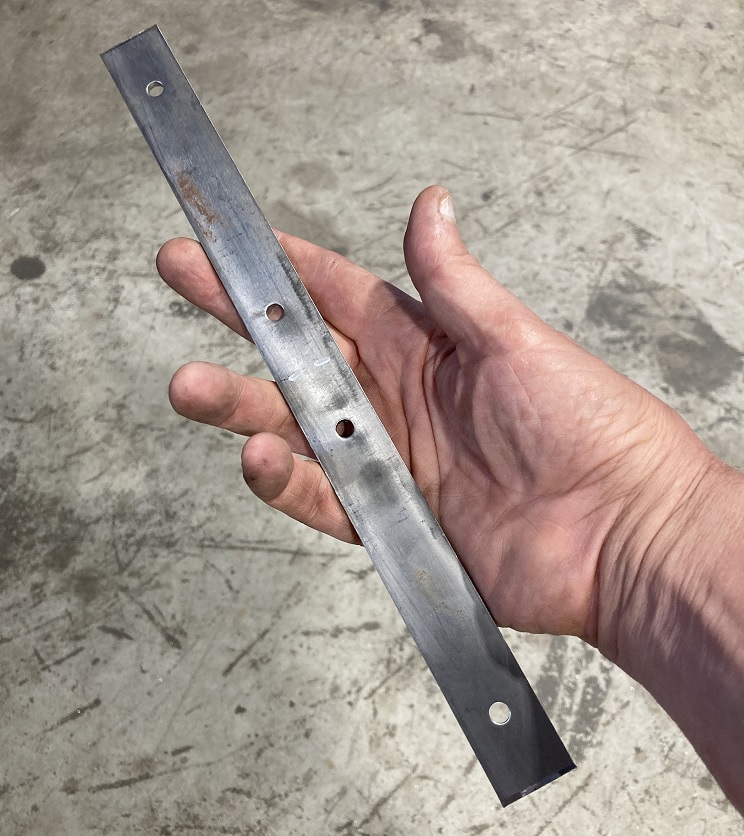
Now we punch the mounting holes in the blank.
Turn off the power to the Ironworker.
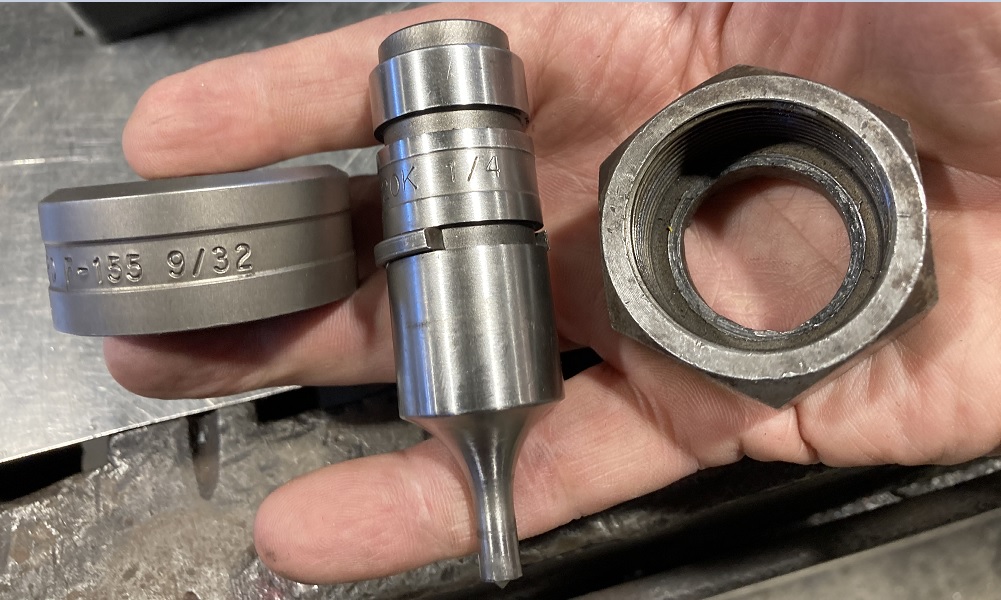
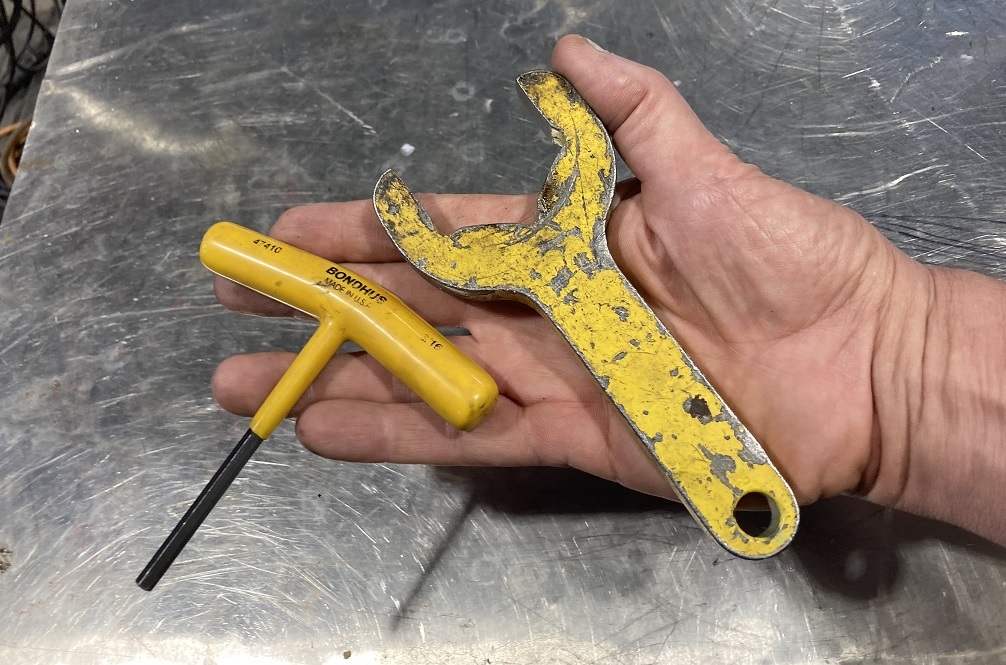
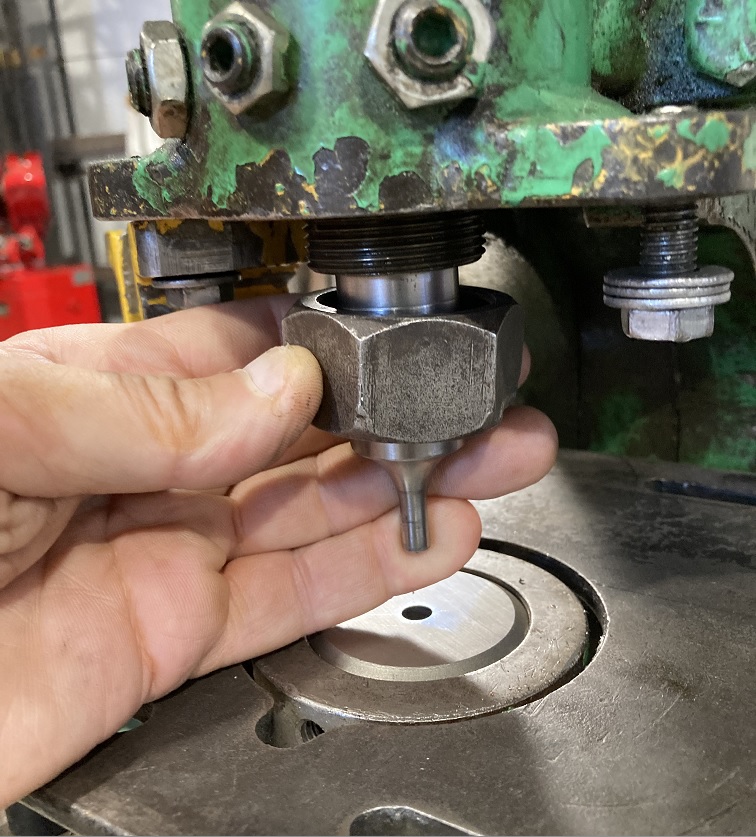
Select the punch and die set for 1/4" holes. Note that the die for 1/4" holes is 1/32" larger in diameter: 9/32". Tools for tightening the punch and die are provided in the tool box.
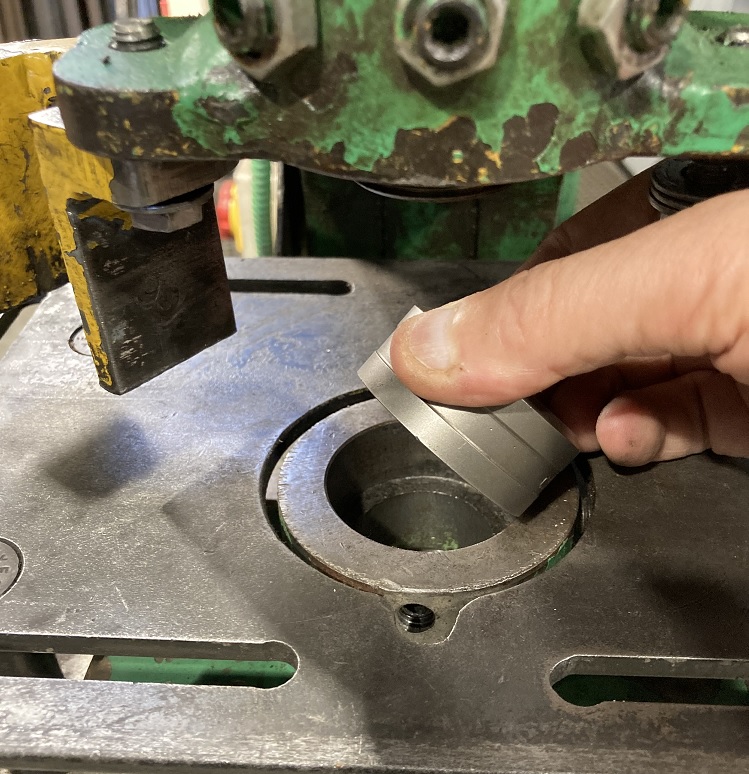
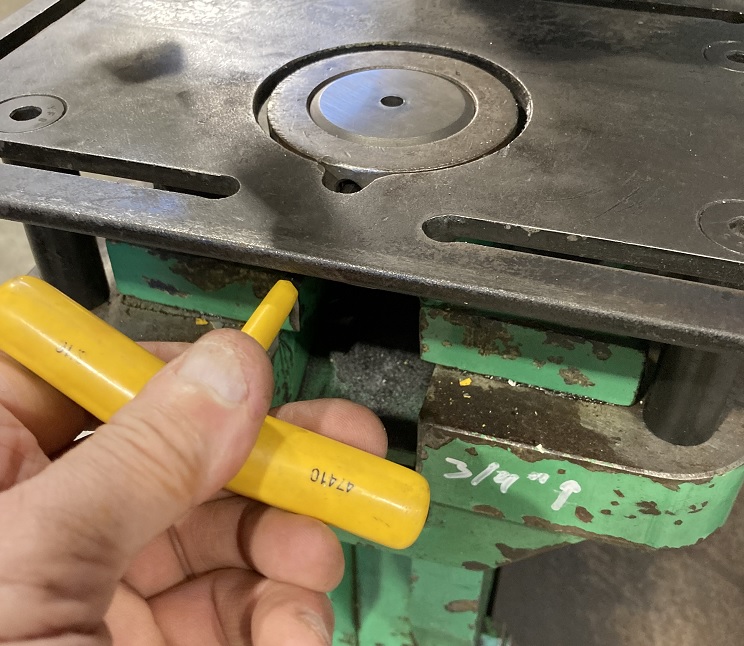
Place the die in the die seat on the punch table with the small hole facing up. Tighten with the hex wrench provided.
Insert the punch into the punch socket and tighten the nut only finger tight prior to aligning it.
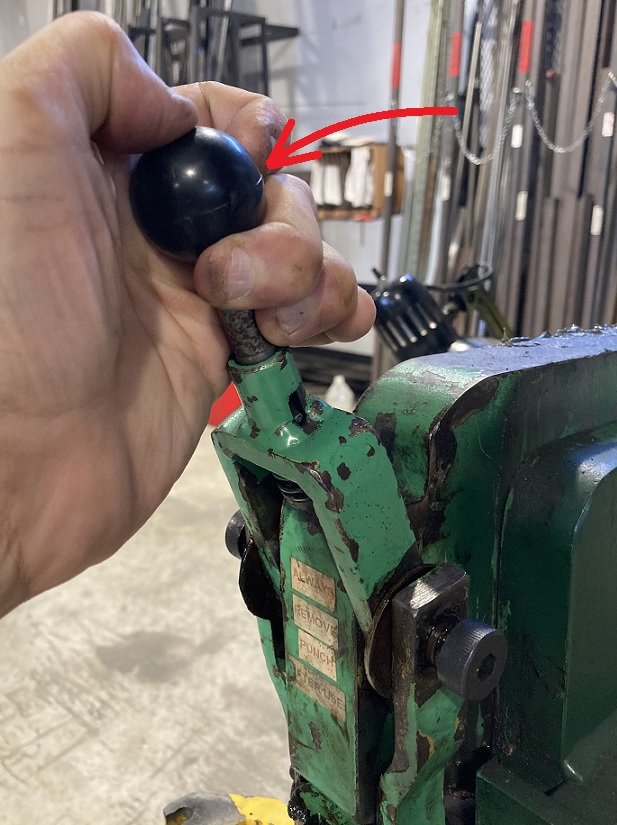
Grab the handle at the top of the punch spindle and pull it down to lower the punch into the die.
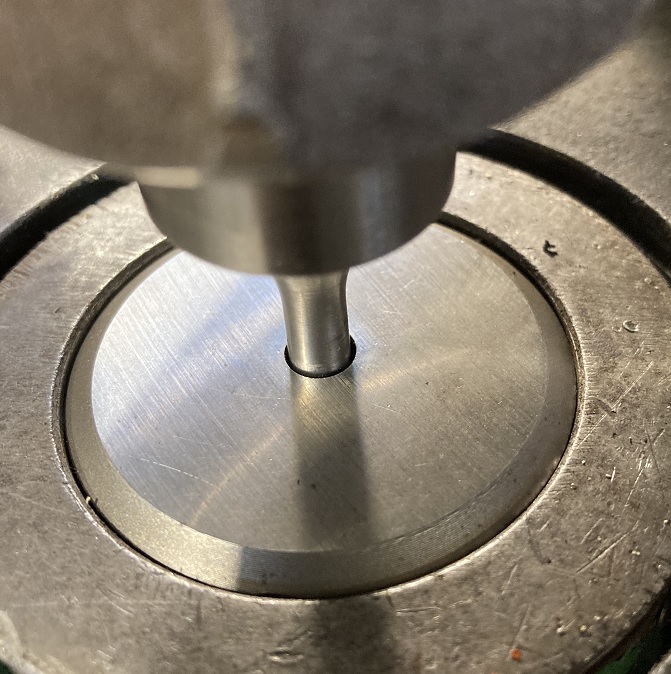
Make sure the punch is centered in the hole in the die. Push it around by hand until it is centered
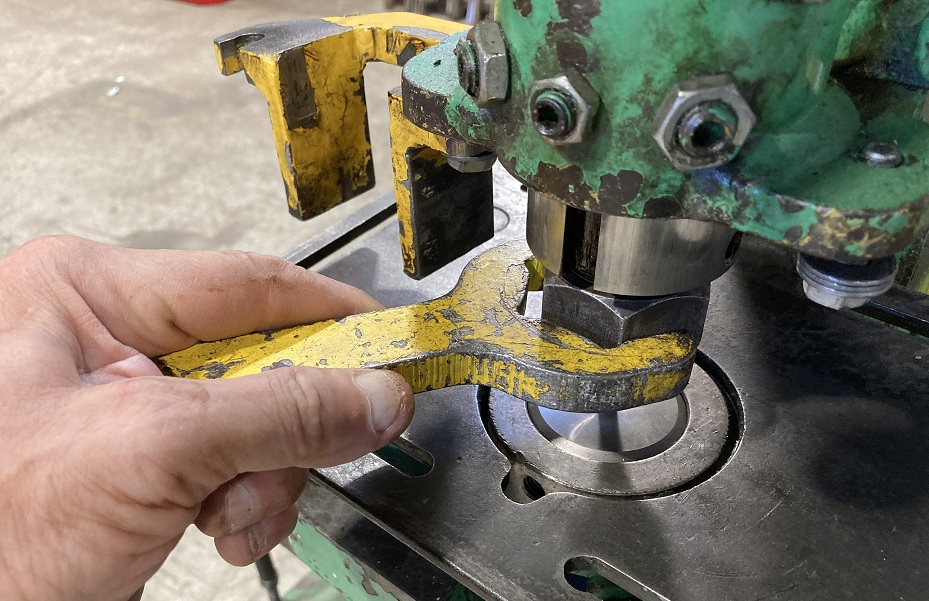
Tighten the punch with the wrench provided and then return the handle to its top position.
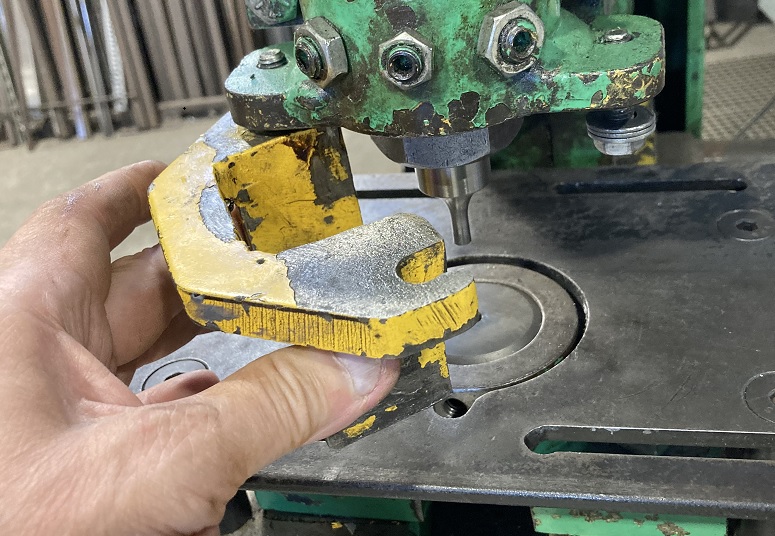
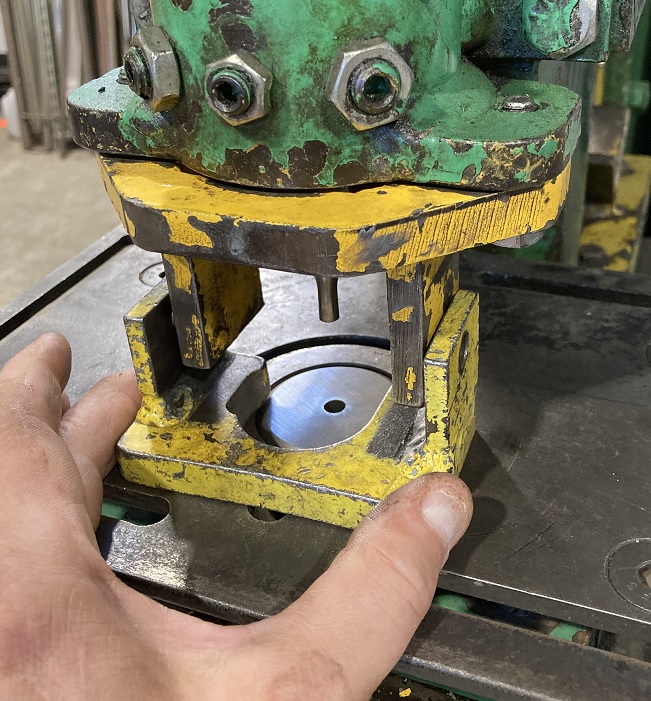
Swing the upper part of the stripper into position.
Place the lower part of the stripper underneath it.
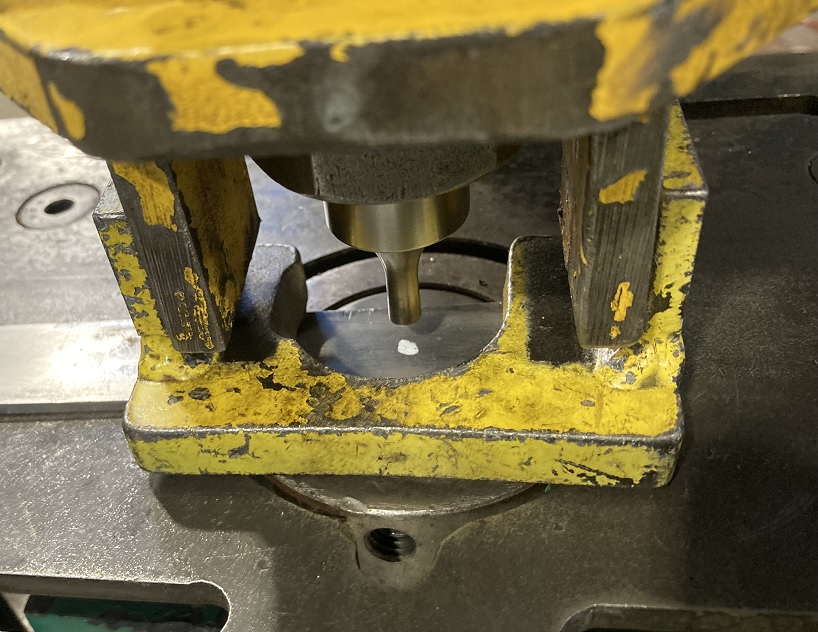
Place the workpiece under the stripper and lower the punch to line it up with the mark. Return the release handle to the top position.
Depress the foot pedal to bring the punch down.
Release the foot pedal as soon as the hole is punched! DO NOT allow the Ironworker to bottom out!
Repeat the process until all of the holes are punched.
Bend the Bracket
This operation uses the Hydraulic Shop Press that can be found in the back of the shop near the chop saws.
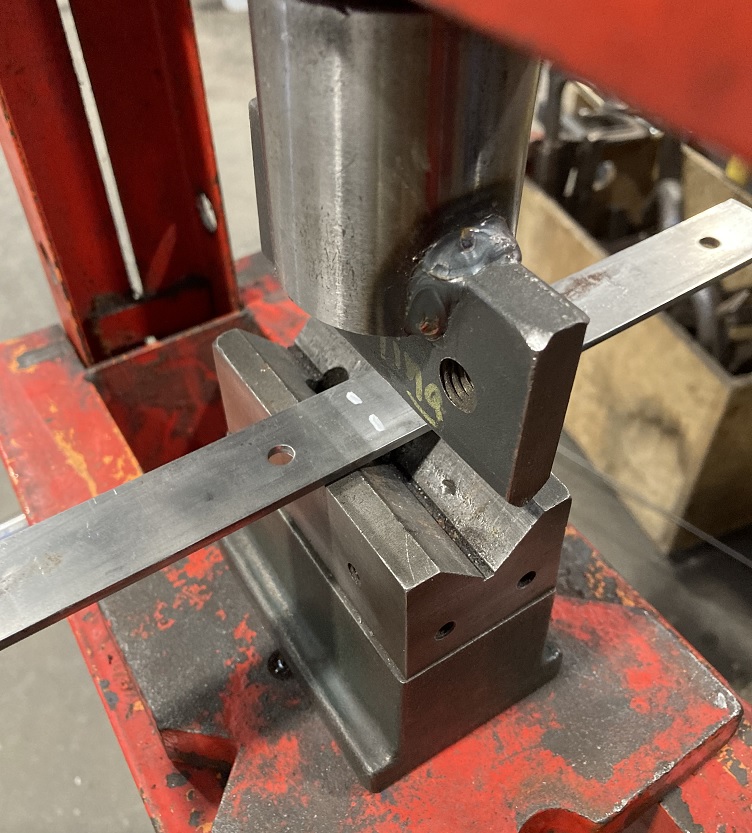
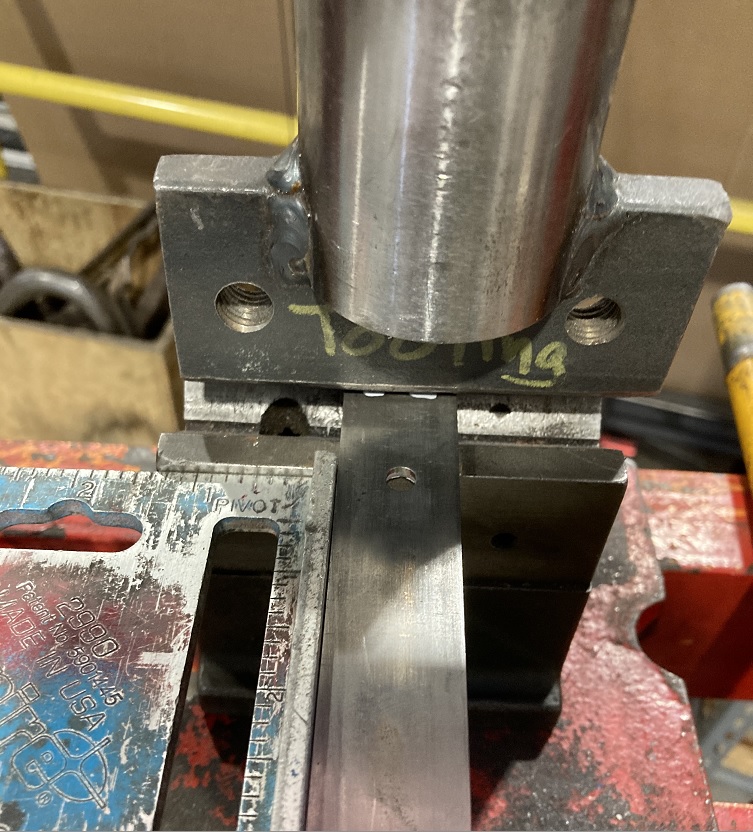
Place the workpiece in the bending tool and lower the tool until it lightly presses against the workpiece.
Square up the workpiece in the tool and make sure the bend mark is under the tool.
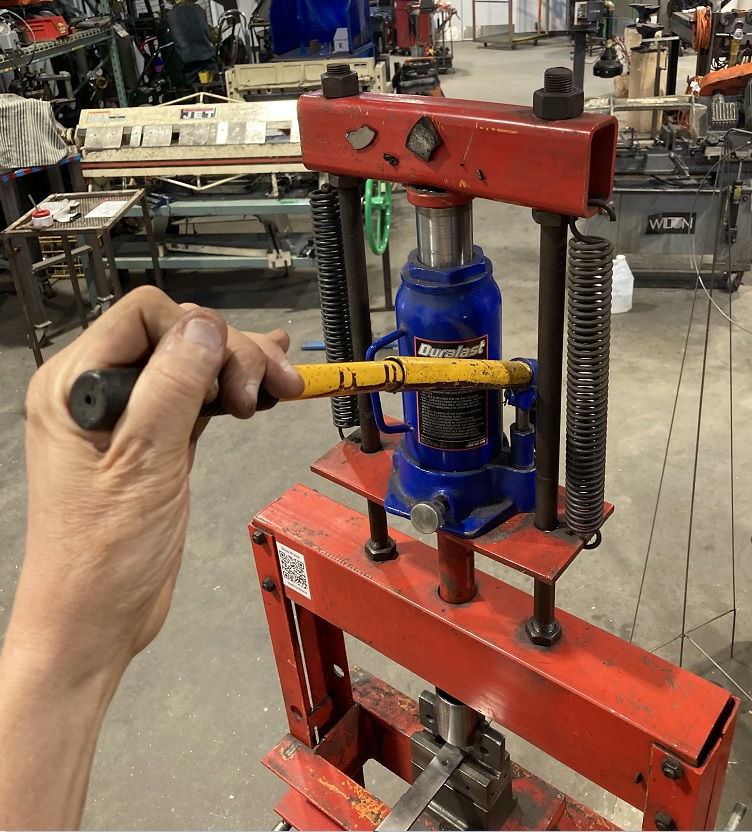
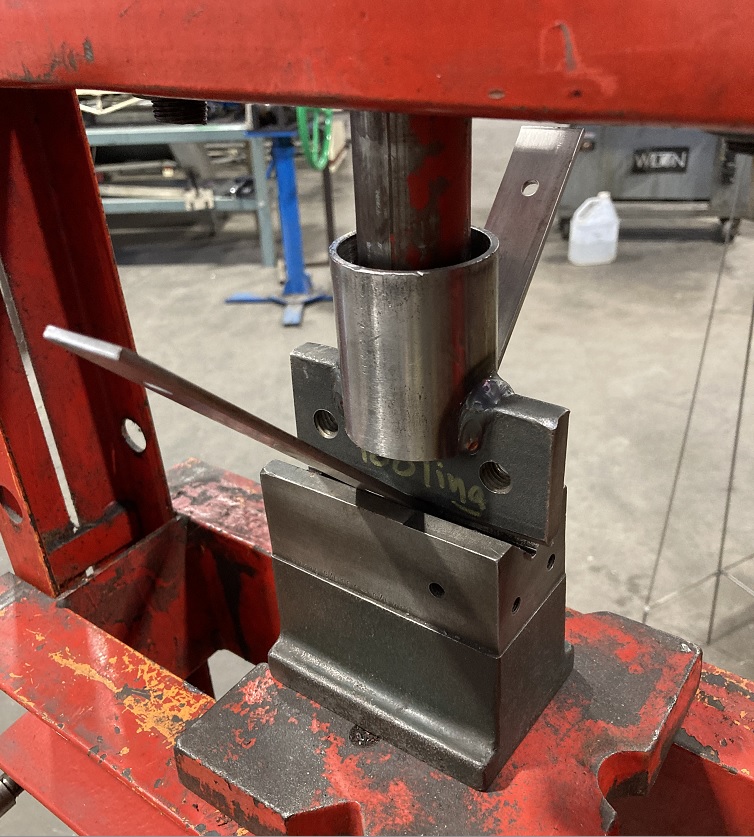
Pump the press and bend the workpiece. Check the angle periodically to make sure it comes out with a right angle.

