Category:Milling Machines: Difference between revisions
| Line 127: | Line 127: | ||
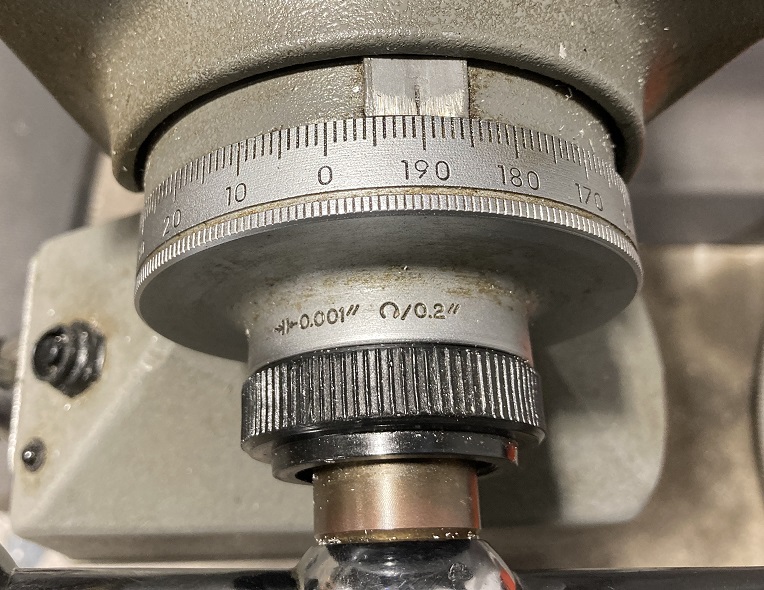
! colspan="2" class="infobox-image" | [[File:crank_scale.jpg|150px|hand crank scale ]] | ! colspan="2" class="infobox-image" | [[File:crank_scale.jpg|150px|hand crank scale ]] | ||
|- | |- | ||
| colspan="2" | The scale | | colspan="2" | The scale is graduated in "mils" or 1/1000s of an inch. | ||
|- | |- | ||
|} | |} | ||
Revision as of 11:11, 4 March 2024
| Vertical Milling Machines | |
|---|---|
| General Info | |
| Make | various |
| Model | |
| Serial | |
| Specs | |
| Manual | |
| Asylum Info | |
| Location | Machine Shop |
| Rubric | |
| Training | |
| Testing | |
| Restrictions | red |
Description
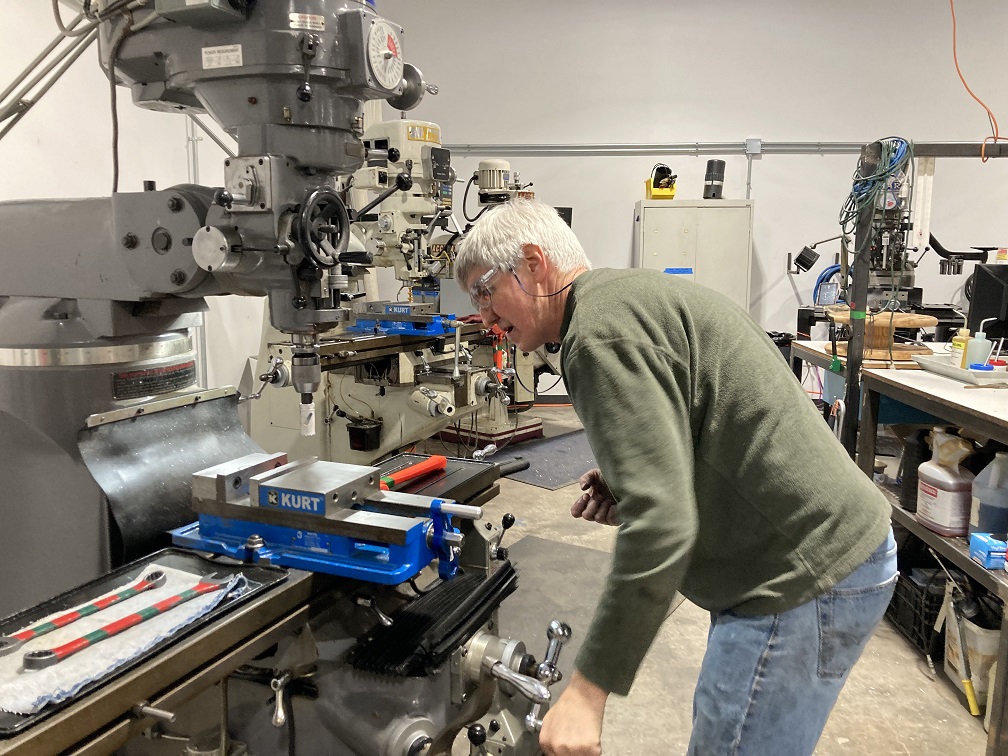
On a milling machine, parts are created by removing material from a solid block (or workpiece) using a variety of spinning cutting tools.
A 3-axis vertical milling machine has a variable-speed vertical spindle and a heavy table that translates underneath it. A metal workpiece is clamped to the table and a cutting tool is held in the spindle. Cutting is done by moving the workpiece against the spinning tool, or by lowering the spinning tool into the workpiece.
A CNC milling machine operates by computer control. Motors are attached to the movement mechanics allowing the computer to make precision-machined parts automatically.
| Use For | Do Not Use For |
|---|---|
|
|
Safety Notes
| Eye protection required! | ||
|---|---|---|
Personal
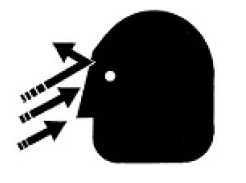
- Wear safety goggles. Eyeglasses are NOT safety goggles.
| |
|---|---|
- Beware of flying chips. They are HOT and SHARP.
- Do not wear loose clothing or jewelry when operating the machine. Long hair must be tied back or covered.
- Do not wear gloves. Gloves can be drawn into a cut by the spinning tool.
- Do not remove chips from the cutting area with bare hands. Use a chip brush or a shop-vac.
- Always keep a secure, stable stance. Avoid over-reaching. Clean up oil spills immediately and avoid slipping. Keep the work area clear of trip hazards.
Machine
- Work must be clamped securely in a vise and the vise clamped tightly to the table, or, work must be clamped securely to the table.
- Always stay at the machine while it is running.
- Do not operate the machine if any unusual or excessive heat, noise, smoke, or vibration occurs.
- Make sure the spindle has come to a complete stop before changing tools or unloading the workpiece. Keep hands clear of the spindle start switch when changing tools.
- NEVER USE COMPRESSED AIR to remove chips from the work area.
- Remove all wrenches, chuck keys, and loose parts before turning on the machine.
- Before running machine the spindle should be rotated by hand to make sure it is clear for cutting.
- Make sure the cutter is rotating in the proper direction before cutting material.
- Always use sharp cutters that are in good condition.
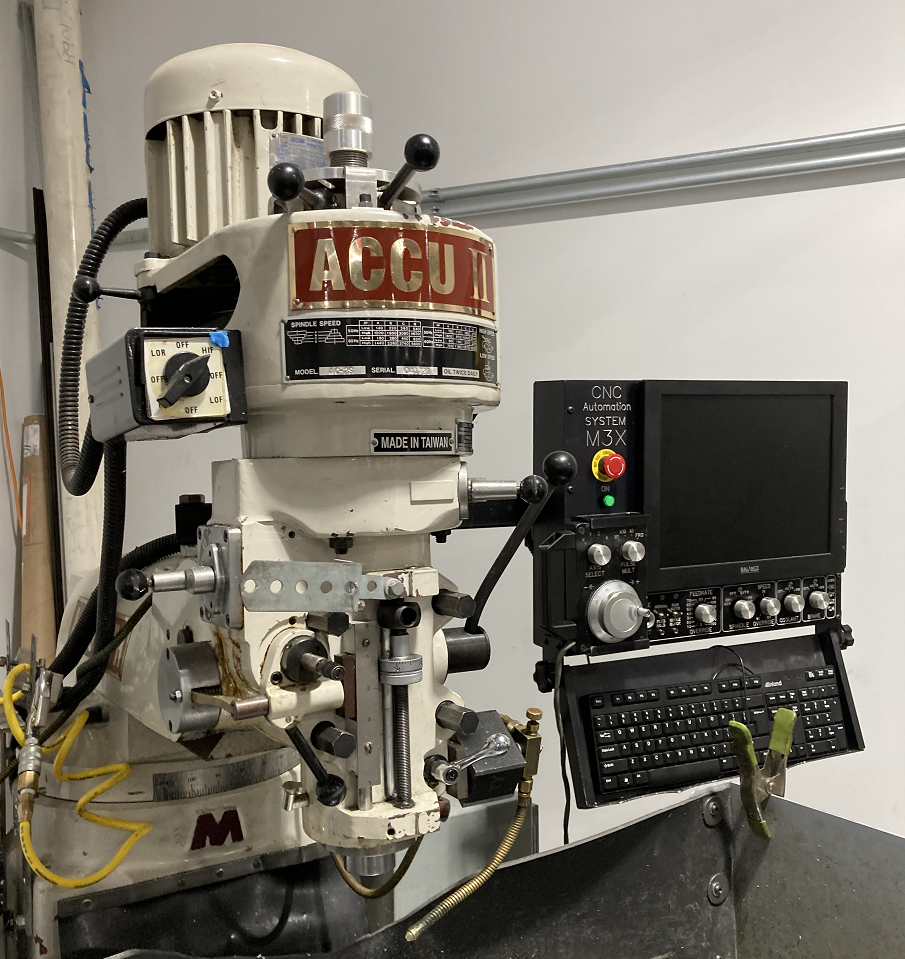
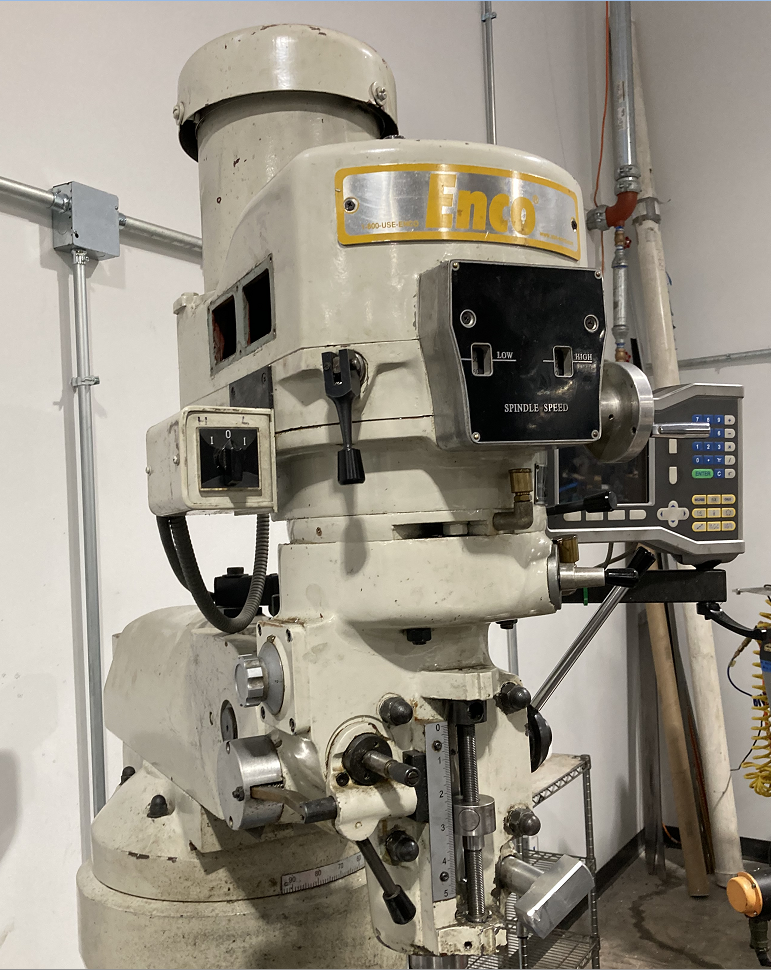
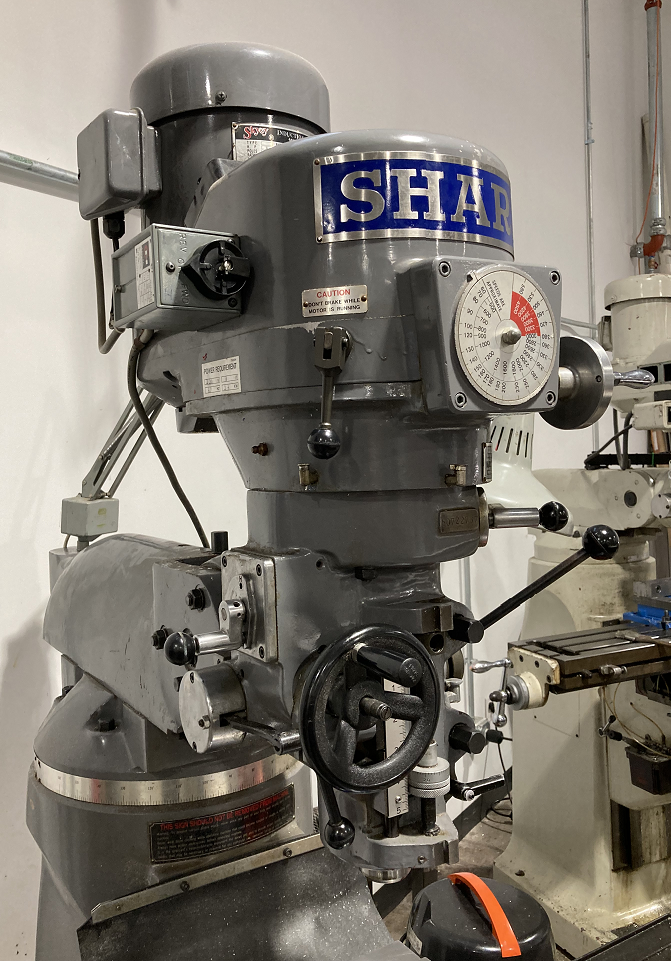
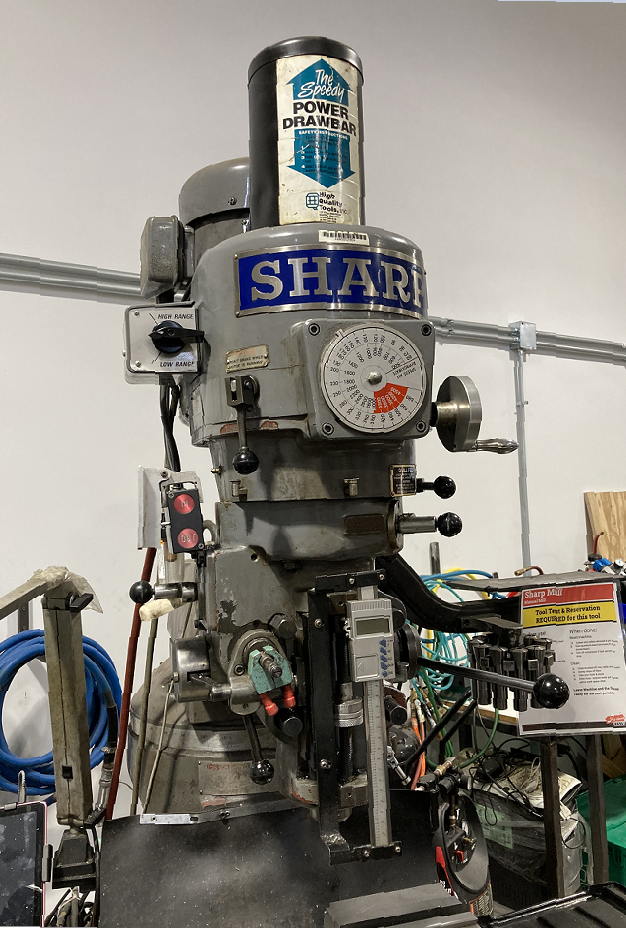
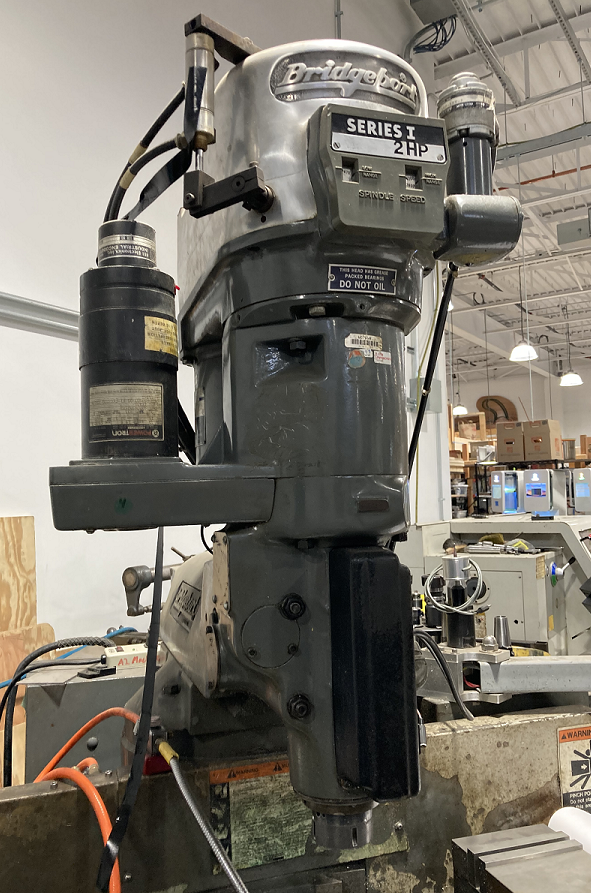
| Accu II Mill | Enco Mill | Sharp Mill "Click" | Sharp Mill "Clack" | Bridgeport Mill |
|---|---|---|---|---|
| CNC | Manual | Manual | Manual | Manual (Out of Service) |
 |
 |
 |
 |
|
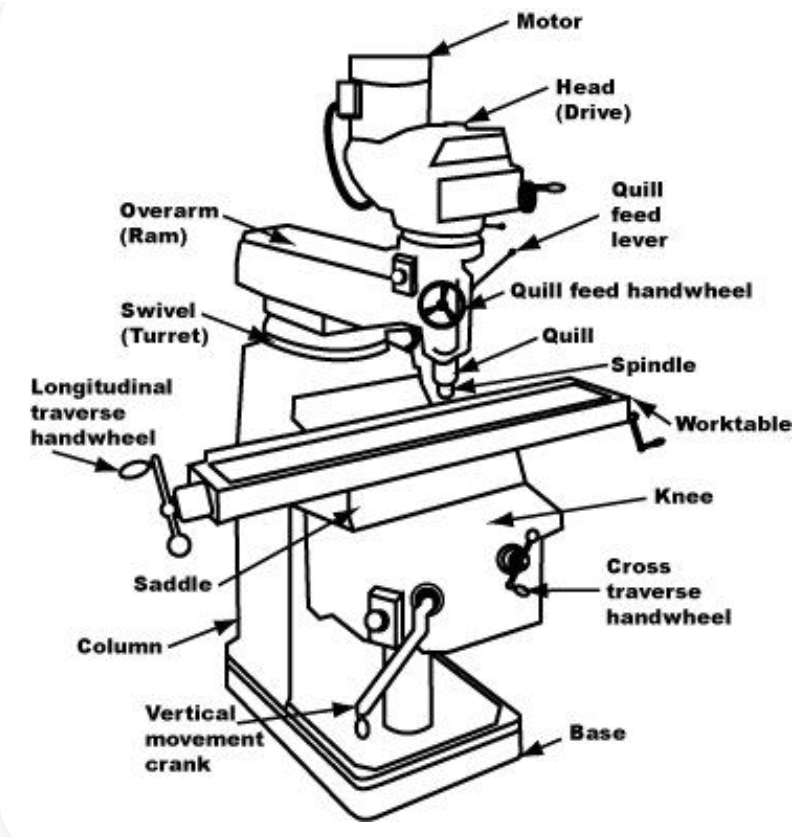
Parts of a Milling Machine
| |
|---|---|
| Parts of a Milling Machine |
Headstock:
The spindle is driven by the motor at the top. Frequently there is a crank-operated speed control located on the front.
An emergency stop (E-STOP) button is always located next the the motor power switch.
The spindle is raised and lowered through the Quill, actuated by a handle on the side of the headstock.
Tools are held in place with a drawbar that extends through the center of the spindle. The draw-bar can be tightened manually or with a pneumatic motor.
Table:
The moving table is carried on the machine's saddle.
Side-to-side (Longitudinal) motion of the table is controlled by ball crank handles on either end of the table. The scales are incremented by 0.001 inches.
Knee:
In-and-out (Cross) motion of the table is controlled by a crank on the front of the knee, also incremented by 0.001 inches.
The table is raised and lowered vertically by a crank on the side of the knee.
Base and Turret
These provide stability and allow some adjustment of the headstock.
Machine Motion
The X-Y motion of the table and the vertical motions of the knee and the spidle are all actuated by gears and screws, which turn rotary motion into linear motion.
Manual Actuation
| |
|---|---|
| The scale is graduated in "mils" or 1/1000s of an inch. |
| |
|---|---|
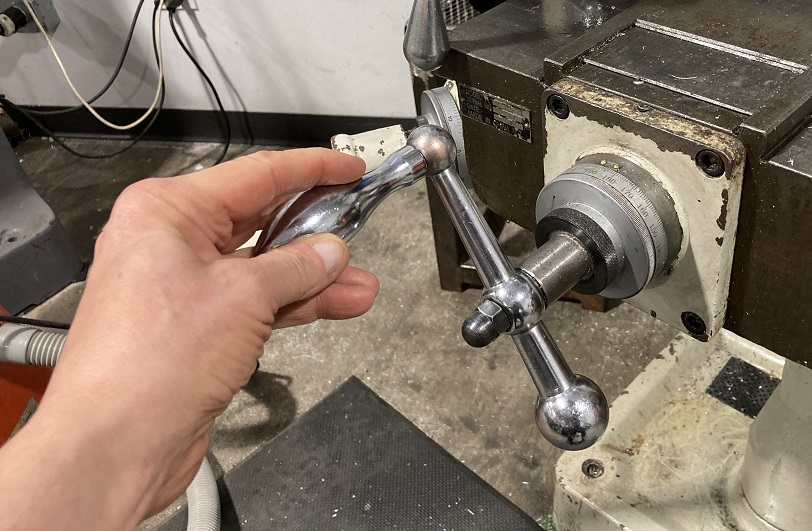
| Hand-cranking the table on a mill |
On a manual machine, the motion is created by turning the mechanical input with a crank or a handle. On the table cranks, an "ACME" screw creates a movement of 0.2 inches per rotation.
With this motion, the user must account for the backlash of the screw and the nut riding on it. On a typical mill, this backlash can be approximately 1/20 rotation, or about 0.01 inches in distance.
Mechanization
| |
|---|---|
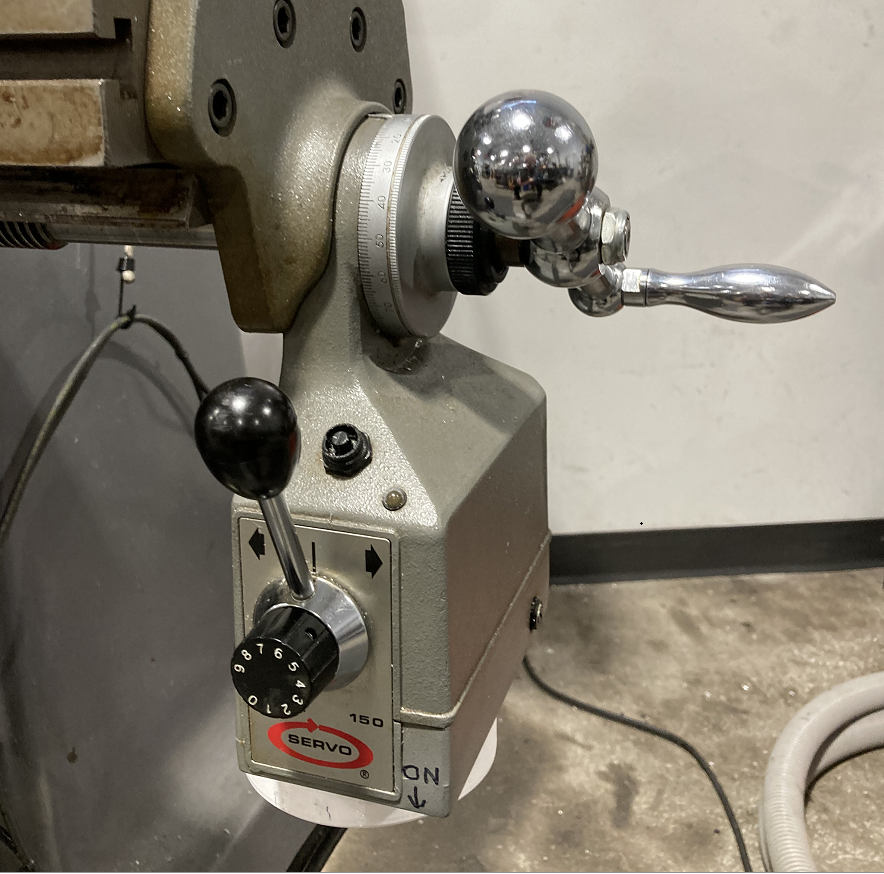
| An add-on motor drive with a clutch on the Enco mill. |
On some machines, an electric motor is attached to one or more axes of motion. This permits the user to set a uniform speed for milling off a flat surface with an even linear movement.
On many machines, the spindle has a mechanized vertical movement geared into the spindle rotation, for drilling.
CNC
Pages in category "Milling Machines"
The following 6 pages are in this category, out of 6 total.
