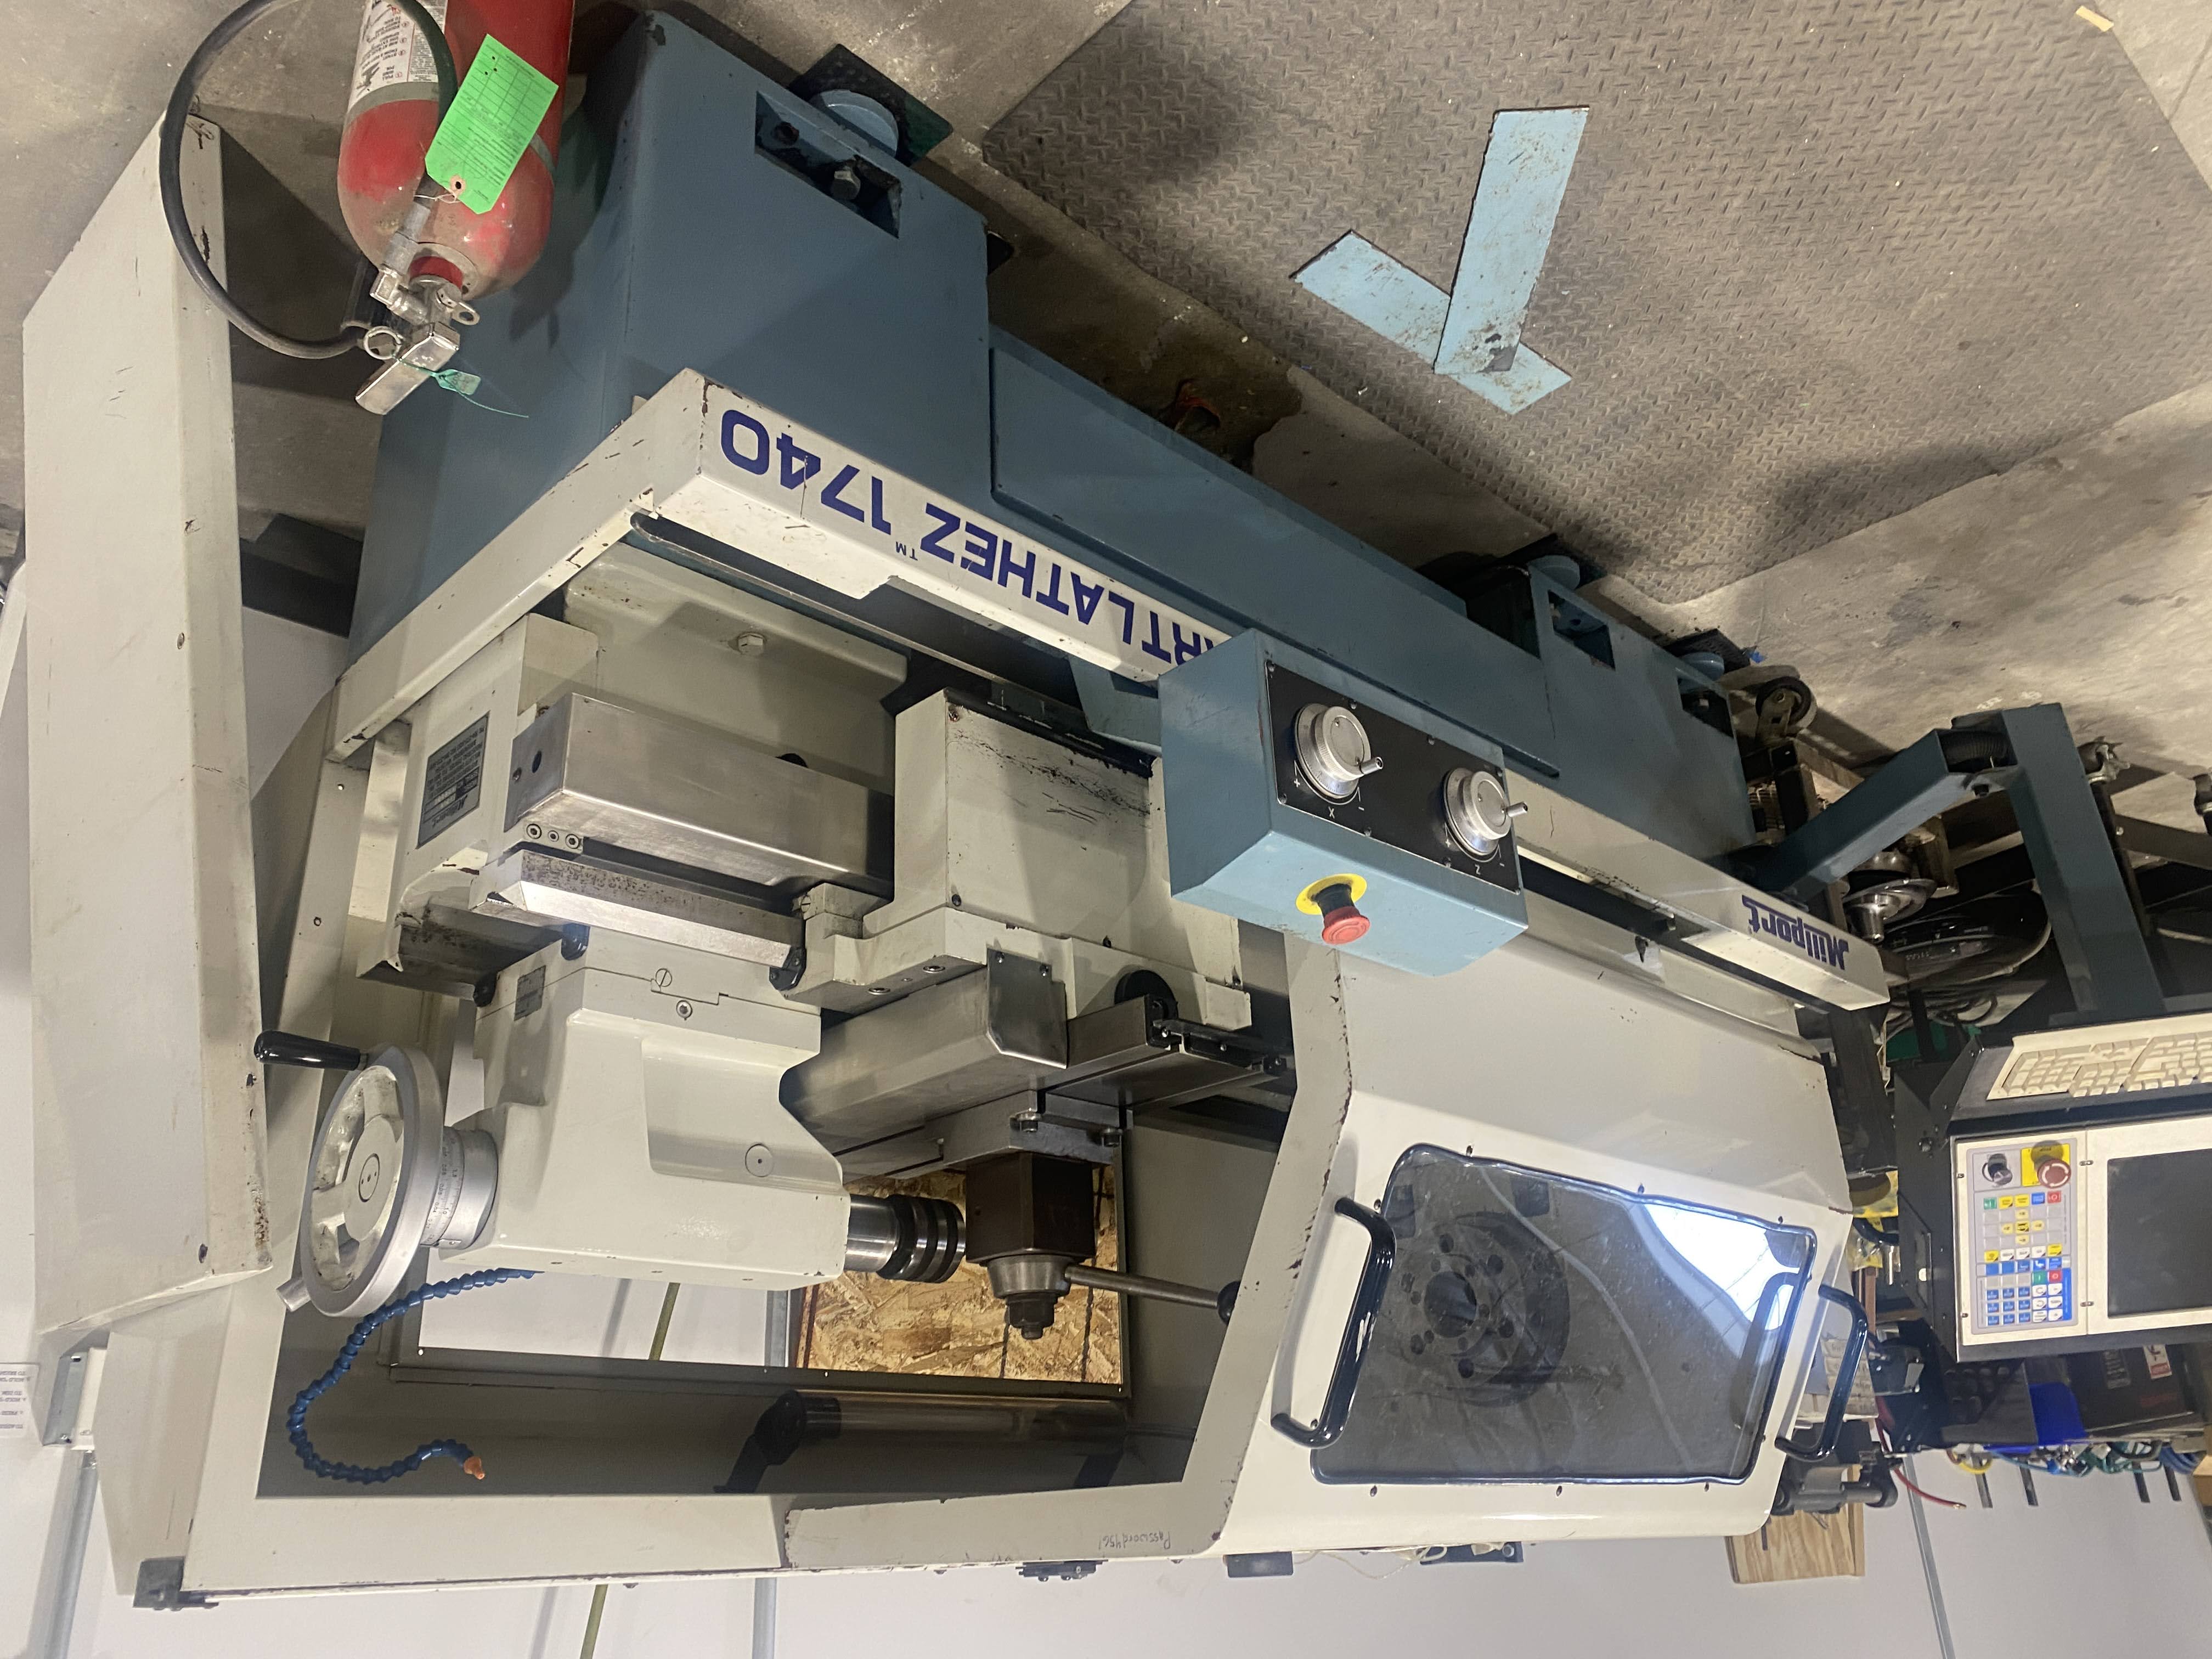
Millport SmartLathez 1740 CNC Lathe: Difference between revisions
No edit summary |
No edit summary |
||
| Line 40: | Line 40: | ||
*Can cut 0.1” off of radius with Aluminum | *Can cut 0.1” off of radius with Aluminum | ||
Define tools in HSMWorks | Define tools in HSMWorks<br>Define Tool Positions & Angles<br>Define Tool Feeds & Speeds | ||
Parting in hard alloys should be 300SFM for carbide cutters | Parting in hard alloys should be 300SFM for carbide cutters | ||
Revision as of 03:11, 7 March 2024
| Millport SmartLathez 1740 CNC Lathe | |
|---|---|
| General Info | |
| Make | Millport |
| Model | SmartLathez 1740 |
| Serial | 622005 |
| Specs | SmartLathEZ1740Manual |
| Manual | 822LatheManual |
| Asylum Info | |
| Location | Machine Shop |
| Rubric | HSMworks turning step by step |
| Training | Tool classes |
| Testing | Tool testing |
| Restrictions | red |
Link to: Machine Shop Main Page
| Eye protection required! | ||
|---|---|---|
Manuals
HSMworks turning step by step . You will need a STEP file to work with this manual.
CNC Lathe Notes
Centroid controller
G-code with some extra M-codes
lathe motor is 10-HP, but, with VFD speed control %age of top speed corresponds to roughly the mount of HP availabe.
Uses Tri-Cool for coolant
Chk oil level on back, way oil
Turn on
Set home: Green button at lower right of controller will cause it to run through its homing procedure.
The tailstock will trip the furthest Z-limit switch, so move tailstock towards chuck. If it is not appearing to move switch from ‘Inc’ to ‘Cont.
MPG: Mean Pulse Generator
Part Design Considerations:
- Inside corners should have radii greater than that of the tool insert tip.
- Outside corners should be set to 0.005-0.010” radii to avoid burrs.
- Stock to leave for finish passes: 0.015” axial & 0.030” radial
- Can cut 0.1” off of radius with Aluminum
Define tools in HSMWorks
Define Tool Positions & Angles
Define Tool Feeds & Speeds
Parting in hard alloys should be 300SFM for carbide cutters
Parting defaults to 0.040”/rev., which leads to DESTRUCTION! Better to set at 0.0035”/rev.
Make sure that your tools have different numbers in the tool library for a single job
Inserts with a negative rake are mounted at an angle on the toolholder, so cannot cut away from the chuck as the rake is actually negative in that direction.
Set max spindle speed when changing gears and ranges. This is a global var?
Post-processing: Use FANUC
G53: Retract<br>G54: Work Offset
Keep in mind that G53 & G54 go to coords (0,0) which will be the face of the stock.
Tool changes are done explicitly by:
- Rapid Traverse - G53, G54, etc.
- Tool Offset
- Home machine
- Set 0s on stock
- The set tool offsets
In graph mode we can get range to see only those moves due to those lines of code.
VS-Codes is good for editing G=code. Use G-code add-in
Use locknut on toolholder to avoid changing height when handling toolholder.
F1/Set-up
F2/Tools
Offset Library
Tool: may set to 0, or set offset to a Var
MPG: Can turn off to avoid changing values if you accidentally bump into the hand wheels during operation
F2/Measure
Sets the offset
Set Z-Ref: 2” when using indicator
Move manually to where you expect (0,0) to be and look at the numbers on the screen as a check.
Run Menu
Set part count to 1
Re-set spindle speed and coolant back to Auto CTRL
For the big chuck, the max speed is 700RPM
For the Medium chuck, the max speed is 900RPM
For the collet closer, the max speed is 2-2,400RPM
